
A Beginner's Guide to Using Cricut Printable Iron On

Getting Started with Cricut Printable Iron On
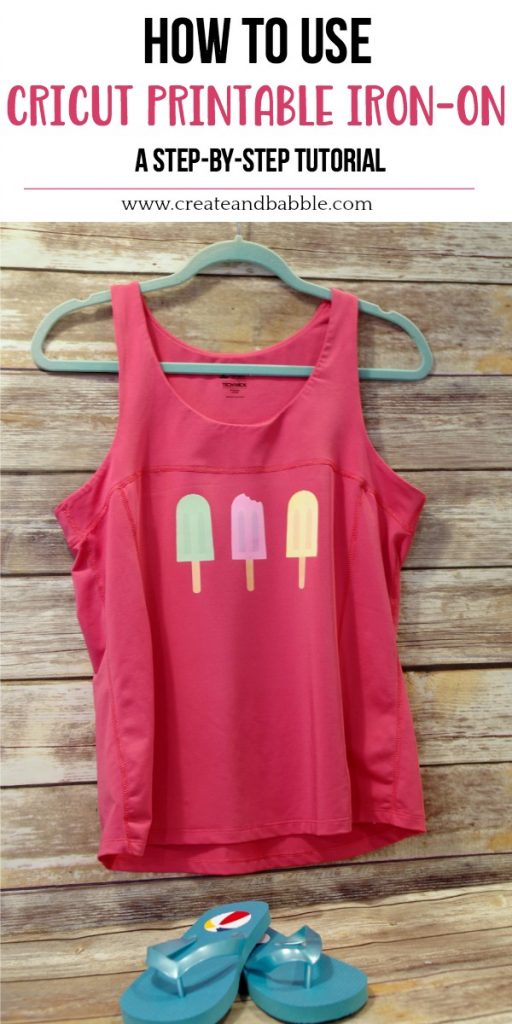
If you're new to the world of Cricut crafting, you might be wondering how to use Cricut printable iron on. This versatile material allows you to create custom designs and apply them to a variety of surfaces, from t-shirts to tote bags. With the right tools and a little practice, you can achieve professional-looking results and take your DIY projects to the next level.
To get started with Cricut printable iron on, you'll need a few basic supplies. These include a Cricut machine, Cricut printable iron on material, and a computer or tablet with the Cricut design software. You'll also need a heat press or iron to apply the design to your chosen surface. Once you have all the necessary supplies, you can begin designing your project using the Cricut software.
Tips and Tricks for Successful Iron On Projects
The first step in using Cricut printable iron on is to design your project. This can be as simple as typing out a phrase or as complex as creating a custom image. Once you've designed your project, you can send it to your Cricut machine to be cut out. Make sure to mirror your image before cutting, as this will ensure that it appears correctly when applied to your surface. After cutting out your design, weed out any excess material and apply it to your surface using a heat press or iron.
With a little practice, you can achieve professional-looking results with Cricut printable iron on. One tip is to use a high-quality heat press, as this will ensure that your design is applied evenly and securely. You should also make sure to follow the instructions provided with your Cricut printable iron on material, as different types of material may have specific application instructions. By following these tips and practicing your technique, you can create custom iron on designs that will make your DIY projects stand out.