
A Beginner's Guide to Using Printable Vinyl with Cricut

Getting Started with Printable Vinyl
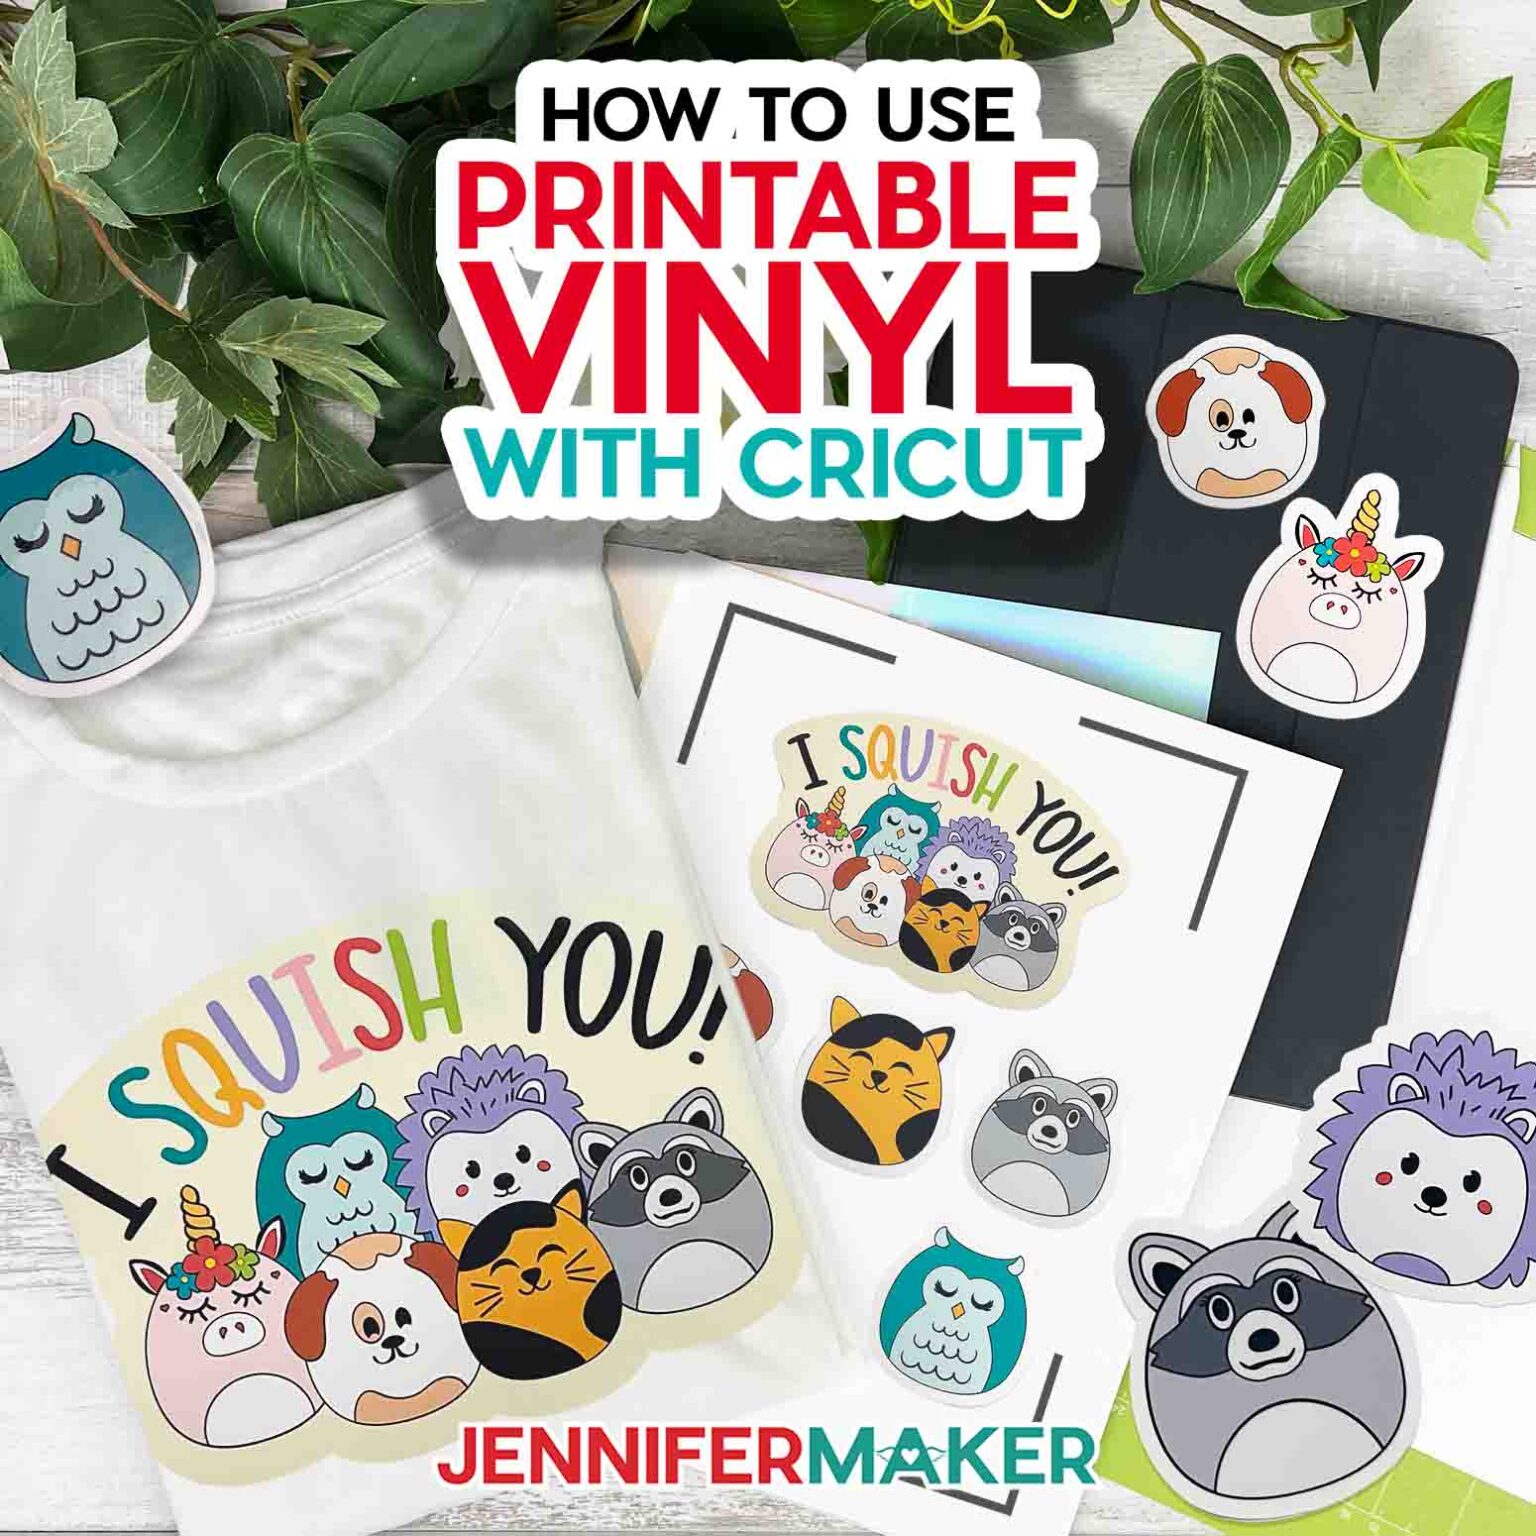
Using printable vinyl with your Cricut machine can be a fun and creative way to make custom designs, stickers, and decals. With the right tools and a little practice, you can achieve professional-looking results. To get started, you'll need a few basic supplies, including a Cricut machine, printable vinyl, and a computer or mobile device with the Cricut design software.
The first step is to design your project using the Cricut software. You can choose from a variety of templates and fonts, or upload your own images and designs. Once you've created your design, you can send it to your Cricut machine to be cut. Make sure to select the correct settings for printable vinyl, including the material type and cut depth.
Tips and Tricks for Using Printable Vinyl with Cricut
When working with printable vinyl, it's essential to follow a few basic tips to ensure the best results. First, make sure to mirror your design before cutting, as this will help prevent the vinyl from peeling off when it's applied. You should also use a weed tool to remove excess vinyl from your design, and apply transfer tape to help you apply the vinyl to your desired surface.
With a little practice, you can achieve amazing results with printable vinyl and your Cricut machine. Some additional tips to keep in mind include using a laminator to protect your designs from fading or peeling, and experimenting with different types of printable vinyl to find the one that works best for you. Whether you're making custom stickers, decals, or signs, printable vinyl is a versatile and fun material to work with.