A Beginner's Guide to Cricut Printable Iron On: How To Get Started


Getting Started with Cricut Printable Iron On
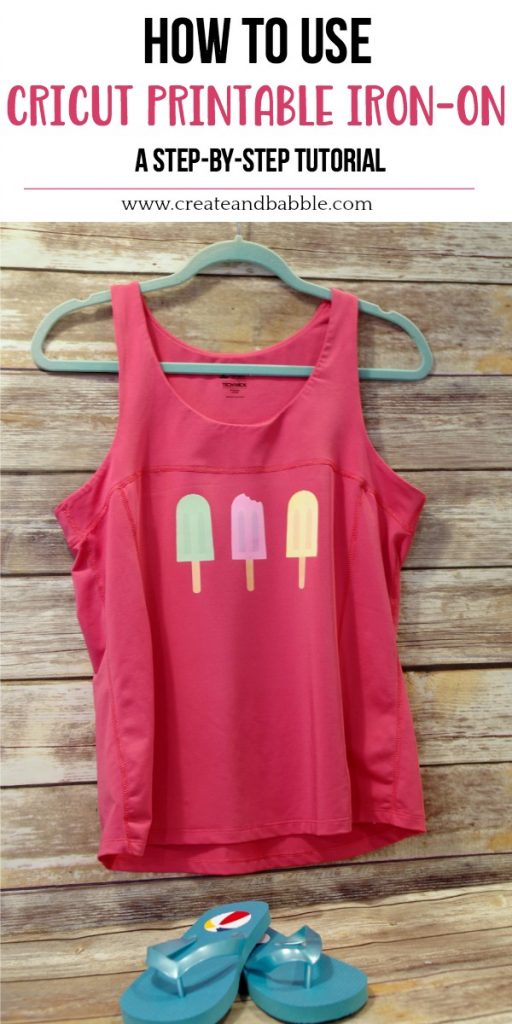
If you're new to the world of Cricut crafting, you might be wondering what all the fuss is about when it comes to printable iron on. This versatile material allows you to create custom designs and apply them to a variety of surfaces, from t-shirts to tote bags. In this article, we'll take a closer look at how to use Cricut printable iron on and provide you with some helpful tips and tricks to get you started.
The first step in working with Cricut printable iron on is to choose your design. You can use the Cricut Design Space software to create your own custom designs, or browse the many pre-made templates and images available. Once you have your design, you'll need to cut it out using your Cricut machine. Make sure to mirror your image before cutting, as the iron on vinyl will be applied to the reverse side of the material.
Tips and Tricks for Working with Iron On Vinyl
When it comes to applying your iron on design, it's all about the heat. You'll need to use a heat press or a household iron to apply the design to your chosen surface. Make sure to follow the manufacturer's instructions for temperature and pressure settings, as this can affect the quality of the finish. It's also a good idea to do a test run on a scrap piece of material before applying the design to your final project.
With a little practice, you'll be creating professional-looking iron on designs in no time. One of the most important things to keep in mind is to use the correct settings on your Cricut machine and heat press. You should also make sure to weed your design carefully, removing any excess vinyl from around the edges. By following these tips and tricks, you'll be able to create custom iron on designs that will make your projects stand out from the crowd.