
A Beginner's Guide to Using Printable Vinyl in Cricut


Getting Started with Printable Vinyl
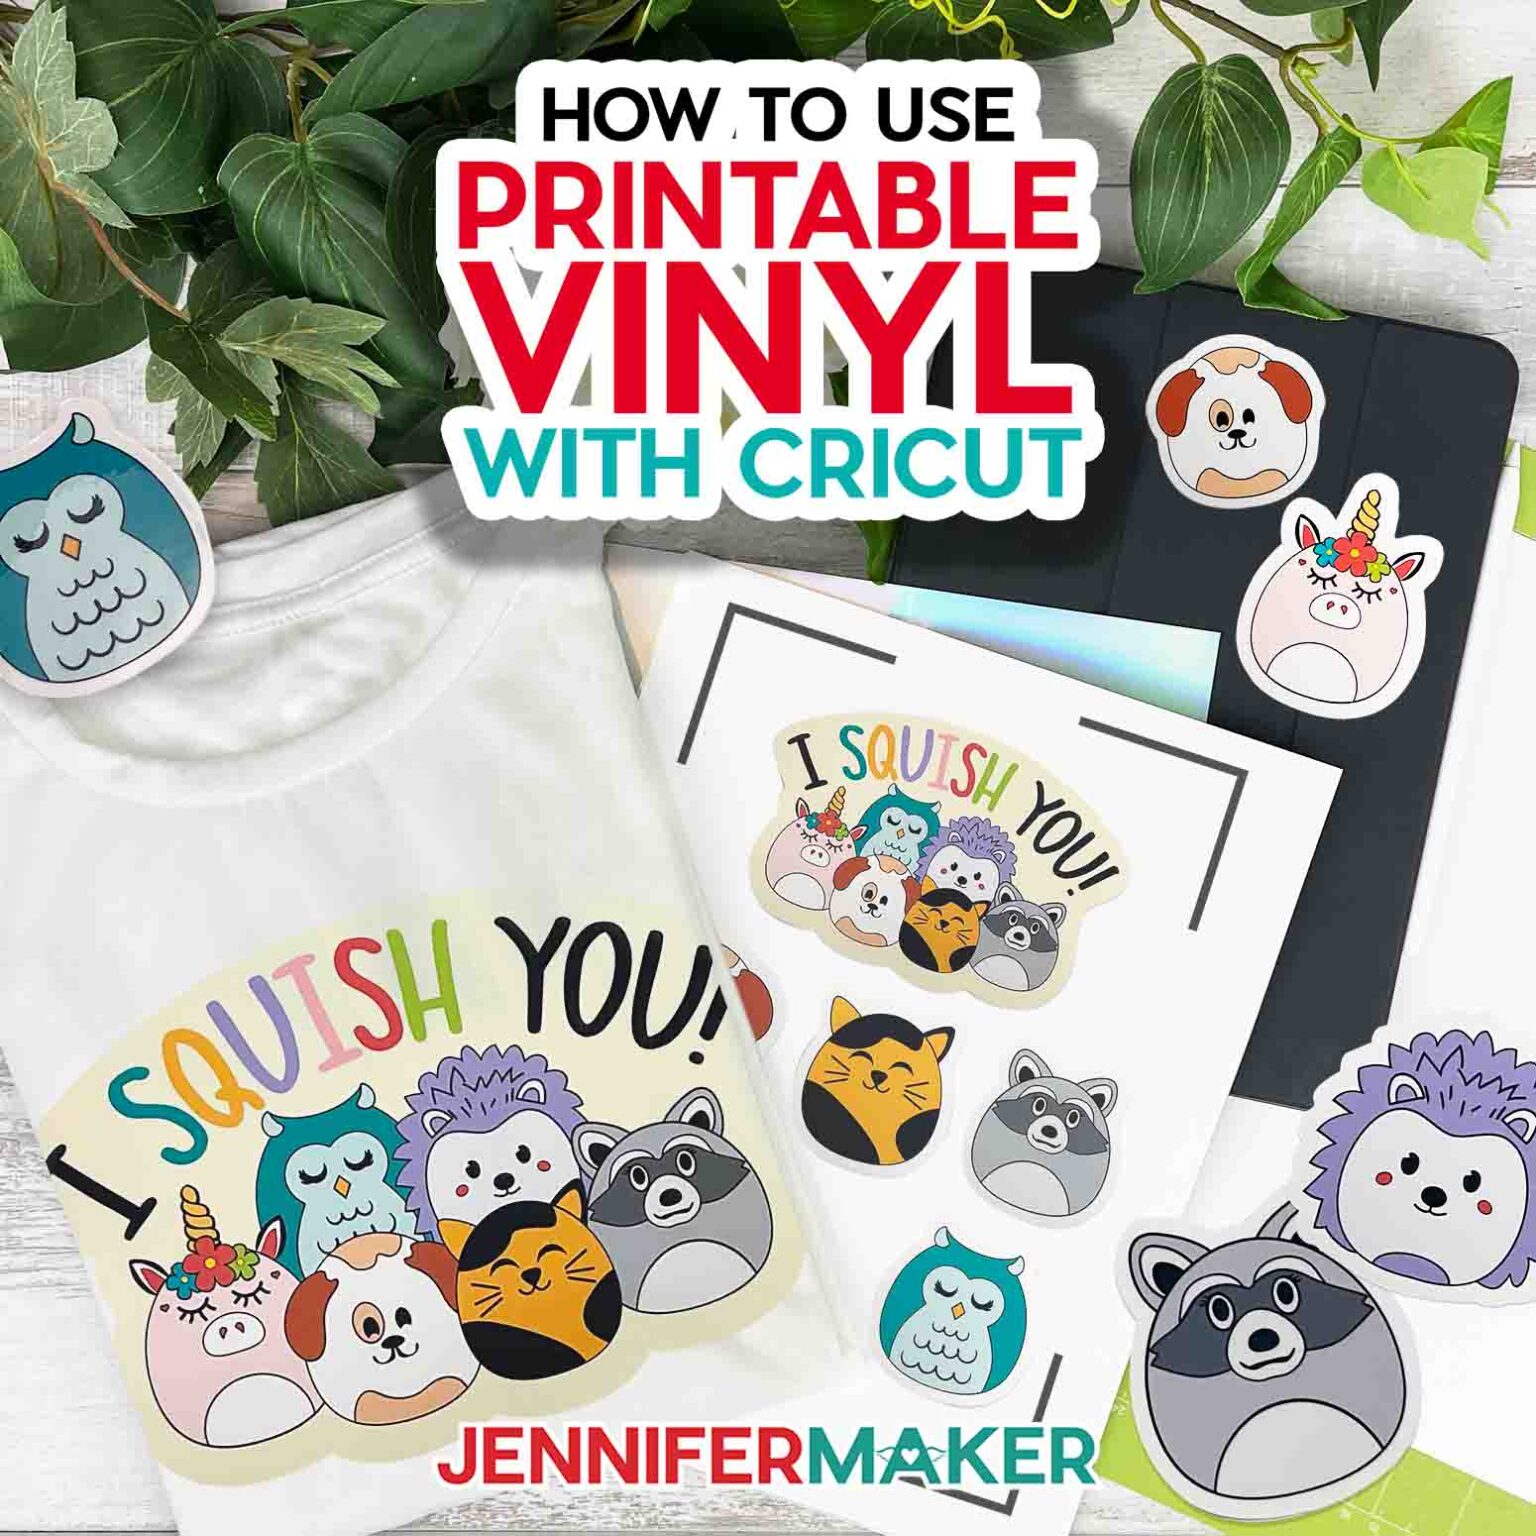
If you're new to the world of Cricut, you might be wondering how to use printable vinyl. This versatile material can be used to create a wide range of projects, from custom signs and decals to decorative wall art and more. In this article, we'll take a closer look at how to use printable vinyl in Cricut, including the best tips and tricks for a successful project.
To get started, you'll need a few basic supplies, including a Cricut machine, printable vinyl, and a cutting mat. You'll also need a computer or tablet with the Cricut design software installed. Once you have all of your supplies, you can begin designing your project. The Cricut design software makes it easy to create custom designs and cut them out with precision.
Tips and Tricks for a Successful Project
When it comes to using printable vinyl in Cricut, the key is to make sure that your design is set up correctly. This includes choosing the right settings for your material and making sure that your design is mirrored. You'll also want to make sure that your vinyl is properly aligned on the cutting mat. With a little practice, you'll be creating beautiful projects with ease.
One of the most important things to keep in mind when using printable vinyl in Cricut is to make sure that your vinyl is properly weeded. This means removing any excess vinyl from around your design. You'll also want to make sure that your transfer tape is applied correctly, to ensure that your design is transferred smoothly to your project surface. With these tips and tricks, you'll be well on your way to creating beautiful and professional-looking projects with printable vinyl and your Cricut machine.