
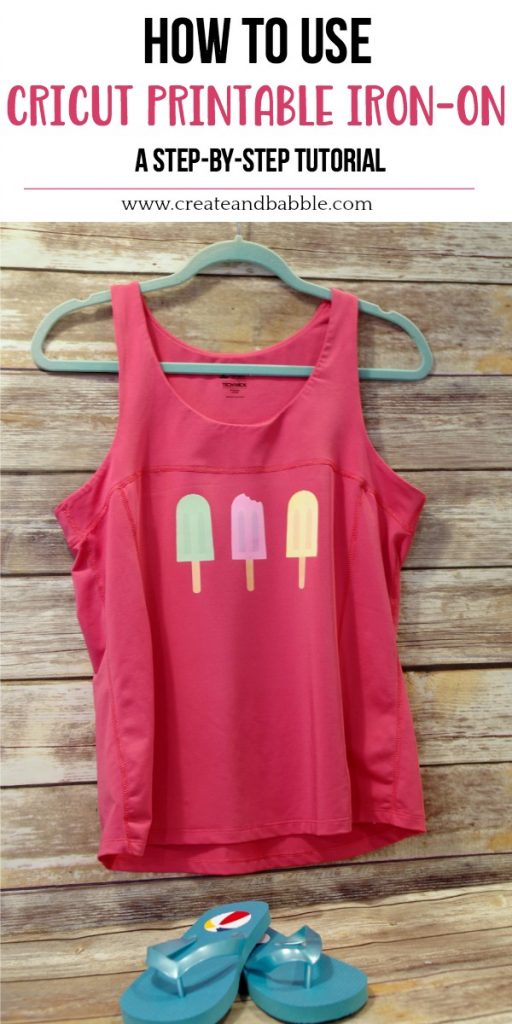
A Step-by-Step Guide to Cutting Printable Iron On with Cricut


Preparing Your Design
Cutting printable iron on with Cricut is a straightforward process that requires some basic knowledge of the machine and its settings. To start, you'll need to create your design using Cricut's Design Space software or another compatible program. Choose a font and image that fit your project's theme, and make sure to mirror your design before sending it to the cutter. This step is crucial, as it ensures that your iron on is applied correctly to your final product.
When working with printable iron on, it's essential to select the right material settings on your Cricut. Choose the 'printable iron on' option from the list of available materials, and adjust the blade depth and pressure according to the manufacturer's recommendations. This will guarantee a clean cut and prevent damage to your iron on or the machine itself.
Cutting and Weeding Your Iron On
Before cutting your iron on, make sure it's properly aligned on the cutting mat. Use the grid on the mat to position your material accurately, and smooth out any air bubbles or wrinkles. This step is vital, as it affects the overall quality of the cut. Once your iron on is in place, send the design to the Cricut and let it do the work. The machine will cut out your design with precision, leaving you with a professional-looking result.
After cutting your iron on, remove the excess material by weeding it away from the design. Use a weeding tool or a pair of tweezers to carefully remove the unwanted parts, working from the center outwards. Apply the iron on to your desired surface using a heat press or a household iron, following the manufacturer's instructions for temperature and pressure. With these simple steps, you'll be able to create custom iron on designs with ease, opening up a world of possibilities for personalized apparel, accessories, and home decor.