Unlocking the Power of Printables Iron On Paper with Cricut

What is Printables Iron On Paper?
Printables iron on paper is a game-changer for crafters and DIY enthusiasts. With the help of a Cricut machine, you can create custom designs and projects that are both personalized and professional-looking. From t-shirts and tote bags to mugs and water bottles, the possibilities are endless. In this article, we'll explore the world of printables iron on paper and how to use it with Cricut for amazing results.
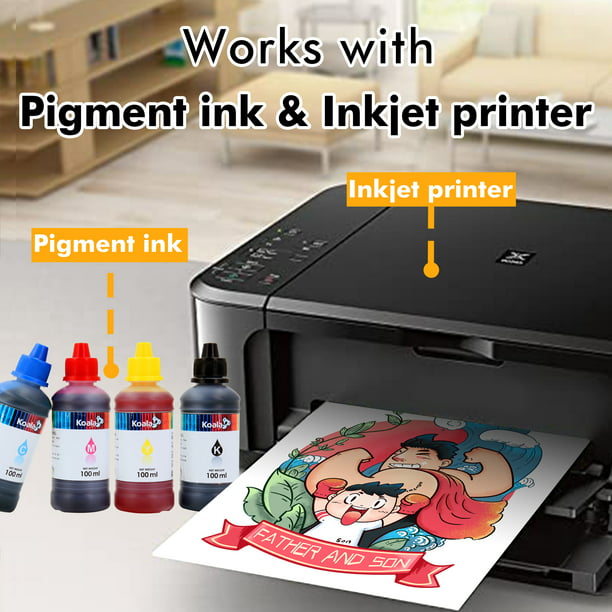
The first step in using printables iron on paper with Cricut is to choose the right type of paper. There are several options available, including paper specifically designed for inkjet printers and laser printers. Make sure to select the correct type of paper for your printer to ensure the best results. Once you have your paper, you can start designing your project using the Cricut software. The software allows you to customize your design with various fonts, shapes, and images, making it easy to create unique and personalized projects.
Tips for Using Printables Iron On Paper with Cricut
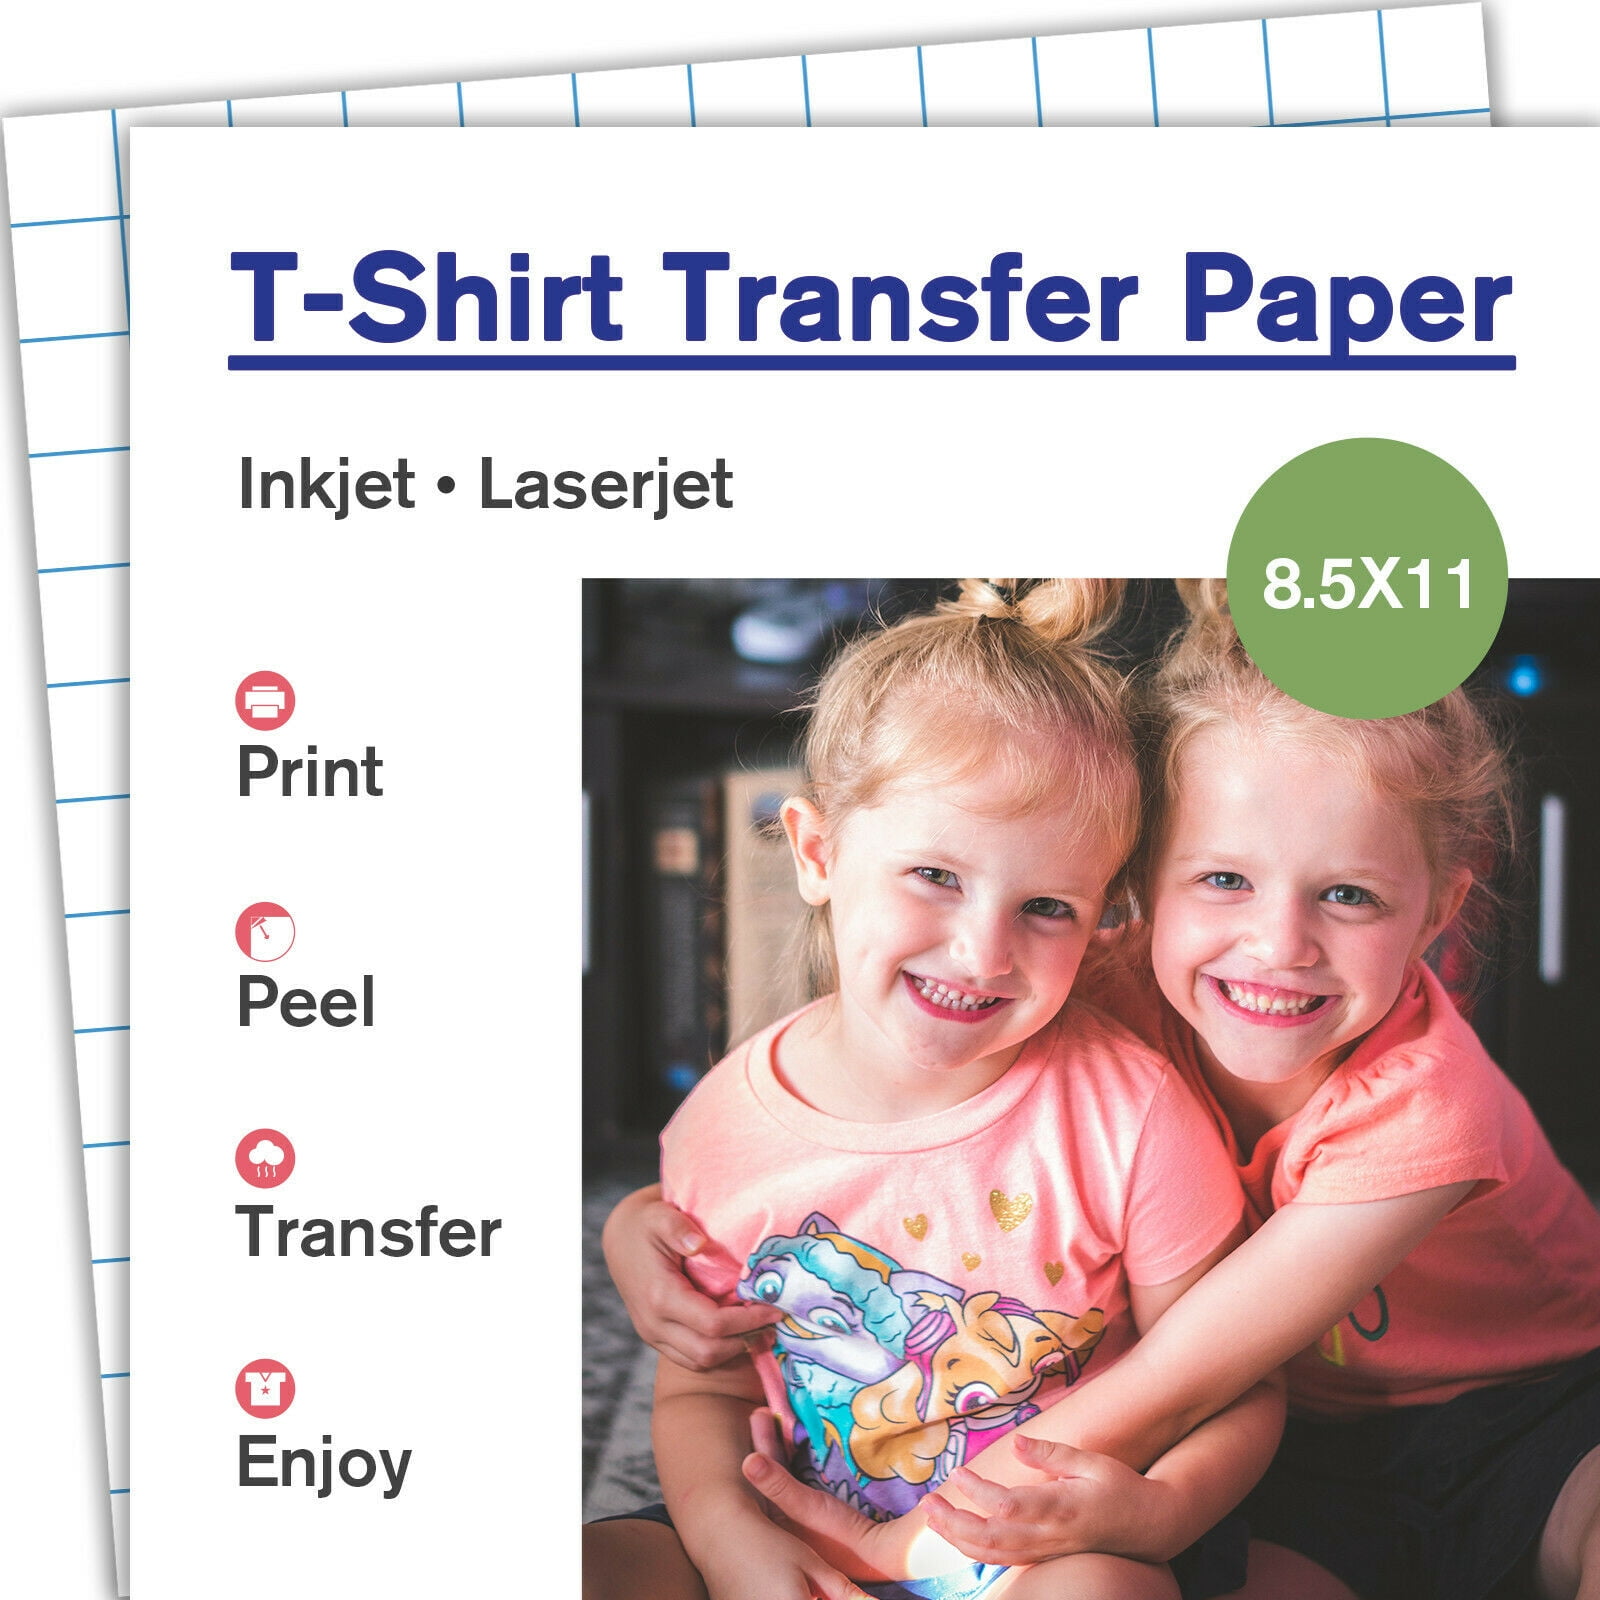
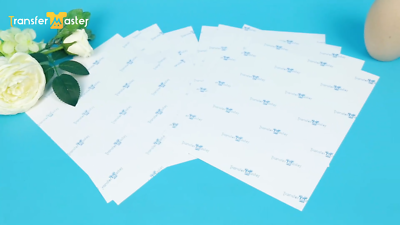
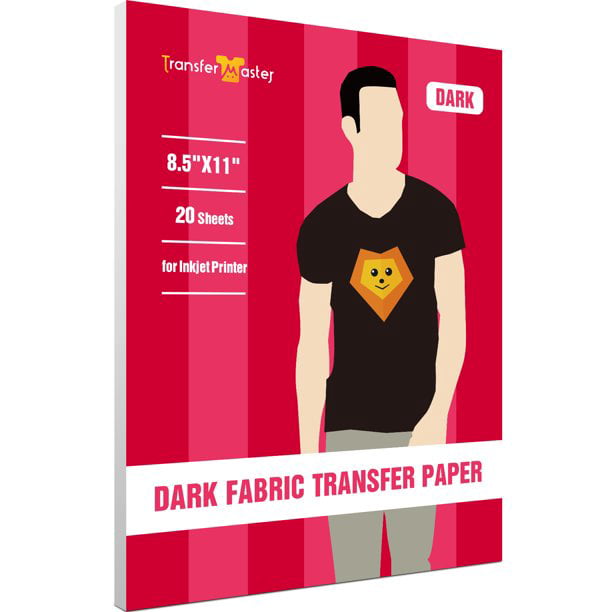
What is Printables Iron On Paper? Printables iron on paper is a special type of paper that is coated with a heat-activated adhesive. This allows you to print your design onto the paper and then apply it to a variety of surfaces, including fabric, wood, and metal. The paper is available in various sizes and finishes, making it easy to find the perfect paper for your project. With printables iron on paper, you can create custom designs and projects that are both durable and long-lasting.
Tips for Using Printables Iron On Paper with Cricut To get the most out of your printables iron on paper and Cricut machine, there are a few tips to keep in mind. First, make sure to mirror your design before printing to ensure that it is applied correctly to your surface. Second, use a high-quality printer and ink to ensure vibrant and long-lasting colors. Finally, follow the instructions for applying the iron on paper to your surface, including the recommended temperature and pressure. By following these tips, you can create professional-looking projects that are sure to impress.