
A Beginner's Guide to Iron On Printable Vinyl: How To


Getting Started with Iron On Printable Vinyl
Iron on printable vinyl is a popular material used for customizing clothing, accessories, and other fabrics. It's a great way to add a personal touch to your belongings or create unique gifts. With the right tools and techniques, you can achieve professional-looking results at home. In this article, we'll take you through the basics of iron on printable vinyl and provide you with a step-by-step guide on how to use it.
To get started with iron on printable vinyl, you'll need a few basic supplies. These include a printer, iron on printable vinyl sheets, a cutting tool or scissors, and a heat press or household iron. You'll also need a computer and design software to create your design. There are many design software options available, both free and paid, so you can choose the one that suits your needs and skill level.
Tips and Tricks for a Professional Finish
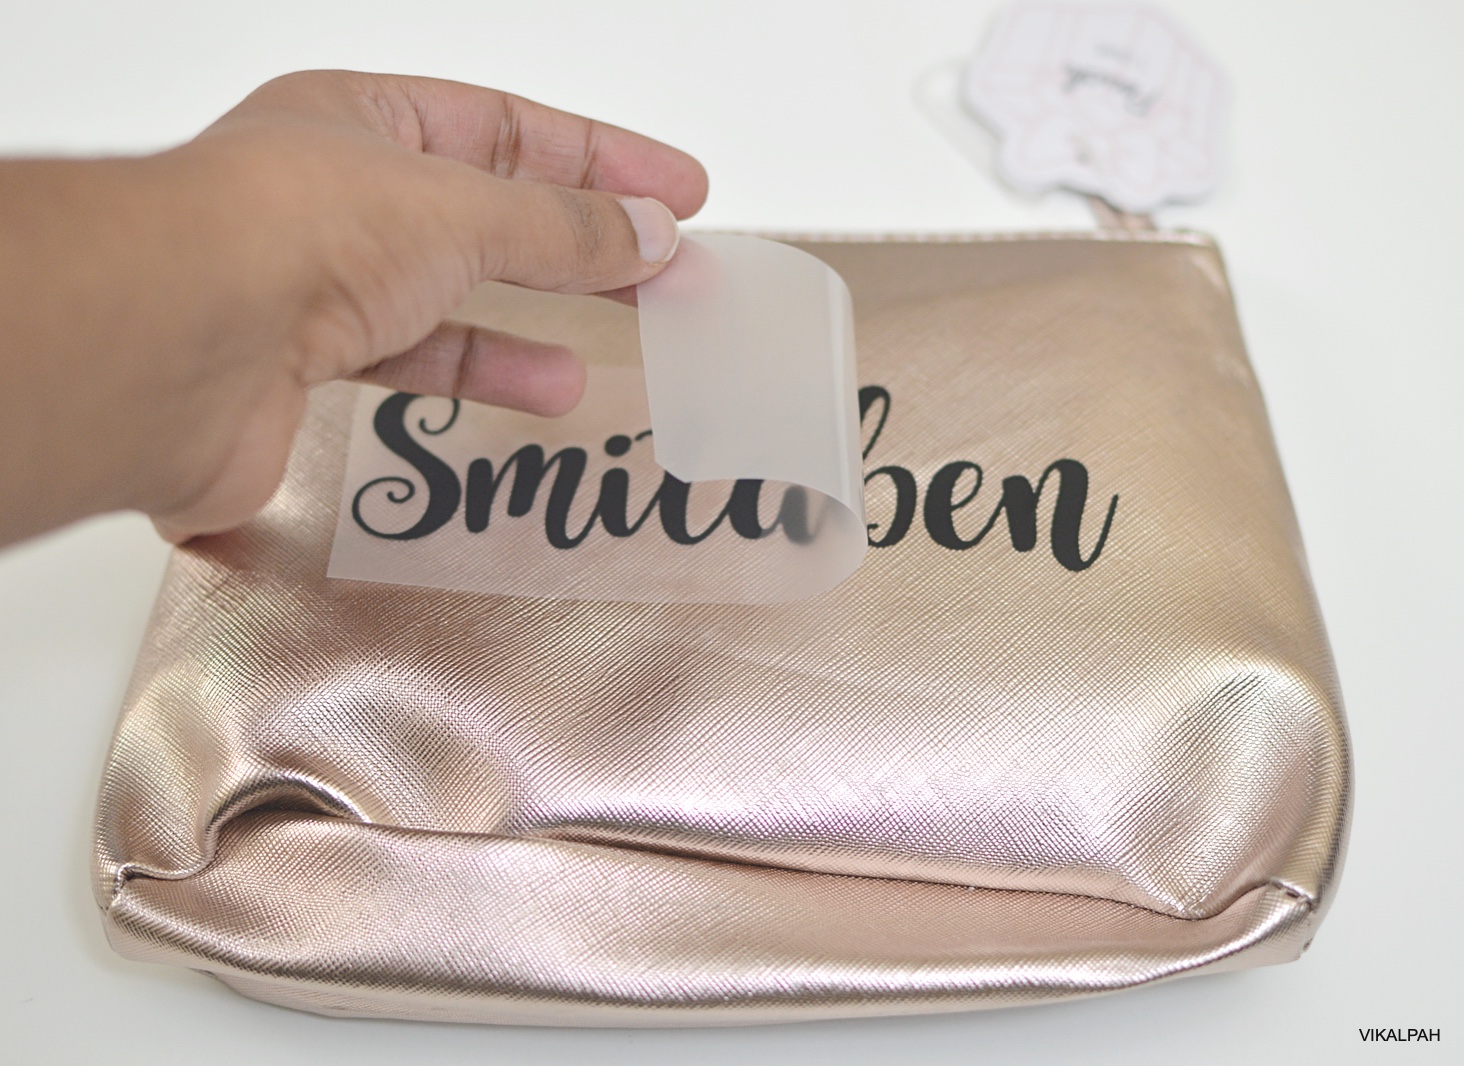
Getting Started with Iron On Printable Vinyl Before you start printing, make sure your design is mirrored and the correct size. You should also adjust the print settings on your printer to ensure the best possible quality. Once you've printed your design, allow it to dry completely before cutting it out. You can use a cutting tool or scissors to cut out your design, depending on the complexity of the shape.
Tips and Tricks for a Professional Finish To achieve a professional finish, it's essential to follow a few key tips and tricks. First, make sure the fabric is clean and dry before applying the iron on printable vinyl. Second, use a heat press or household iron to apply even pressure and heat. Finally, allow the vinyl to cool completely before handling the fabric. With these tips and a little practice, you'll be creating professional-looking custom designs in no time.