
A Beginner's Guide to Printing on Printable Vinyl


Preparing Your Design and Printer
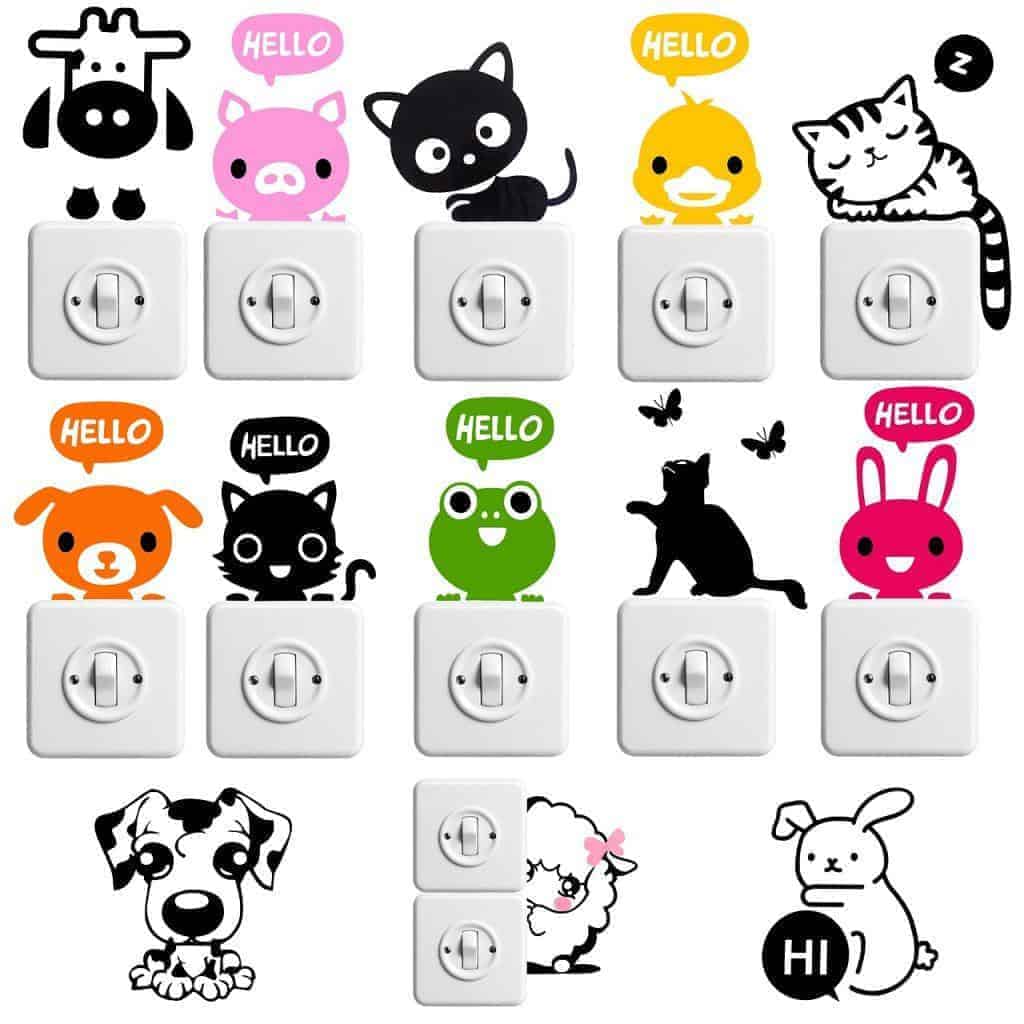
Printing on printable vinyl is a great way to add a personal touch to your projects, from custom signs and decals to DIY crafts and gifts. With the right equipment and a little practice, you can achieve professional-looking results that are sure to impress. In this article, we'll walk you through the basics of printing on printable vinyl, including the materials you'll need, how to prepare your design, and some helpful tips for getting the best results.
To get started, you'll need a few basic supplies, including a printer, printable vinyl, and a cutting tool or scissors. You'll also need a design or image to print, which can be created using a software program like Adobe Illustrator or Canva. When choosing your printable vinyl, make sure to select a high-quality product that is specifically designed for printing. This will ensure that your design looks sharp and vibrant, and that the vinyl is easy to work with.
Tips for Printing and Applying Vinyl
Before you start printing, it's essential to prepare your design and printer. This includes mirroring your design, if necessary, and adjusting the print settings to ensure the best results. You'll also want to make sure your printer is calibrated correctly and that you're using the right type of ink. By taking the time to prepare your design and printer, you can avoid common mistakes and achieve professional-looking results.
Once you've printed your design, it's time to apply the vinyl to your project. This can be a bit tricky, but with some practice, you'll get the hang of it. One of the most important things to keep in mind is to apply the vinyl slowly and smoothly, using a credit card or other tool to remove any air bubbles. You'll also want to make sure the surface is clean and dry before applying the vinyl. By following these tips and practicing your skills, you can achieve beautiful, professional-looking results with printable vinyl.