
A Step-by-Step Guide to Printing on Vinyl Iron On


Materials Needed
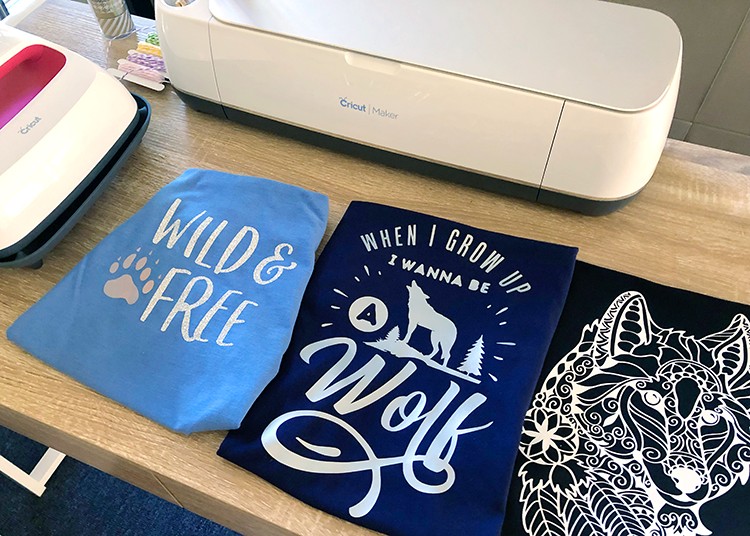
Printing on vinyl iron on is a fun and creative way to add custom designs to your favorite t-shirts, hoodies, and other fabrics. With a few simple materials and some basic knowledge, you can create your own unique designs and transfer them onto your favorite clothing items. In this article, we'll walk you through the steps to print on vinyl iron on and provide you with some helpful tips and tricks along the way.
To get started, you'll need a few basic materials, including a vinyl iron on sheet, a printer, and a computer with design software. You'll also need a heat press or a household iron to apply the design to your fabric. Make sure to choose a vinyl iron on sheet that is compatible with your printer and fabric type.
Tips and Tricks
Once you have your materials, you can start designing your custom vinyl iron on. Use a software program like Adobe Illustrator or Canva to create your design, and make sure to mirror the image before printing. This will ensure that the design is applied correctly to the fabric. Print the design onto the vinyl iron on sheet, following the manufacturer's instructions for temperature and pressure settings.
To ensure a successful transfer, make sure to apply even pressure and heat to the design. Use a thermometer to check the temperature of the heat press or iron, and adjust as needed. With a little practice and patience, you'll be creating custom vinyl iron on designs like a pro. Whether you're making gifts, decorating clothing, or just having fun with crafts, printing on vinyl iron on is a great way to add a personal touch to your projects.