
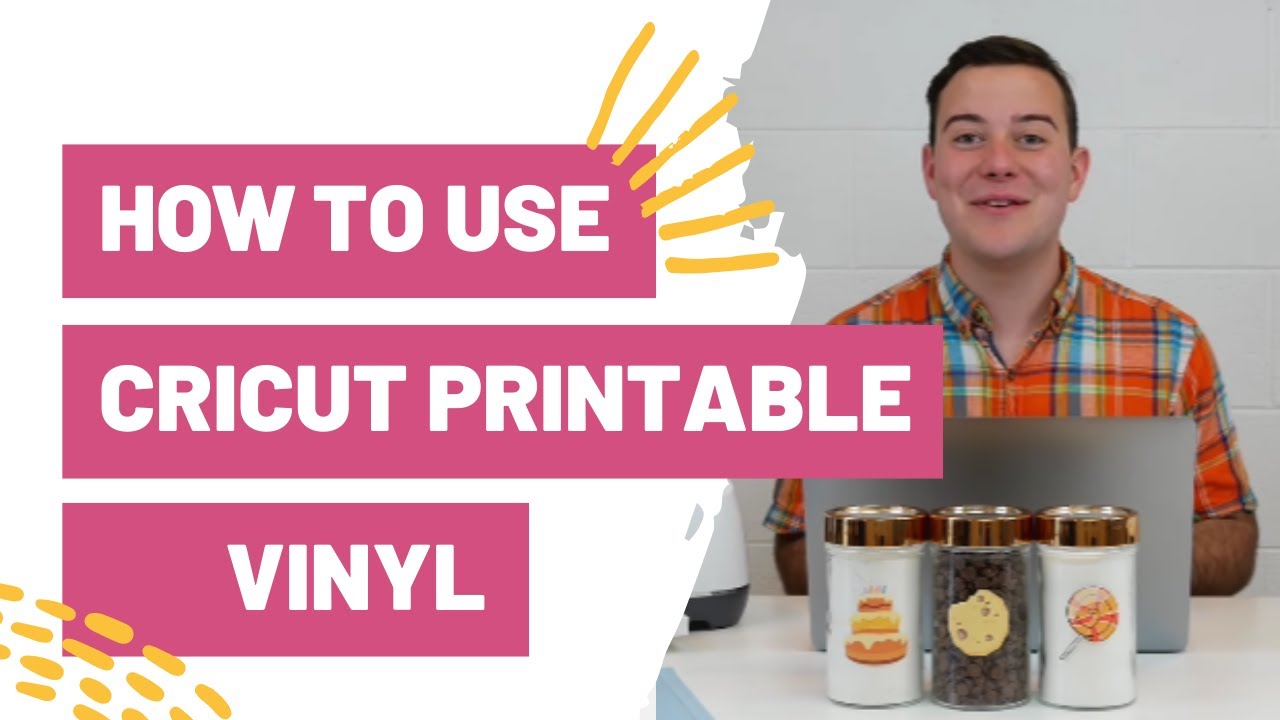
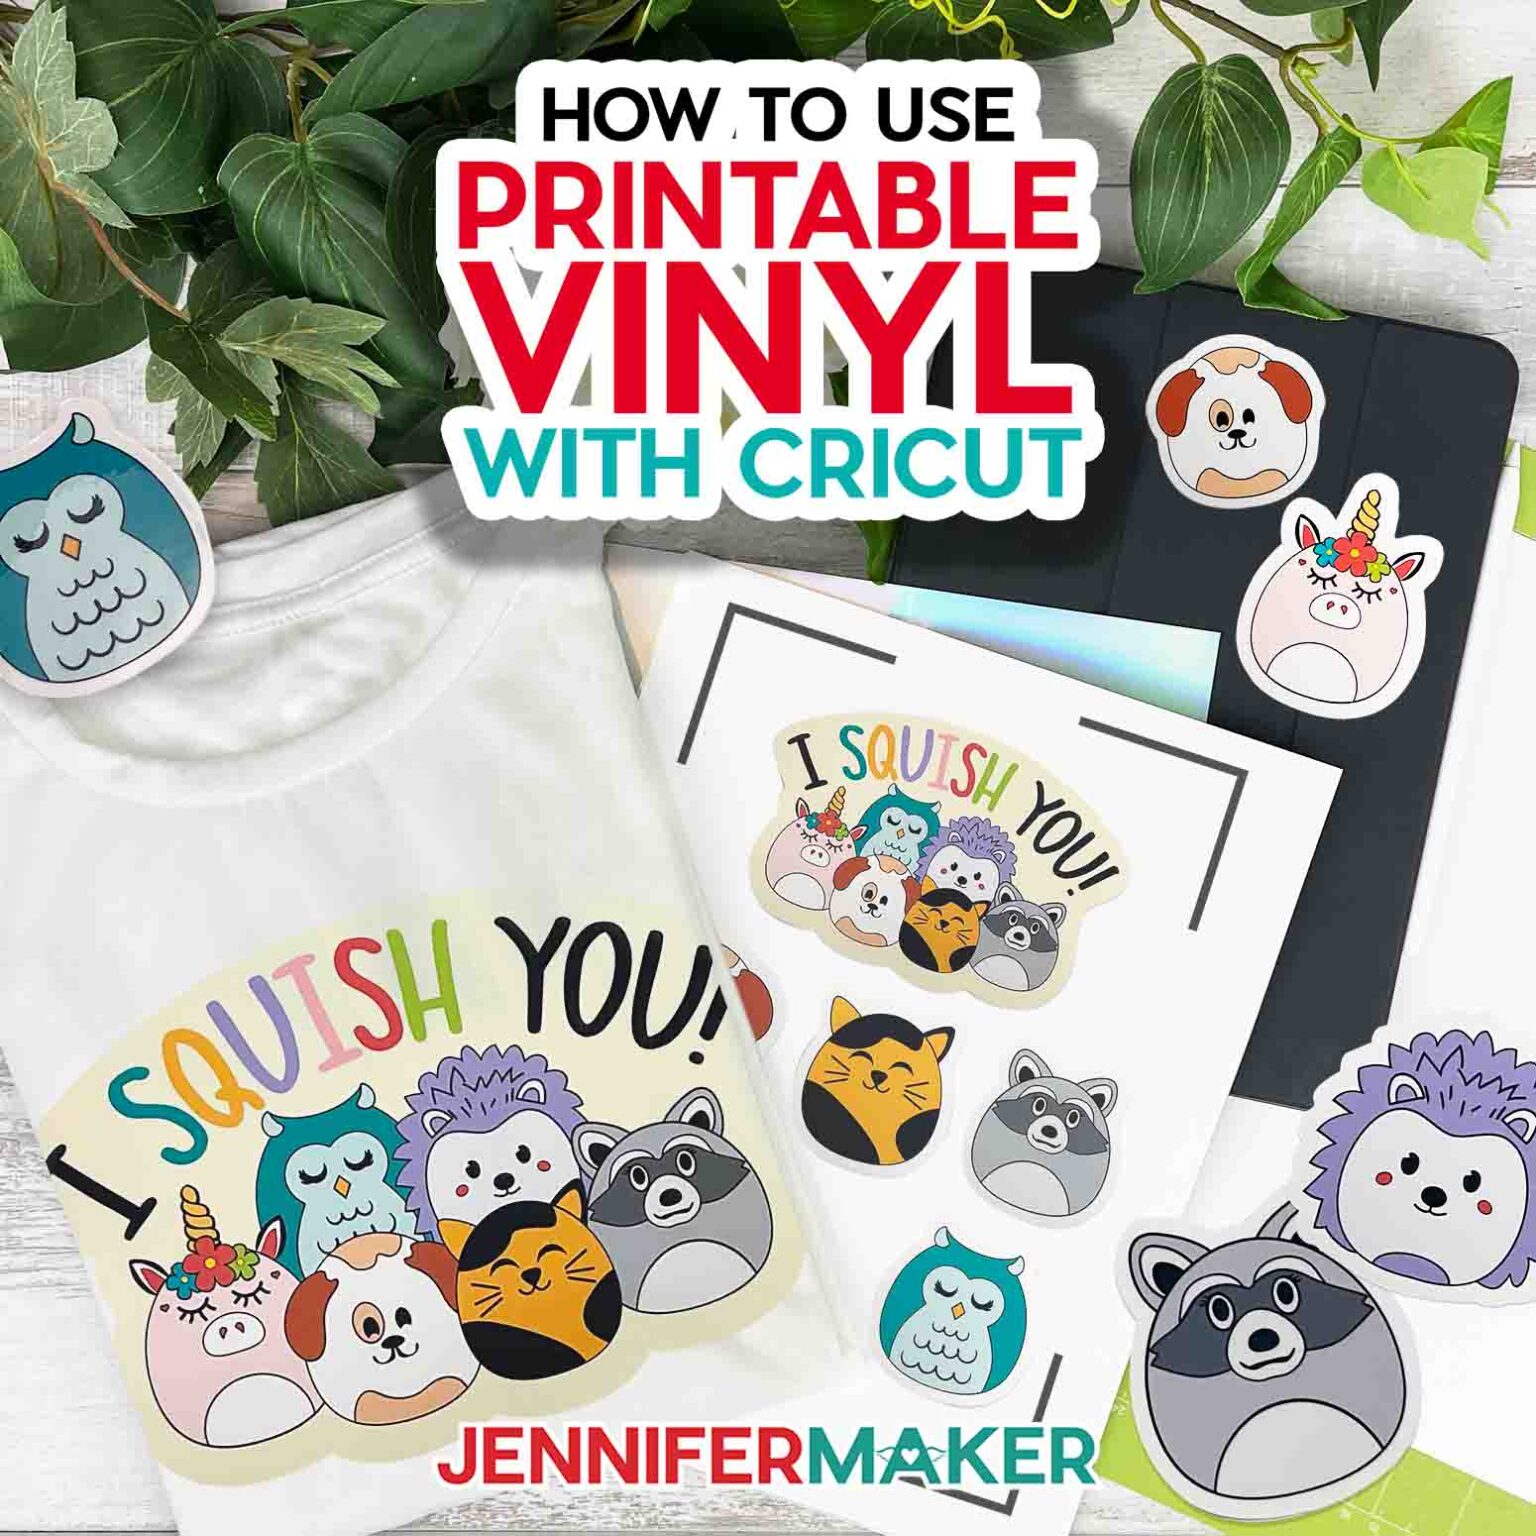
A Beginner's Guide to Cricut Printable Vinyl: How to Use

Getting Started with Cricut Printable Vinyl
If you're new to the world of Cricut crafting, you might be wondering how to use Cricut printable vinyl. This versatile material is perfect for creating custom signs, decals, and stickers. With the right tools and a little practice, you can achieve professional-looking results. In this article, we'll take you through the basics of using Cricut printable vinyl and provide you with some helpful tips and tricks to get you started.
The first step in using Cricut printable vinyl is to choose your design. You can use the Cricut Design Space software to create your own custom designs or choose from a wide range of pre-made templates. Once you have your design, you can send it to your Cricut machine and let it do the cutting for you. Make sure to use the correct settings for printable vinyl, as this will ensure a clean and precise cut.
Tips and Tricks for a Successful Project
When working with Cricut printable vinyl, it's essential to understand the different types of vinyl and their uses. There are two main types of printable vinyl: permanent and removable. Permanent vinyl is best for outdoor use or for projects that need to withstand heavy wear and tear. Removable vinyl, on the other hand, is perfect for indoor use or for projects that need to be easily removed without leaving residue.
To ensure a successful project, make sure to follow a few simple tips and tricks. First, always use a weed tool to remove excess vinyl from your design. This will help prevent air bubbles and ensure a smooth finish. Second, use a transfer tape to apply your design to your surface. This will help you achieve a precise and bubble-free application. Finally, make sure to follow the manufacturer's instructions for applying and removing the vinyl. With these tips and a little practice, you'll be creating stunning Cricut printable vinyl projects in no time.