
A Guide to Cricut Printable Vinyl Setting for Beginners

Understanding Cricut Printable Vinyl
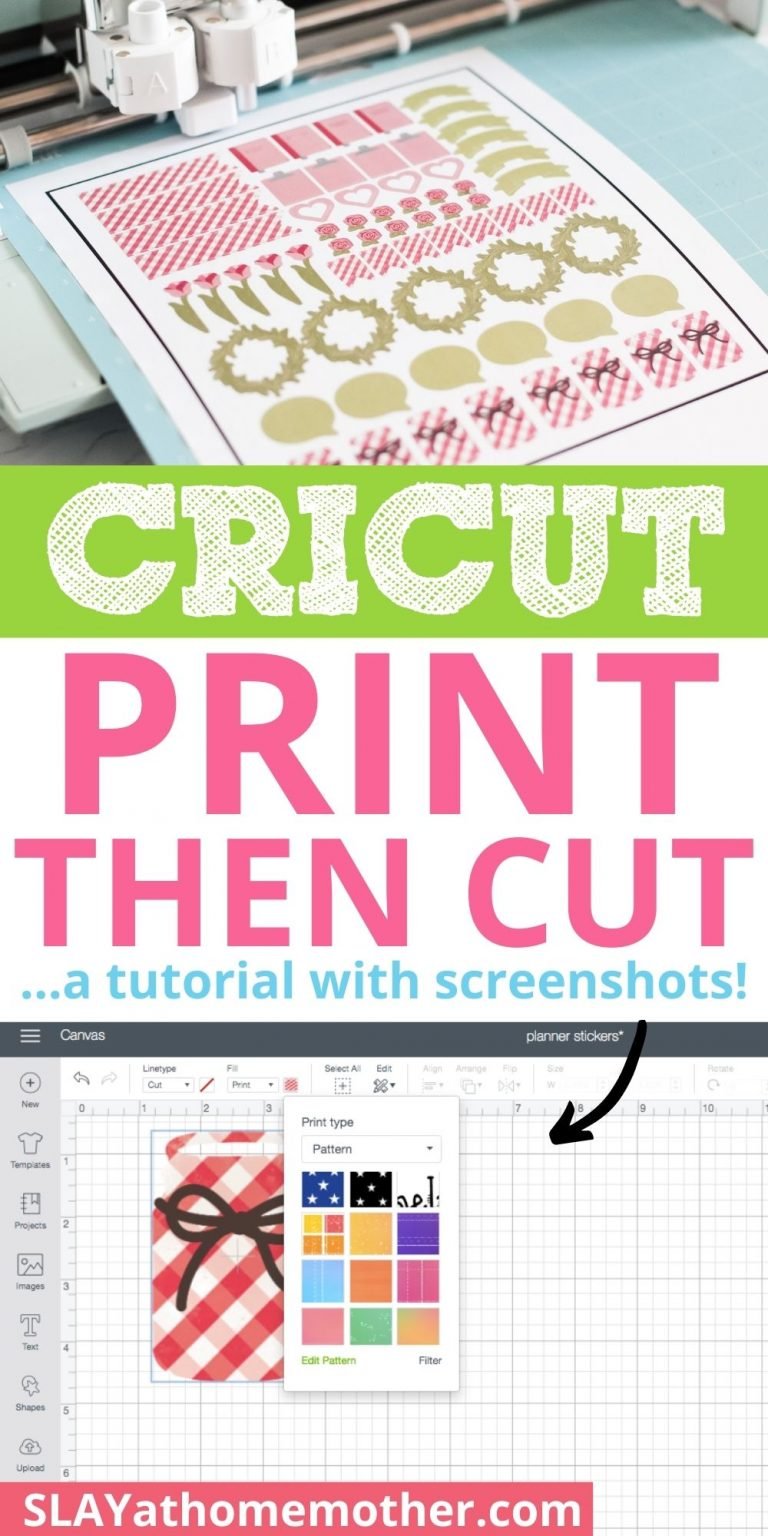
If you're new to the world of Cricut crafting, you might be wondering what all the fuss is about when it comes to printable vinyl. This versatile material allows you to create custom designs, decals, and stickers with ease, and with the right settings, you can achieve professional-looking results. In this article, we'll take a closer look at the Cricut printable vinyl setting and provide you with some valuable tips and tricks to get you started.
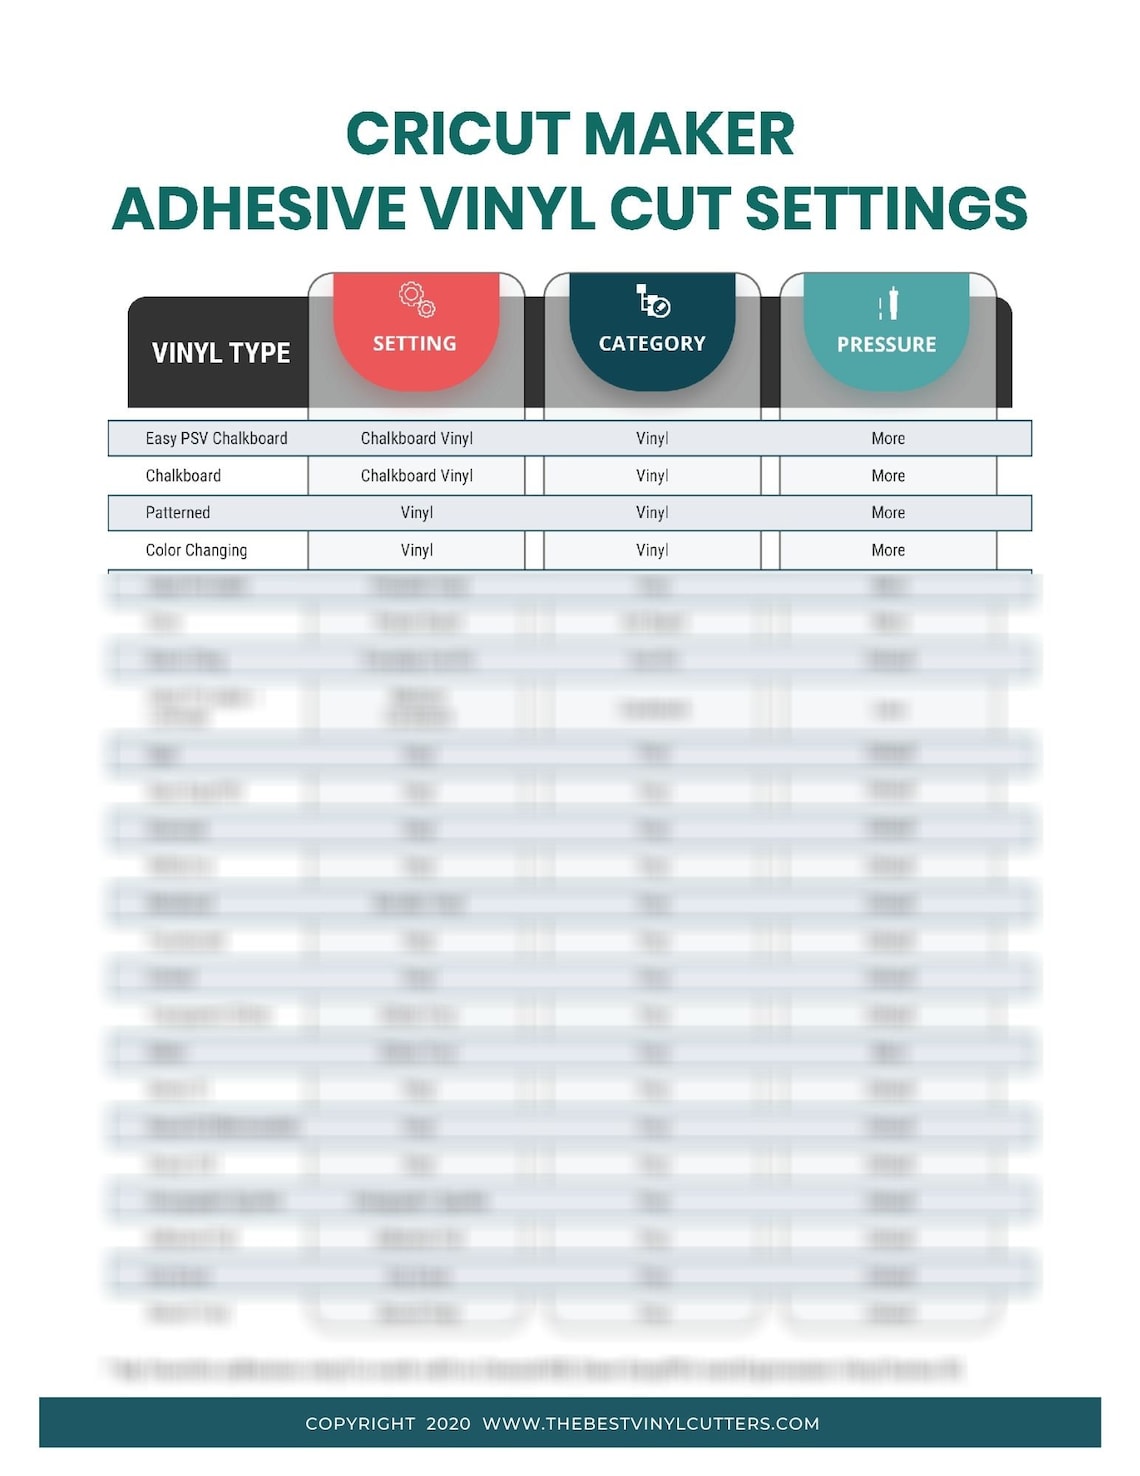
The first step in working with printable vinyl is to understand the different types of vinyl available. There are several varieties, including glossy, matte, and transparent, each with its own unique characteristics and uses. Once you've chosen the right vinyl for your project, you'll need to set up your Cricut machine to work with it. This is where the Cricut printable vinyl setting comes in - a special setting that allows you to print and cut your designs with precision and accuracy.
Tips for Setting Up Your Cricut for Printable Vinyl
To get the best results from your Cricut printable vinyl, it's essential to understand how to set up your machine correctly. This includes selecting the right material setting, adjusting the blade depth, and choosing the correct cut settings. With a little practice, you'll be able to achieve perfect cuts and prints every time. Whether you're making custom stickers, decals, or signs, the Cricut printable vinyl setting is an essential tool to have in your crafting arsenal.
By following these simple tips and tricks, you'll be well on your way to creating stunning custom designs with your Cricut printable vinyl setting. Remember to always follow the manufacturer's instructions for your specific machine and vinyl type, and don't be afraid to experiment and try new things. With a little patience and practice, you'll be creating professional-looking designs and decals in no time.