The Ultimate Printable Vinyl Heat Guide: Tips and Tricks for Perfect Results


Understanding the Basics of Printable Vinyl
Printable vinyl has become a popular medium for crafters and DIY enthusiasts, allowing them to create custom designs and decals with ease. However, achieving the perfect finish can be a challenge, especially when it comes to heat transfer. In this article, we'll explore the ultimate printable vinyl heat guide, providing you with the tips and tricks you need to get the most out of your projects.
When working with printable vinyl, it's essential to understand the basics of heat transfer. The ideal temperature and pressure can make all the difference in achieving a flawless finish. The type of vinyl you're using, as well as the surface you're applying it to, can also impact the heat transfer process. By understanding these factors, you can adjust your technique to ensure a successful outcome.
Tips for Achieving the Perfect Heat Transfer
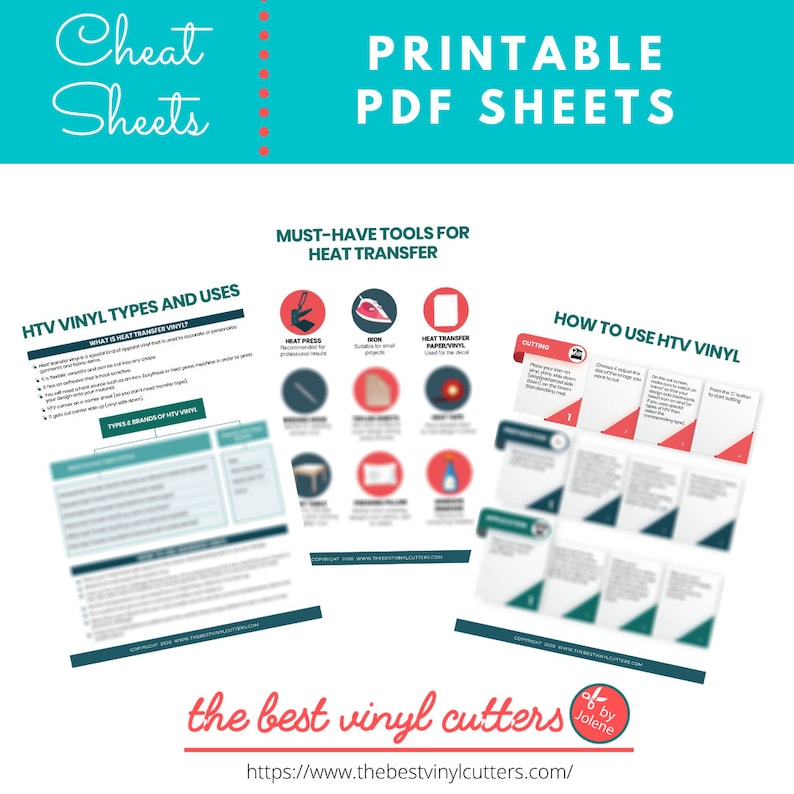
The type of vinyl you're using is a crucial factor in determining the ideal heat transfer temperature. For example, some vinyls may require a higher temperature to achieve a strong bond, while others may be more sensitive to heat. By choosing the right vinyl for your project, you can ensure a successful outcome and avoid common mistakes such as bubbling or peeling.
To achieve the perfect heat transfer, it's essential to follow a few simple tips. First, make sure your surface is clean and dry before applying the vinyl. Next, adjust your heat press to the ideal temperature for your vinyl type, and apply gentle pressure. Finally, allow the vinyl to cool completely before handling or applying it to your project. By following these tips and using the right vinyl for your project, you can achieve professional-looking results and take your DIY projects to the next level.