A Guide to Printable Vinyl Directions for Crafty Projects


Understanding Printable Vinyl
Printable vinyl is a versatile and exciting material that can be used for a wide range of crafty projects, from making custom signs and decals to decorating water bottles and laptops. However, to get the most out of your printable vinyl, it's essential to follow the right directions. In this article, we'll provide you with a step-by-step guide on how to work with printable vinyl, including tips and tricks for achieving professional-looking results.
Before you start working with printable vinyl, it's crucial to understand the different types of vinyl available and their specific uses. There are two main types of printable vinyl: calendared and cast. Calendared vinyl is a more affordable option and is suitable for short-term projects, while cast vinyl is more durable and can be used for long-term applications. Choosing the right type of vinyl for your project will ensure that it lasts longer and looks better.
Applying Printable Vinyl Like a Pro
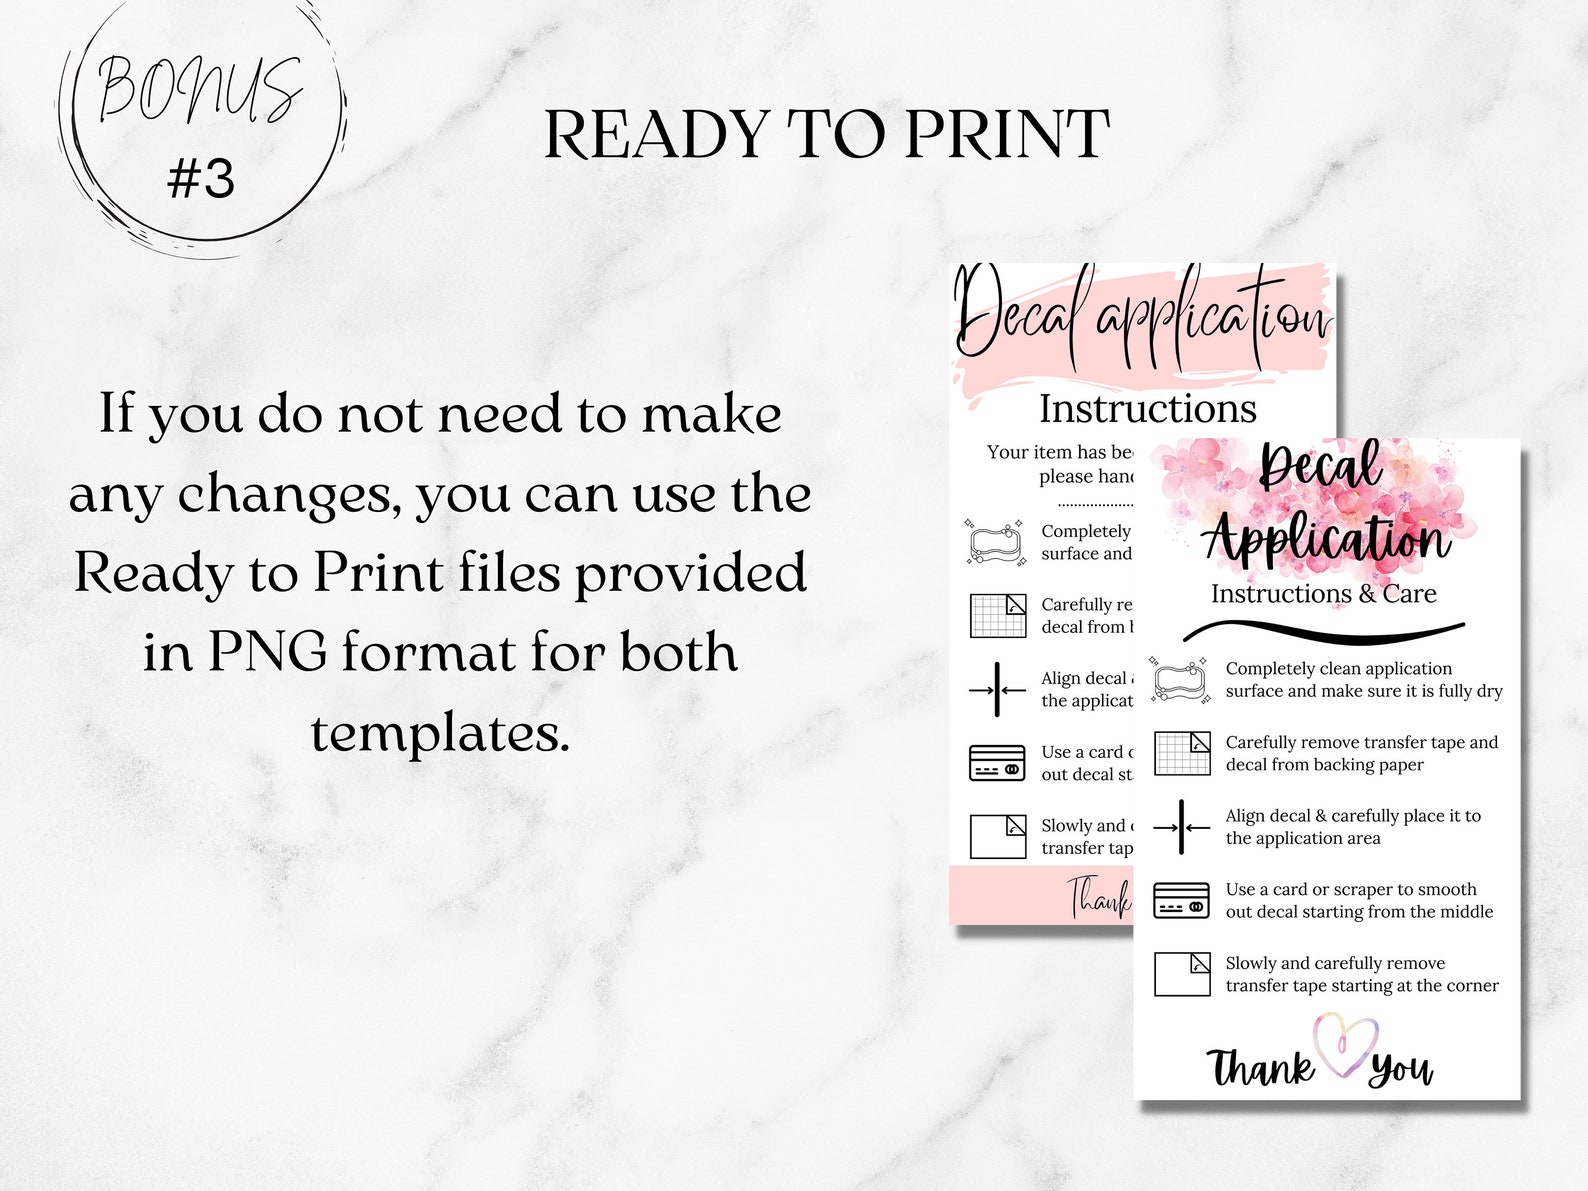
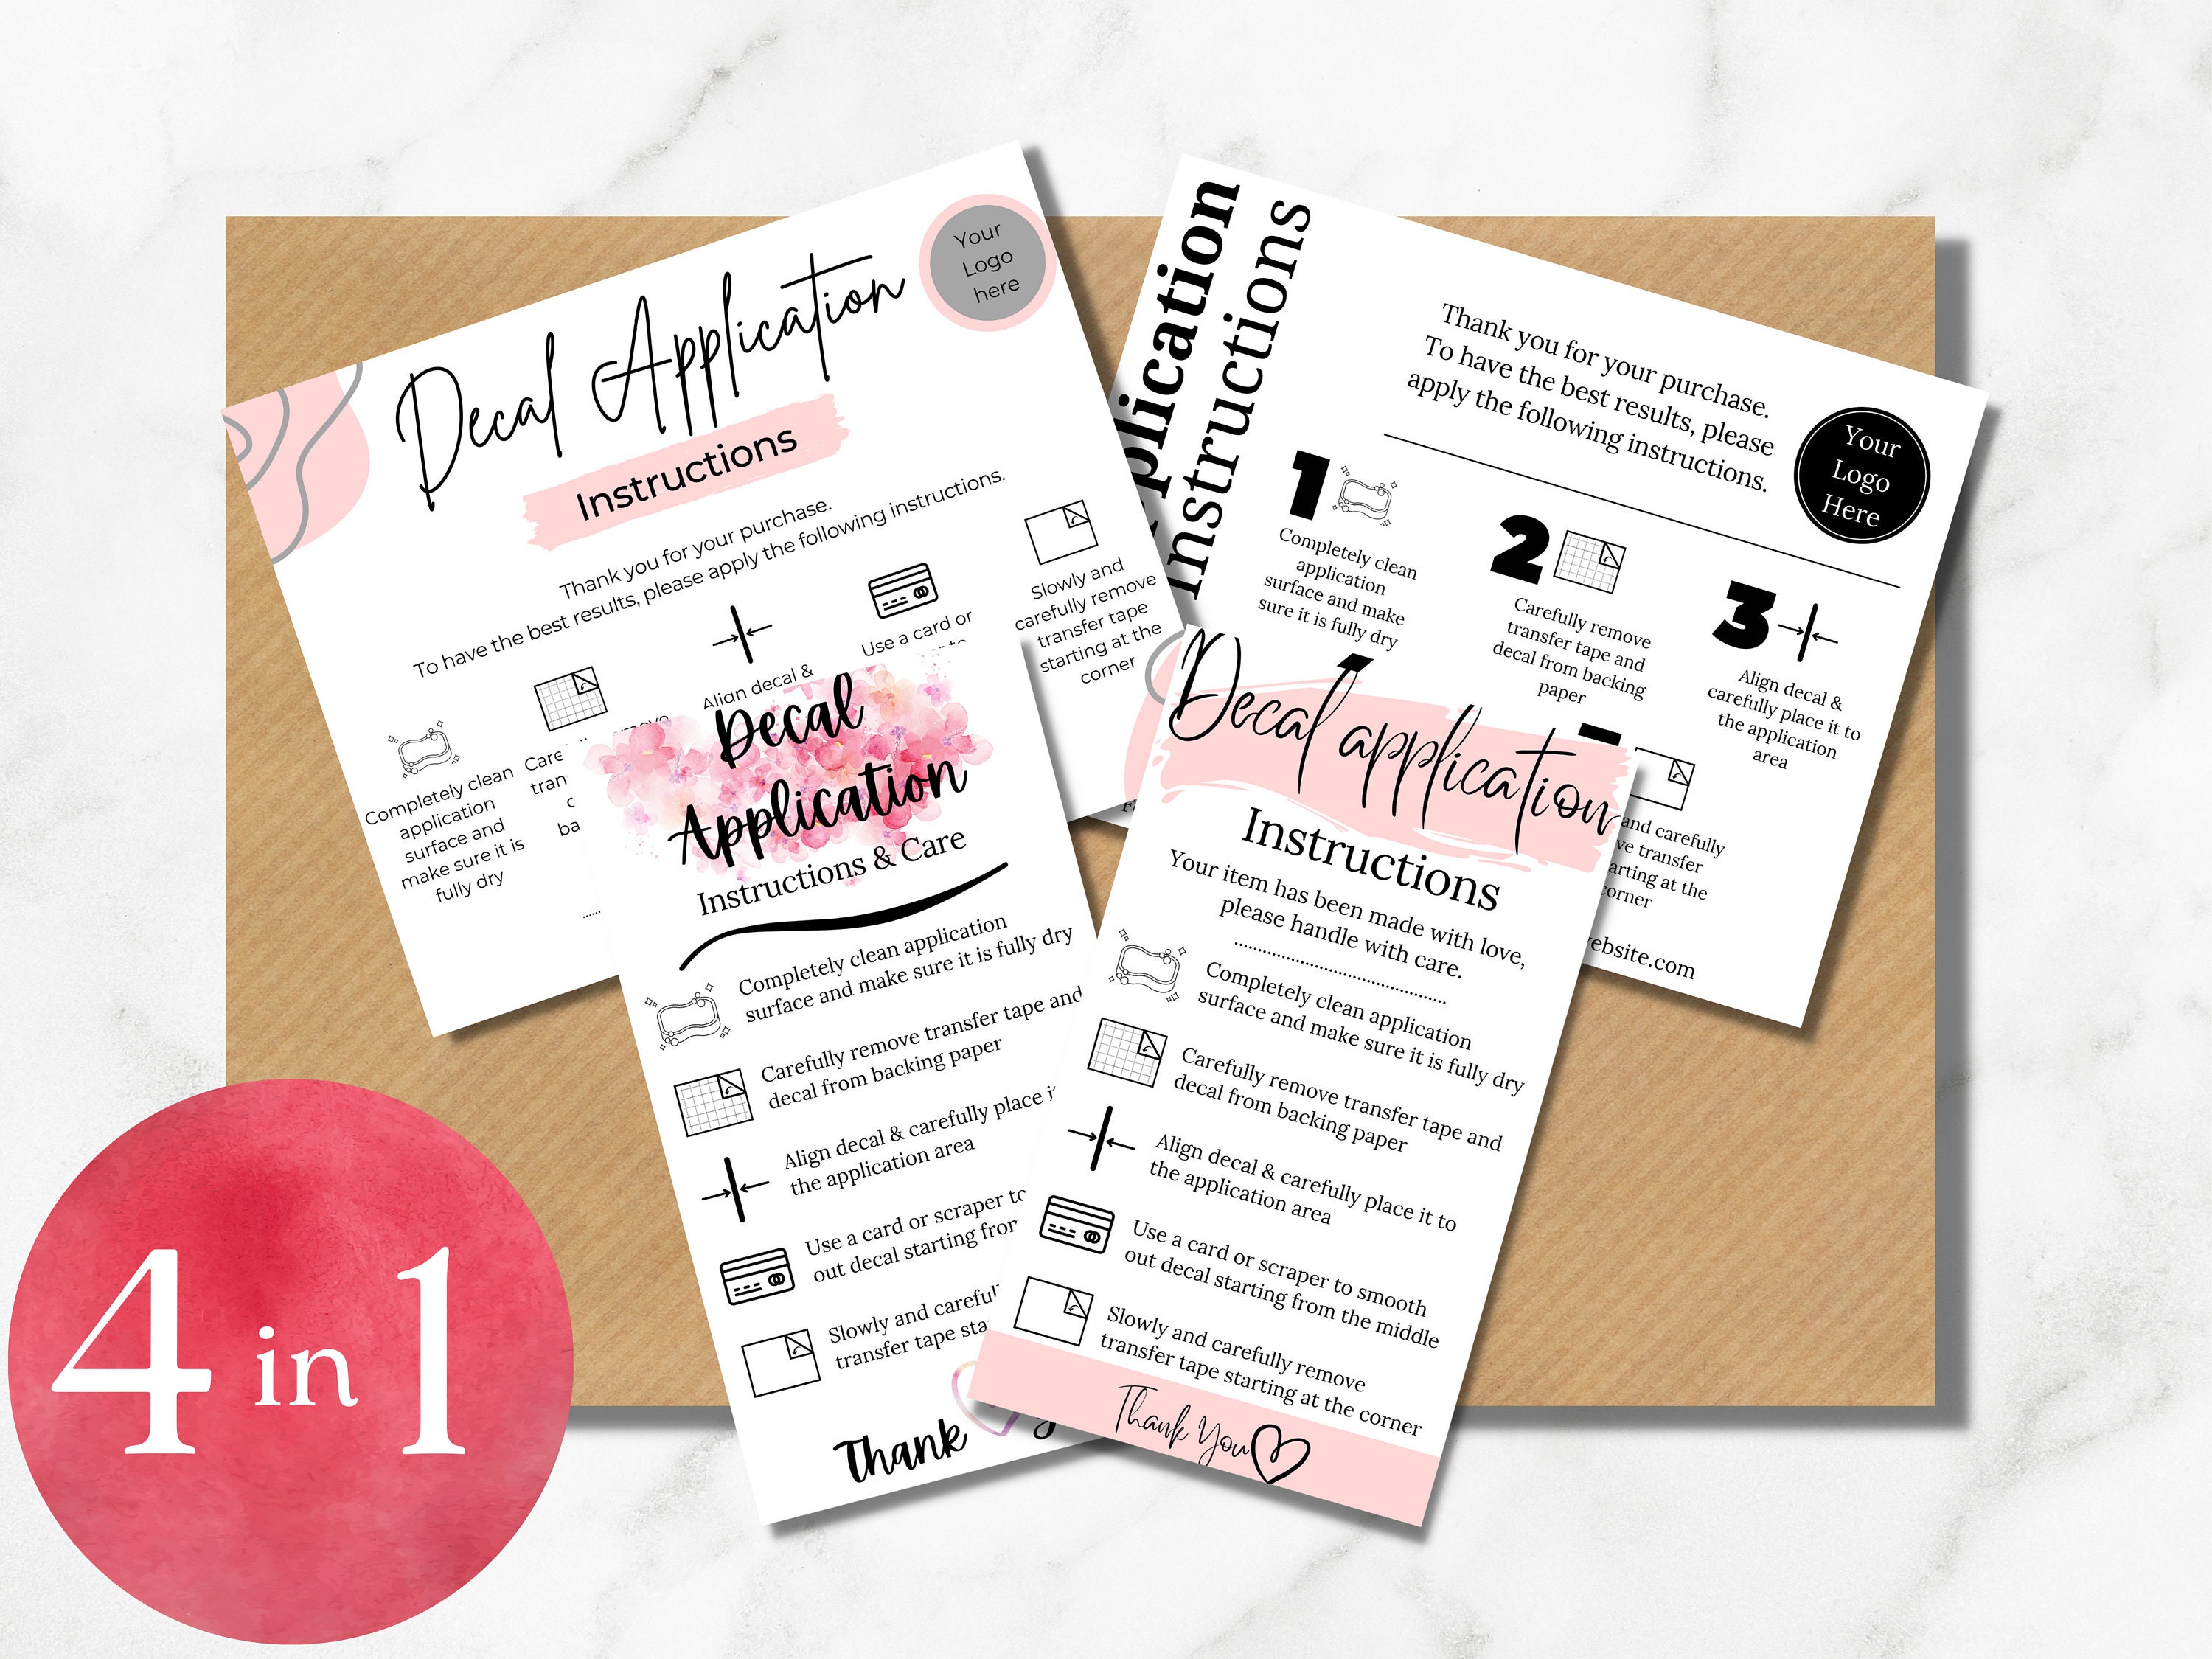
When it comes to applying printable vinyl, there are a few things to keep in mind. First, make sure the surface is clean and dry. Any dirt, dust, or moisture can prevent the vinyl from adhering properly. Next, use a credit card or a similar tool to smooth out any air bubbles or wrinkles. Start from the center and work your way outwards to avoid creating more bubbles. With a little practice, you'll be able to apply printable vinyl like a pro.
With these simple directions and tips, you'll be well on your way to creating amazing projects with printable vinyl. Whether you're a seasoned crafter or just starting out, printable vinyl is a great material to work with. Its versatility, durability, and ease of use make it perfect for a wide range of applications. So why not give it a try? With a little patience and practice, you'll be creating stunning signs, decals, and decorations in no time.