Mastering Printable Page Margins in Word: A Comprehensive Guide
Understanding Page Margins in Word
When it comes to creating professional-looking documents, one of the most important aspects to consider is the page margins. In Microsoft Word, page margins refer to the space between the edge of the page and the text. Setting the right margins can make a big difference in the overall appearance of your document. In this article, we'll explore the world of printable page margins in Word and provide you with tips and tricks for customizing your margins.
Page margins are essential for printing documents, as they ensure that your text is not cut off during the printing process. By default, Word sets the page margins to 1 inch on all sides. However, you can adjust these margins to suit your needs. Whether you're creating a resume, a report, or a brochure, customizing your page margins can help you create a polished and professional-looking document.
Customizing Your Margins for Printing
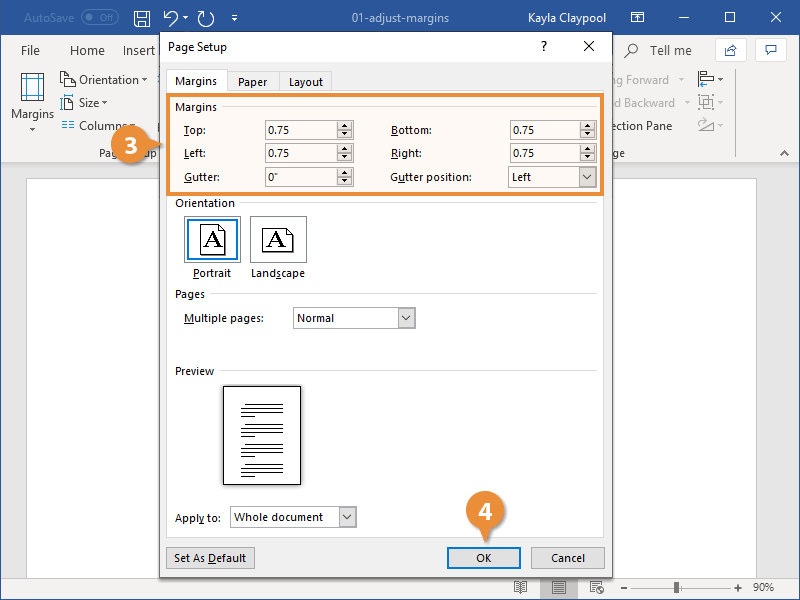
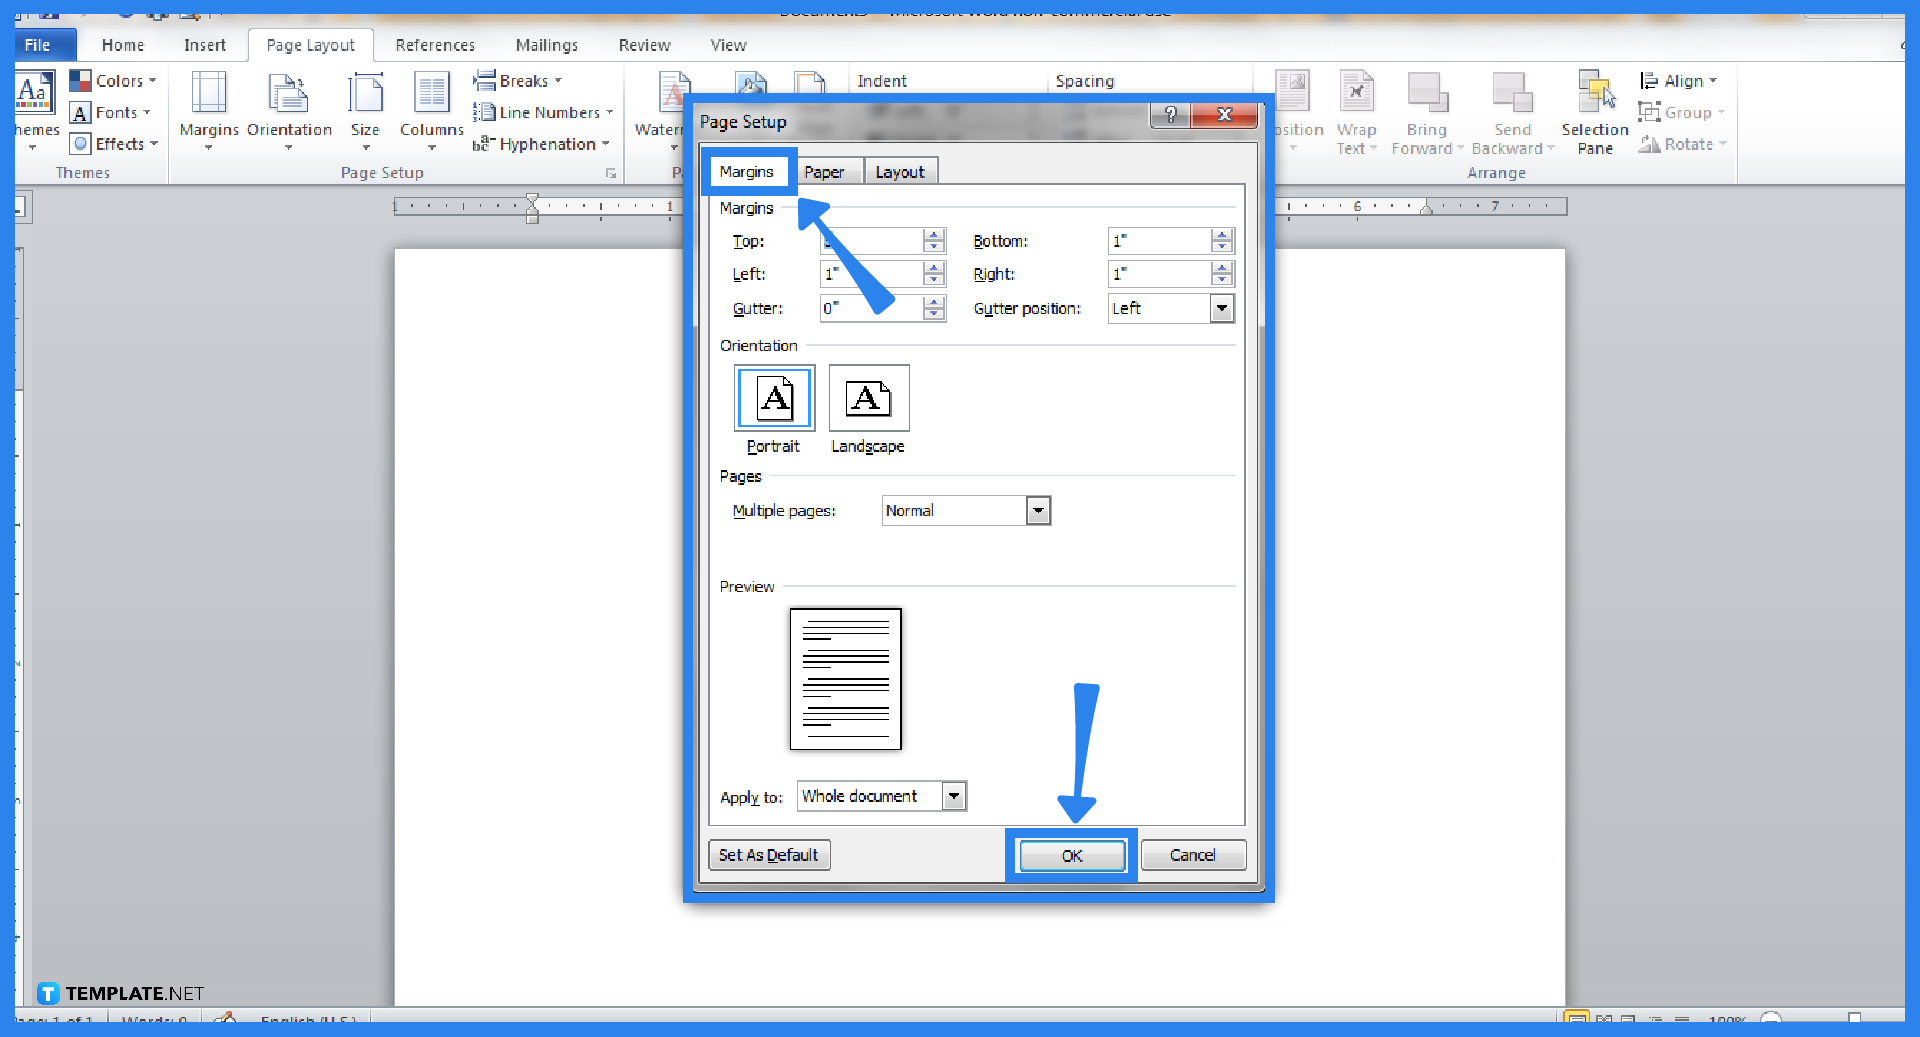
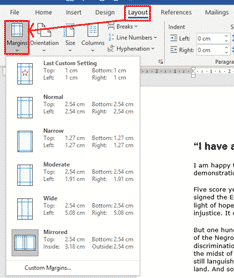
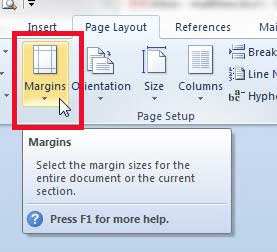
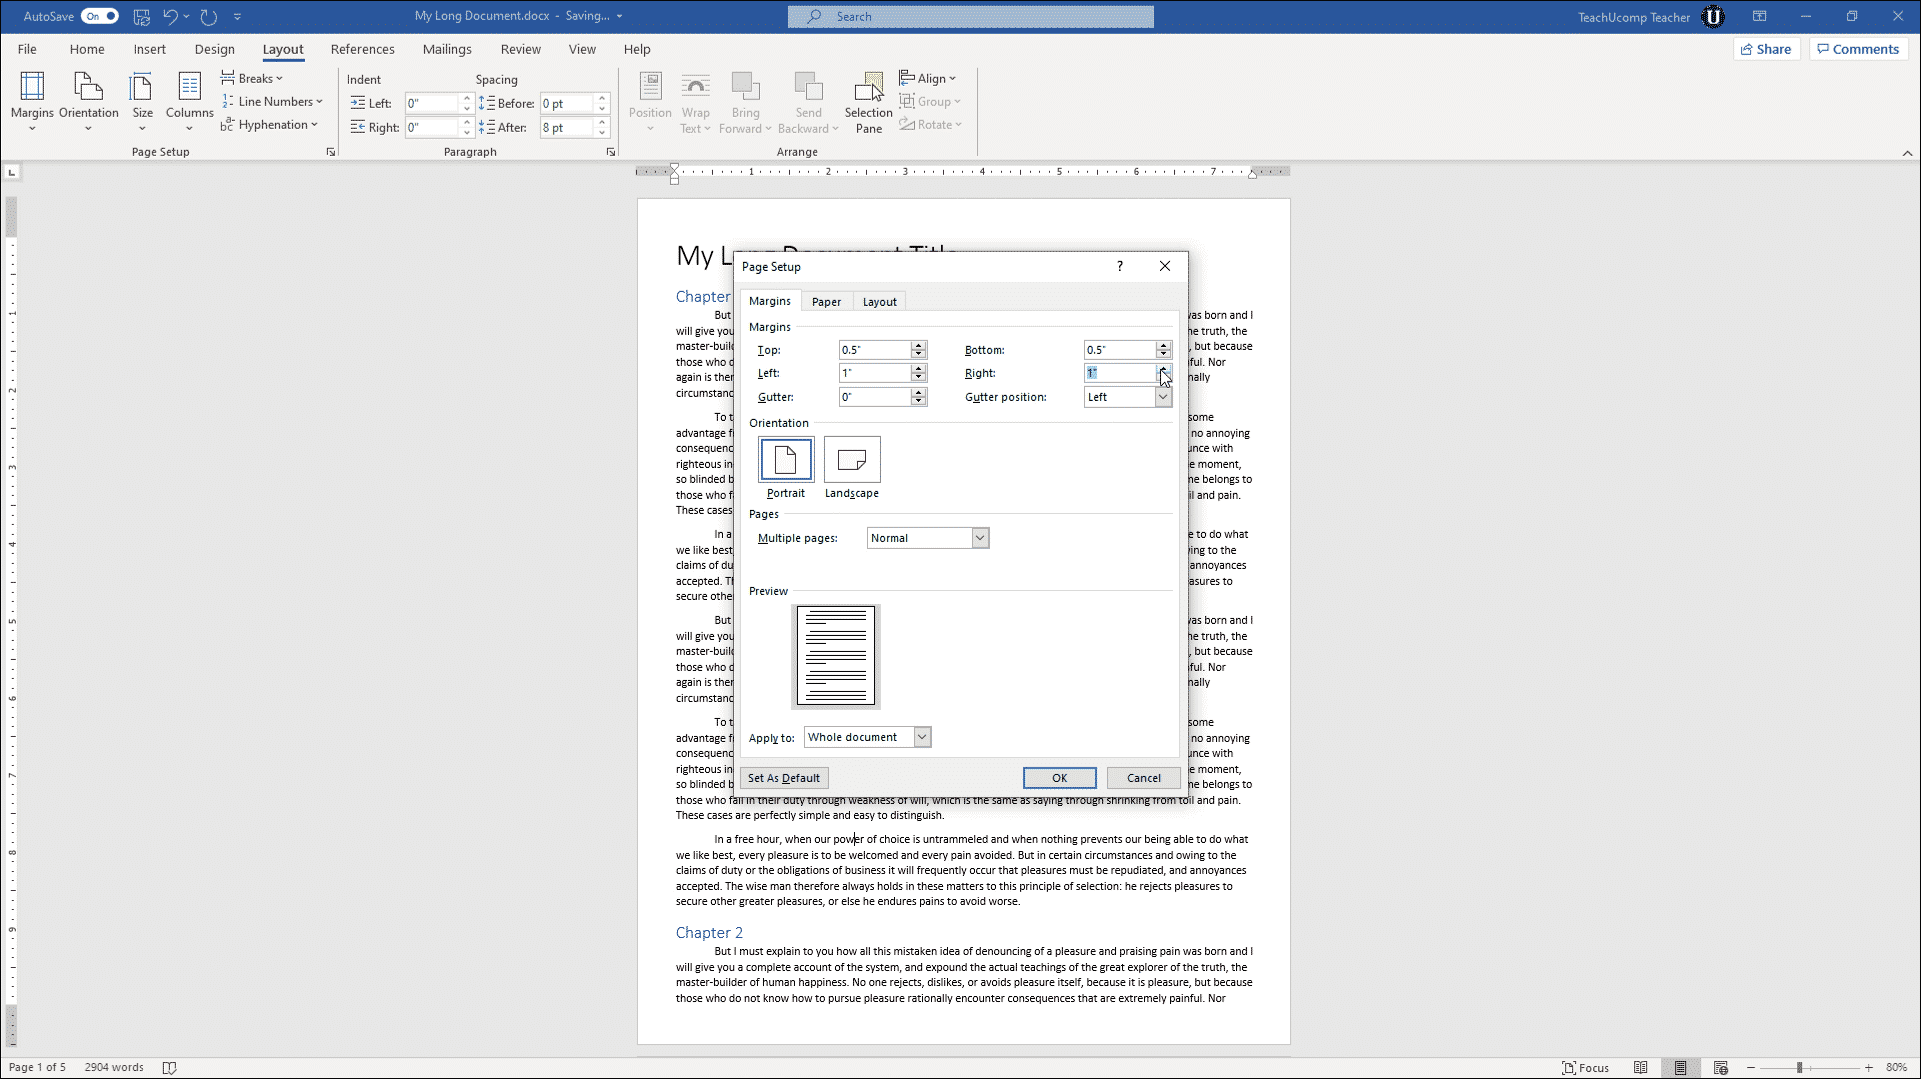
To adjust the page margins in Word, go to the Layout tab and click on the Margins button. From there, you can select from a range of pre-set margin options or customize your own margins. You can also use the Ruler to adjust the margins by dragging the margin markers. Additionally, you can use the Page Setup dialog box to set the margins for your entire document or for a specific section.
Customizing your page margins can help you create a unique and professional-looking document. For example, you can set a narrower margin on the left and right sides to create a more compact document. Alternatively, you can set a wider margin on the top and bottom sides to create a more dramatic effect. By experimenting with different margin settings, you can find the perfect balance for your document. With these tips and tricks, you'll be well on your way to mastering printable page margins in Word and creating documents that look great on paper.