Creating Printable Objects in InDesign: A Comprehensive Guide

Designing for Print: Key Considerations
InDesign is a powerful tool for creating printable objects, from business cards to brochures and beyond. With its intuitive interface and advanced features, you can design and print professional-looking materials with ease. However, creating printable objects in InDesign requires more than just a good design sense. You need to consider the technical aspects of printing, such as resolution, color mode, and bleed.
When designing printable objects in InDesign, it's essential to keep in mind the final output. Will your design be printed on a digital press or an offset press? Will it be printed on paper, cardstock, or another material? Answering these questions will help you determine the best settings for your design. For example, if you're designing a business card, you'll want to use a high-resolution image and a color mode that's suitable for printing, such as CMYK.
Exporting Your Design: Best Practices
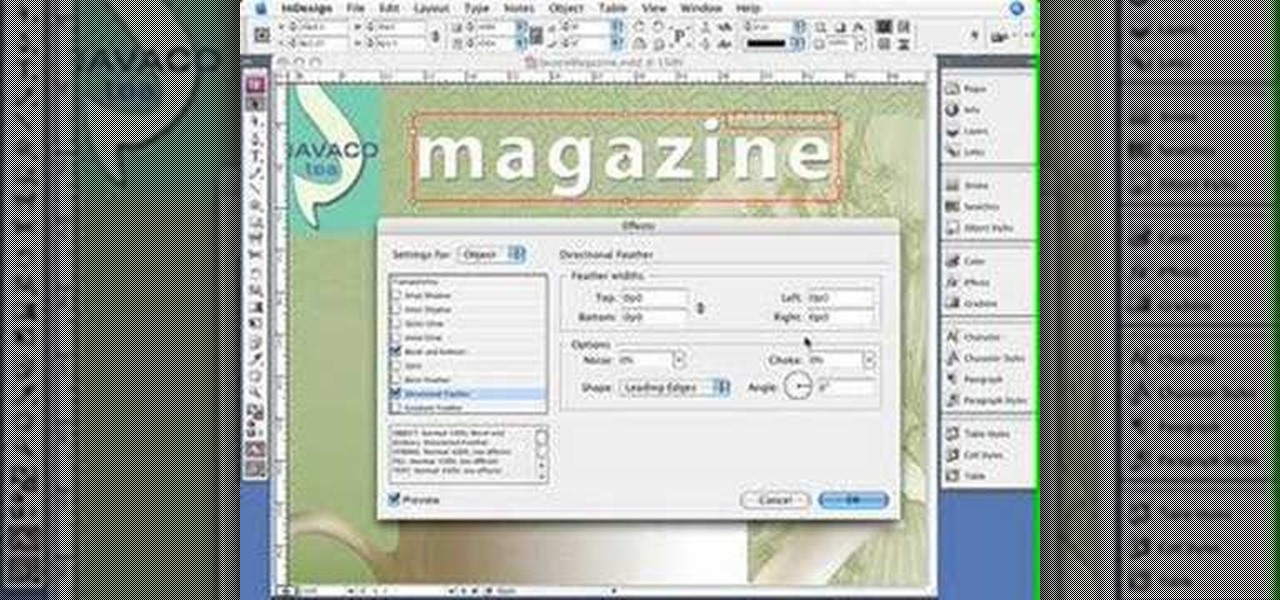
Designing for print requires careful consideration of several key factors. This includes choosing the right color mode, setting the correct resolution, and adding bleed to your design. Bleed is the area of the design that extends beyond the trim line, ensuring that the design is printed to the edge of the page without any white borders. By following these best practices, you can create printable objects that look professional and polished.
Once you've designed your printable object, it's time to export it. InDesign offers several export options, including PDF, JPEG, and EPS. The best format for you will depend on the intended use of your design. For example, if you're sending your design to a commercial printer, you may want to export it as a PDF. On the other hand, if you're printing it in-house, a JPEG or EPS file may be sufficient. By following these tips and best practices, you can create printable objects in InDesign that are sure to impress.