Mastering Printable Margins in Microsoft Word

Understanding Printable Margins
When working with Microsoft Word, understanding and adjusting printable margins is crucial for achieving a professional and polished look in your documents. Printable margins refer to the space between the edge of the paper and the text or content of your document. Properly setting these margins can significantly enhance the readability and overall appearance of your document, whether it's a report, essay, or any other type of document. In this article, we'll delve into the world of printable margins in Microsoft Word, exploring what they are, why they're important, and most importantly, how to adjust them to suit your needs.
Setting the right margins is not just about aesthetics; it also plays a critical role in ensuring that your document prints correctly. If the margins are too narrow, there's a risk that some of the content might get cut off during printing, which can be frustrating and wasteful. On the other hand, margins that are too wide can result in a lot of wasted space, making your document look sparse and unprofessional. Microsoft Word provides users with the flexibility to adjust margins to their liking, offering a range of pre-set options as well as the ability to customize margins to specific measurements.
Adjusting Margins for Printing
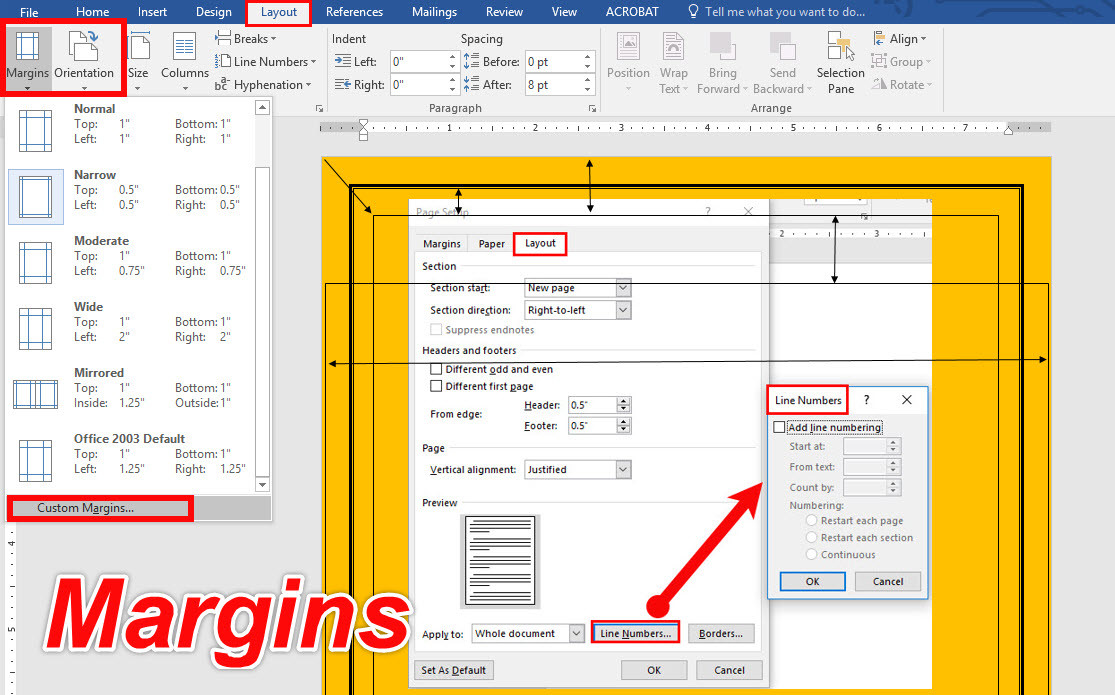
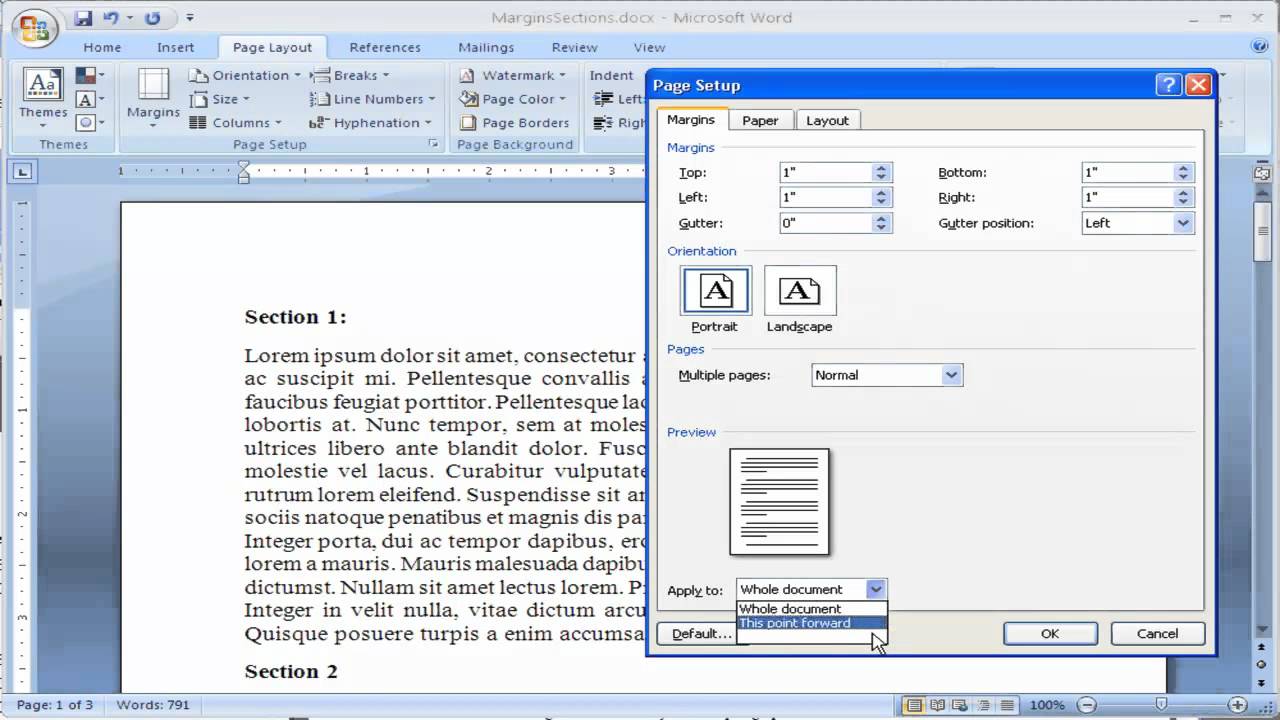
To adjust the margins in your Microsoft Word document, you can use the Margins tool found in the Layout tab. This tool allows you to select from a variety of pre-defined margin settings, including Normal, Narrow, Moderate, Wide, and Mirrored. For more precise control, you can choose the Custom Margins option, which enables you to set the top, bottom, left, and right margins to your exact specifications. This level of customization is particularly useful when you need to adhere to specific formatting guidelines, such as those required for academic papers or professional reports.