Streamlining Mailing with Printable Mail Labels in Google Sheets

Creating Printable Mail Labels in Google Sheets
When it comes to mailing packages, letters, or invitations, having the right tools can make all the difference. One often overlooked but incredibly useful tool is the printable mail label. With the help of Google Sheets, you can easily create, customize, and print your own mail labels, saving you time and effort in the long run. Google Sheets offers a versatile platform that allows you to organize your mailing list, design your labels, and print them out directly.
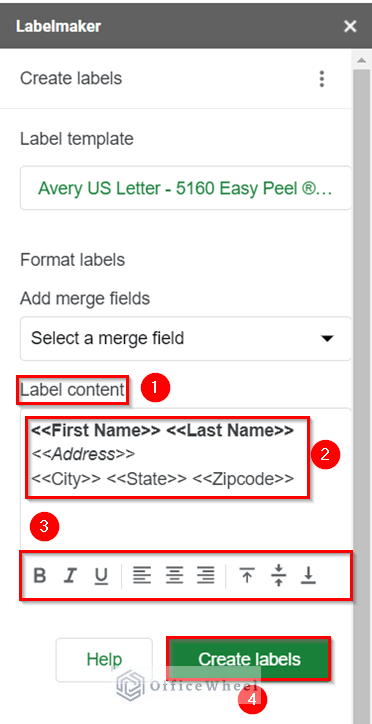
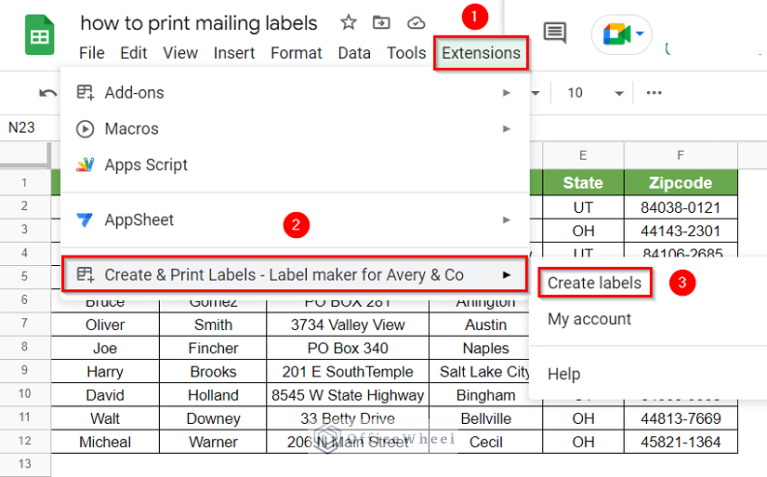
The process of creating printable mail labels in Google Sheets is straightforward. First, you'll need to set up a spreadsheet with the necessary columns for the recipient's name and address. You can then use Google Sheets' built-in functions to format the data and create a template for your labels. Once you've set up your template, you can easily duplicate it for each recipient on your list, making it simple to manage large mailings.
Tips for Customizing and Printing Your Mail Labels
To take your mail labels to the next level, consider adding a personal touch. You can use Google Sheets to add custom text, logos, or images to your labels, making them stand out. Additionally, you can use the platform's conditional formatting feature to highlight important information, such as priority mail or special handling instructions. By customizing your labels, you can ensure that your mailings are not only efficient but also professional and visually appealing.
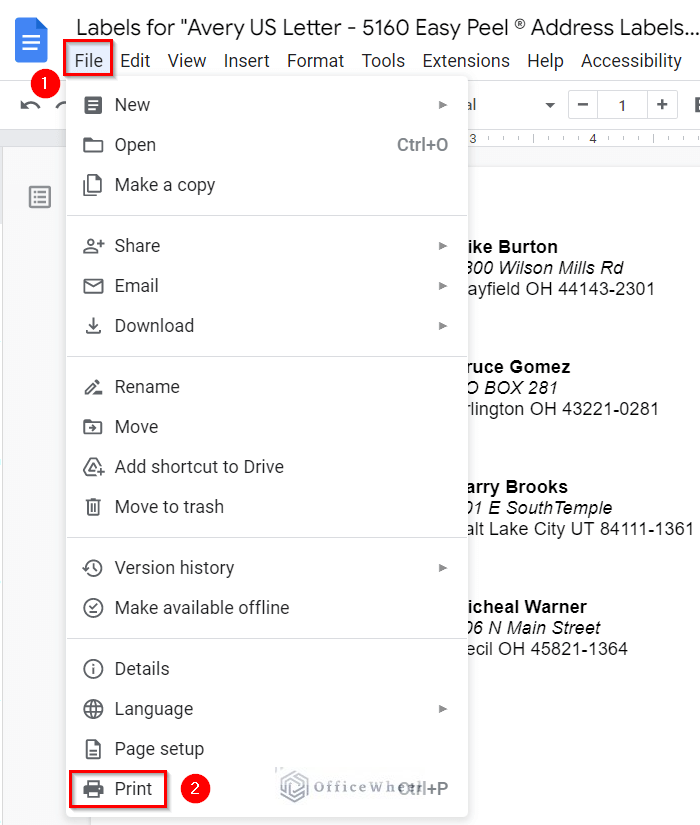
Finally, when it comes to printing your mail labels, Google Sheets offers a range of options. You can print your labels directly from the platform, or export them as a PDF or CSV file for later use. Be sure to choose a label template that fits your needs, and consider investing in a label printer for high-quality results. With Google Sheets and a little creativity, you can create professional-looking mail labels that will make your mailings stand out from the crowd.