
A Guide to Using Printable Tattoo Paper
Getting Started with Printable Tattoo Paper
If you're looking for a fun and creative way to express yourself, temporary tattoos are a great option. With printable tattoo paper, you can create your own custom designs at home. This paper is specially designed to work with inkjet printers, allowing you to print out your favorite designs and apply them to your skin. In this article, we'll show you how to use printable tattoo paper to create your own temporary tattoos.
To get started, you'll need a few basic supplies. These include a sheet of printable tattoo paper, an inkjet printer, and a design or image that you want to use for your tattoo. You can find printable tattoo paper online or at craft stores, and it usually comes in sheets or rolls. Once you have your paper, simply print out your design using your inkjet printer. Make sure to use the highest quality settings to ensure that your design looks its best.
Applying and Removing Your Temporary Tattoo
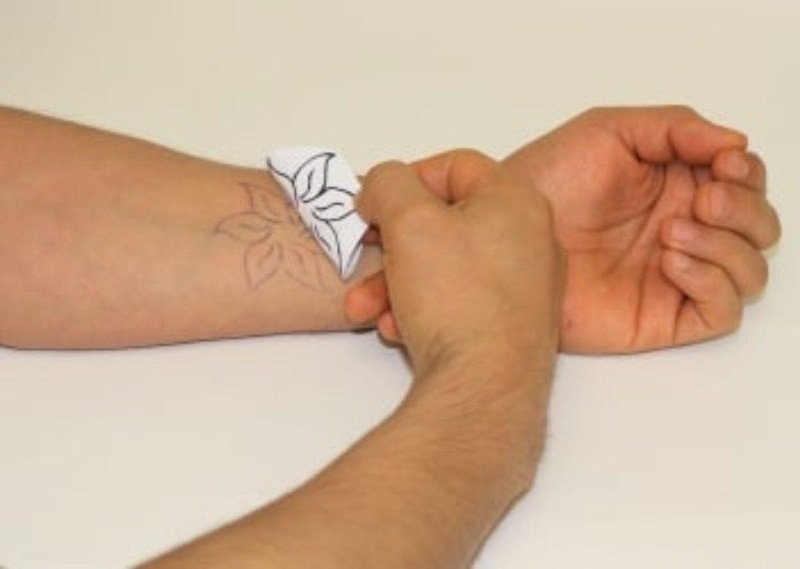
Once you've printed out your design, it's time to apply it to your skin. Cut out the tattoo design, leaving a small border around the edges. Then, place the tattoo in a bowl of water for about 30 seconds. This will help the paper to dissolve and the tattoo to transfer to your skin. After 30 seconds, remove the tattoo from the water and place it on your skin. Hold it in place for a few seconds, then remove the paper backing. Your temporary tattoo should now be applied to your skin.
To remove your temporary tattoo, simply soak it in warm water for a few minutes. Then, gently scrub the area with soap and water. The tattoo should come off easily, leaving no residue behind. With printable tattoo paper, you can create your own custom temporary tattoos at home. This is a fun and easy DIY project that's perfect for parties, events, or just for everyday wear. So why not give it a try and see what kind of creative designs you can come up with?