How To Set A Printer As Default

Why Set a Default Printer?
Setting a printer as default can save you time and hassle in the long run. When you have multiple printers connected to your computer, it can be frustrating to have to select the same printer every time you want to print a document. By setting a default printer, you can ensure that your computer always uses the same printer, unless you specify otherwise. This can be especially useful in a home or office setting where multiple people are using the same computer.
So, why set a default printer? For one, it can help reduce errors and mistakes. When you have to select a printer every time you print, it's easy to accidentally select the wrong one. By setting a default printer, you can avoid this problem and ensure that your documents are always printed on the correct printer. Additionally, setting a default printer can help streamline your workflow and make printing more efficient.
Setting a Default Printer on Different Operating Systems
Why Set a Default Printer? Setting a default printer is a simple process that can be completed in just a few steps. The first step is to connect your printer to your computer and install the necessary drivers. Once your printer is installed, you can set it as the default printer by going to your computer's settings or control panel. From there, you can select the printer you want to use as the default and save your changes.
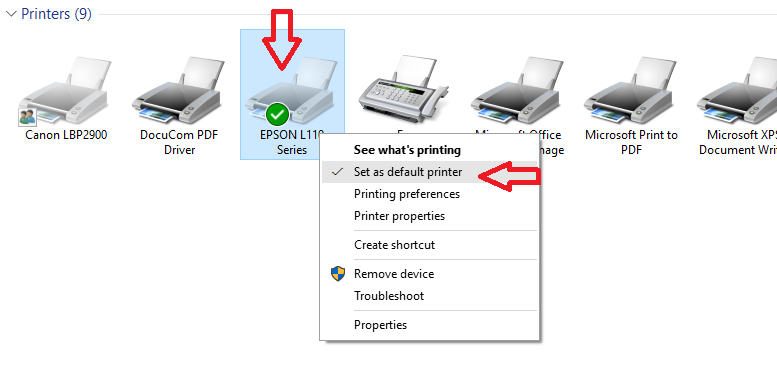
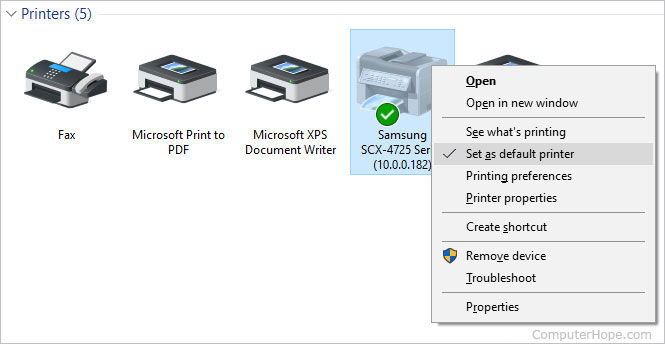
Setting a Default Printer on Different Operating Systems The steps to set a default printer may vary depending on your operating system. On Windows, you can set a default printer by going to the Control Panel and selecting the Devices and Printers option. On Mac, you can set a default printer by going to the System Preferences and selecting the Printers and Scanners option. By following these simple steps, you can set a default printer and make printing easier and more convenient.