
How To Print To Excel: A Step-by-Step Guide
Printing from Excel
Printing to Excel is a common task that can be useful for various purposes, such as creating reports, invoices, or tracking data. However, many people are unsure about how to print to Excel, especially if they are new to using the software. In this article, we will provide a step-by-step guide on how to print to Excel, making it easy for you to export and print your data.
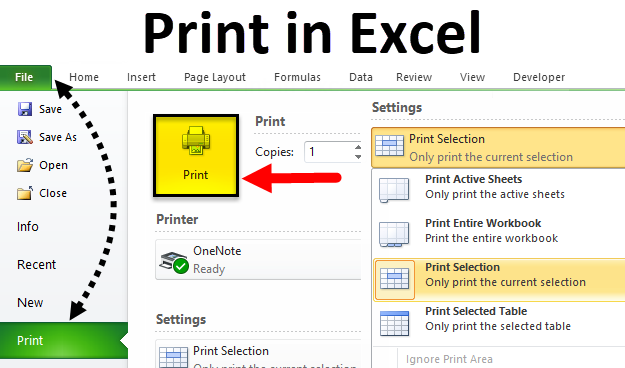
To print to Excel, you can start by opening your Excel spreadsheet and selecting the data you want to print. You can do this by highlighting the cells or range of cells that contain the data you want to print. Once you have selected the data, you can click on the 'File' tab and select 'Print' from the drop-down menu. This will open the print dialog box, where you can choose the print settings and options.
Printing from Other Sources
If you want to print data from other sources, such as a website or a different software, you can also export it to Excel and then print it. For example, you can copy and paste the data into an Excel spreadsheet or use the 'Import' feature to bring the data into Excel. Once the data is in Excel, you can follow the same steps as before to print it. This method is useful if you need to print data from a source that does not have a built-in print function or if you want to customize the print settings.
In conclusion, printing to Excel is a straightforward process that can be done in a few simple steps. Whether you are printing from Excel or exporting data from other sources, the key is to select the data you want to print and choose the right print settings. By following the steps outlined in this guide, you can easily print to Excel and create professional-looking documents. With practice, you will become more comfortable with the process, and printing to Excel will become second nature.