How to Print Name Badges in Word: A Step-by-Step Guide
Designing Your Name Badges
Printing name badges in Word is a simple and cost-effective way to create professional-looking identification for events, conferences, and meetings. With a few basic design skills and some easy-to-follow instructions, you can create your own custom name badges in no time. To get started, open a new document in Microsoft Word and set the page layout to the size you want your badges to be.
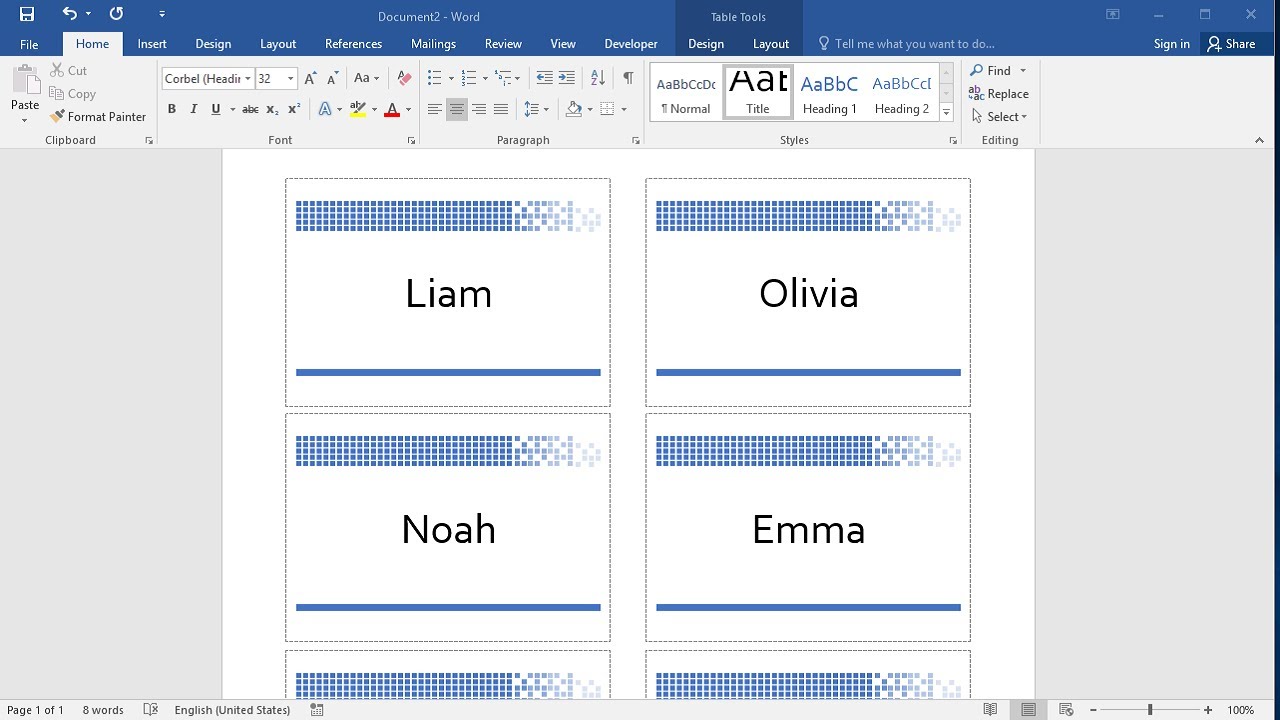
When it comes to designing your name badges, there are a few things to keep in mind. You'll want to choose a font that's clear and easy to read, and select a color scheme that matches your event or company brand. You can also add a logo or other graphics to give your badges a more professional look.
Printing Your Name Badges
Once you've designed your name badges, it's time to think about printing them. You'll want to make sure you have the right paper and printer settings to get the best results. Look for paper that's specifically designed for printing badges, and adjust your printer settings to ensure the ink or toner is aligned properly. You can also use a template to help you get the layout just right.
With your design complete and your printer settings adjusted, you're ready to print your name badges. Simply click the print button and wait for your badges to come out. You can then cut them to size and attach them to a lanyard or clip. With these easy steps, you can create professional-looking name badges in Word that will make your event or conference look polished and put-together.