How to Print a Poster in Word: A Step-by-Step Guide
Designing Your Poster
Printing a poster in Word can be a bit tricky, but with the right steps, you can create a stunning poster that grabs attention. Whether you're looking to promote an event, advertise a product, or simply decorate your office, a well-designed poster can make all the difference. In this article, we'll walk you through the process of printing a poster in Word, from designing to printing.
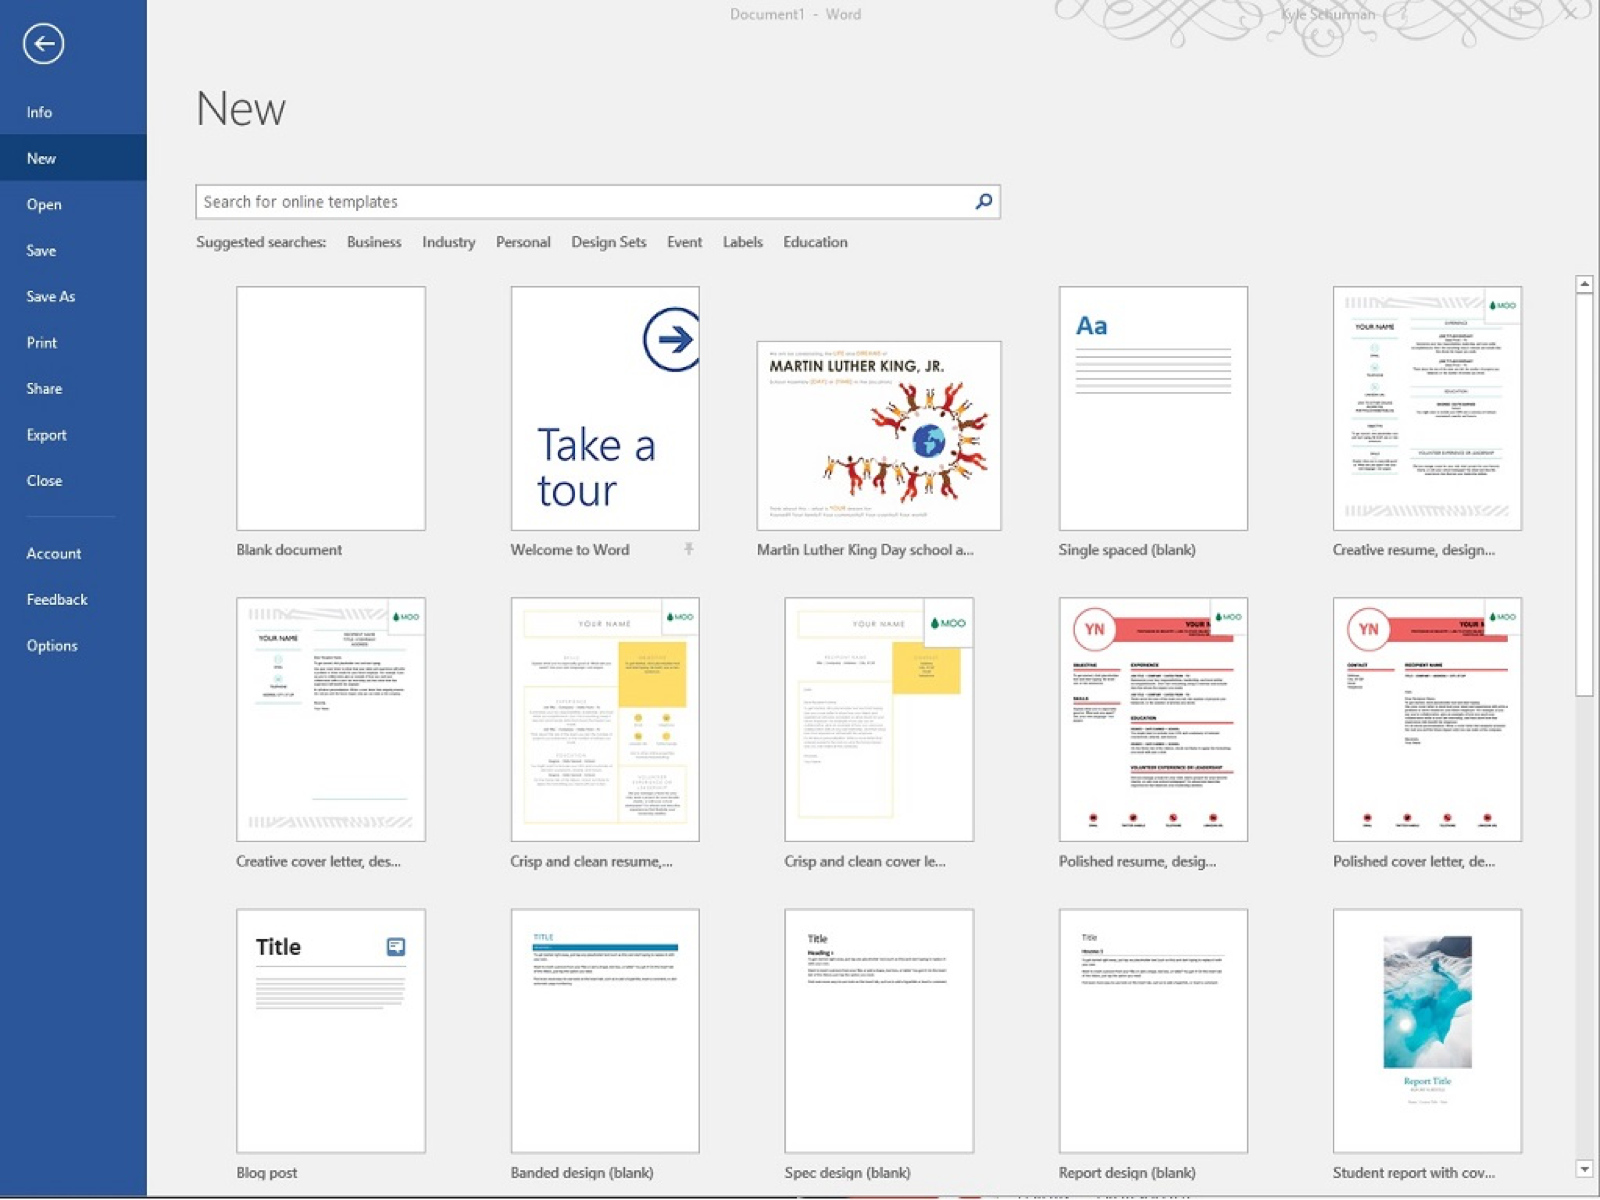
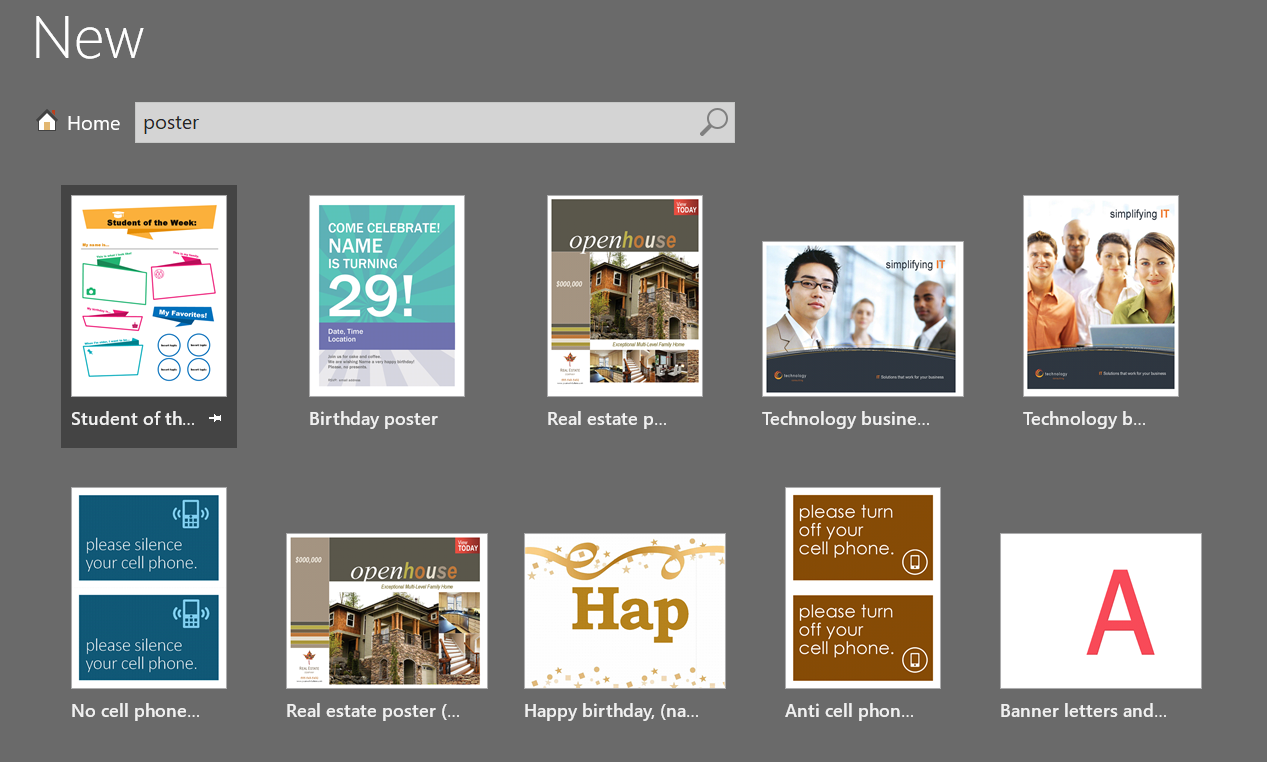
To start, open Microsoft Word and select a blank document. Choose a template or start from scratch, depending on your design preferences. Select a large page size, such as 11 x 17 inches or A3, to ensure your poster is big enough to make an impact. Use the built-in tools and features in Word to add text, images, and graphics to your poster. You can also use the 'Insert' tab to add shapes, charts, and other visual elements to enhance your design.
Printing Your Poster
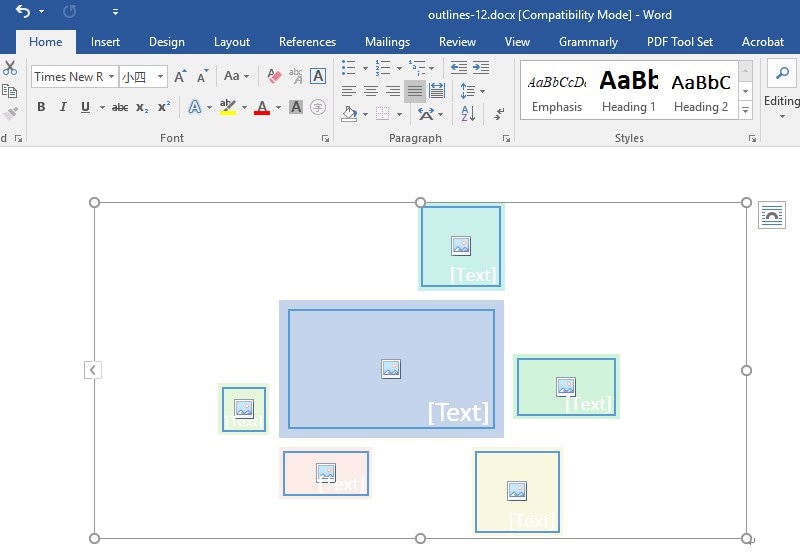
When designing your poster, keep in mind the key elements that will make it stand out. Use bold fonts, bright colors, and eye-catching images to grab attention. Make sure your text is clear and easy to read, even from a distance. You can also use the 'Review' tab to check for spelling and grammar errors, and the 'View' tab to see how your poster will look in different layouts.
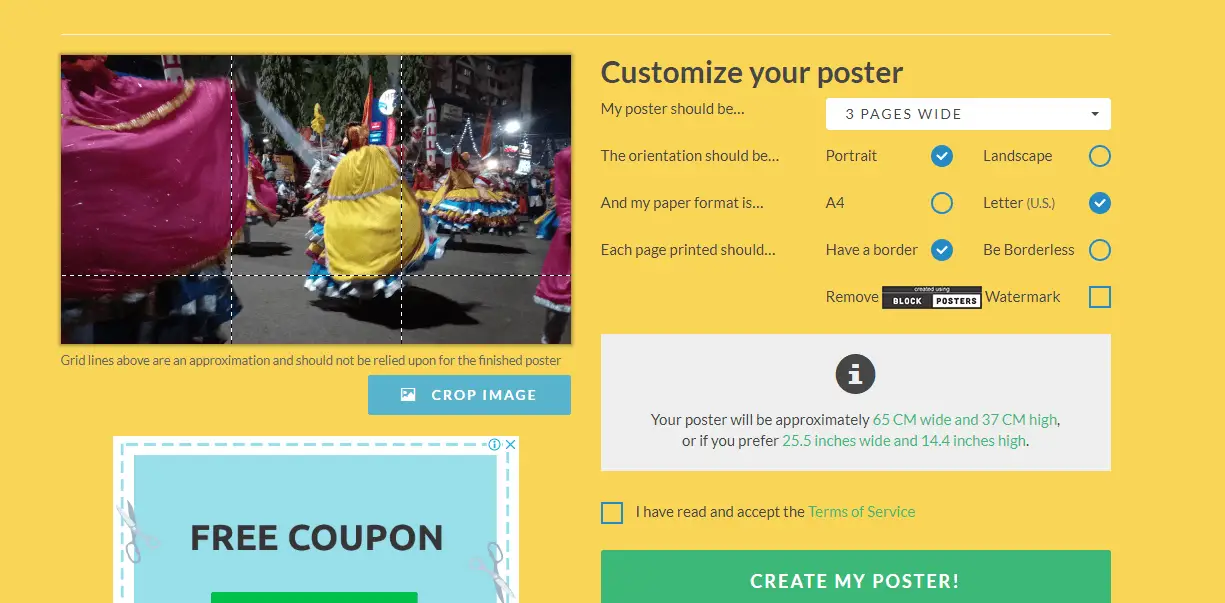
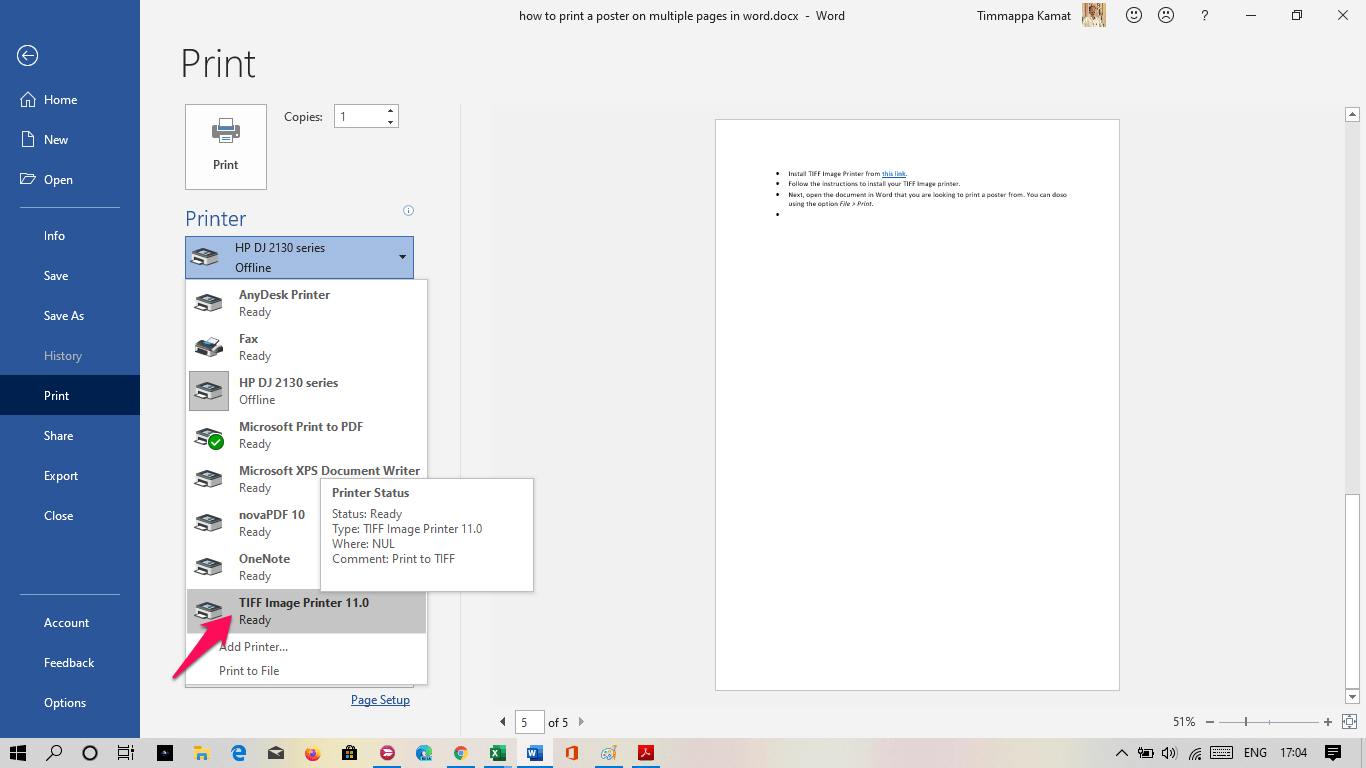
Once you've designed your poster, it's time to print it. Go to the 'File' tab and select 'Print'. Choose your printer and select the paper size and type. Make sure to select the 'Poster' or 'Large Format' option, if available, to ensure your poster prints correctly. You can also adjust the print quality and other settings to get the best results. With these simple steps, you can print a stunning poster in Word that will make a lasting impression.