A Beginner's Guide to Pressing Printable Heat Transfer Vinyl
Preparation is Key
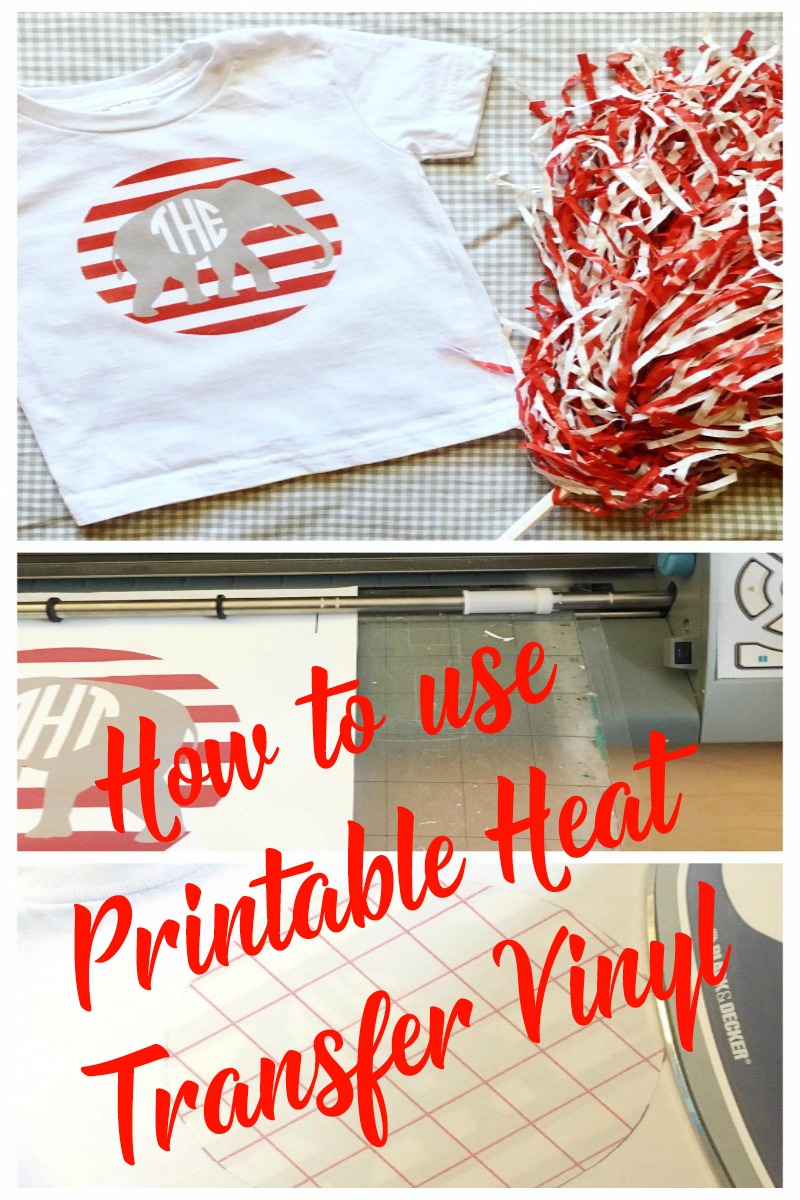
Pressing printable heat transfer vinyl can seem intimidating if you're new to the world of heat pressing. However, with the right techniques and a little practice, you can achieve professional-looking results. The first step is to choose the right vinyl for your project. There are many types of printable heat transfer vinyl available, each with its own unique characteristics and uses. Make sure to select a vinyl that is compatible with your heat press and the type of fabric you are working with.
Once you have your vinyl, it's time to prepare your design. This can be done using a variety of software programs, such as Adobe Illustrator or CorelDRAW. Make sure to mirror your design before printing, as this will ensure that it appears correctly on your final product. You should also use a high-quality printer and ink to ensure that your design looks its best.
Tips for a Successful Press
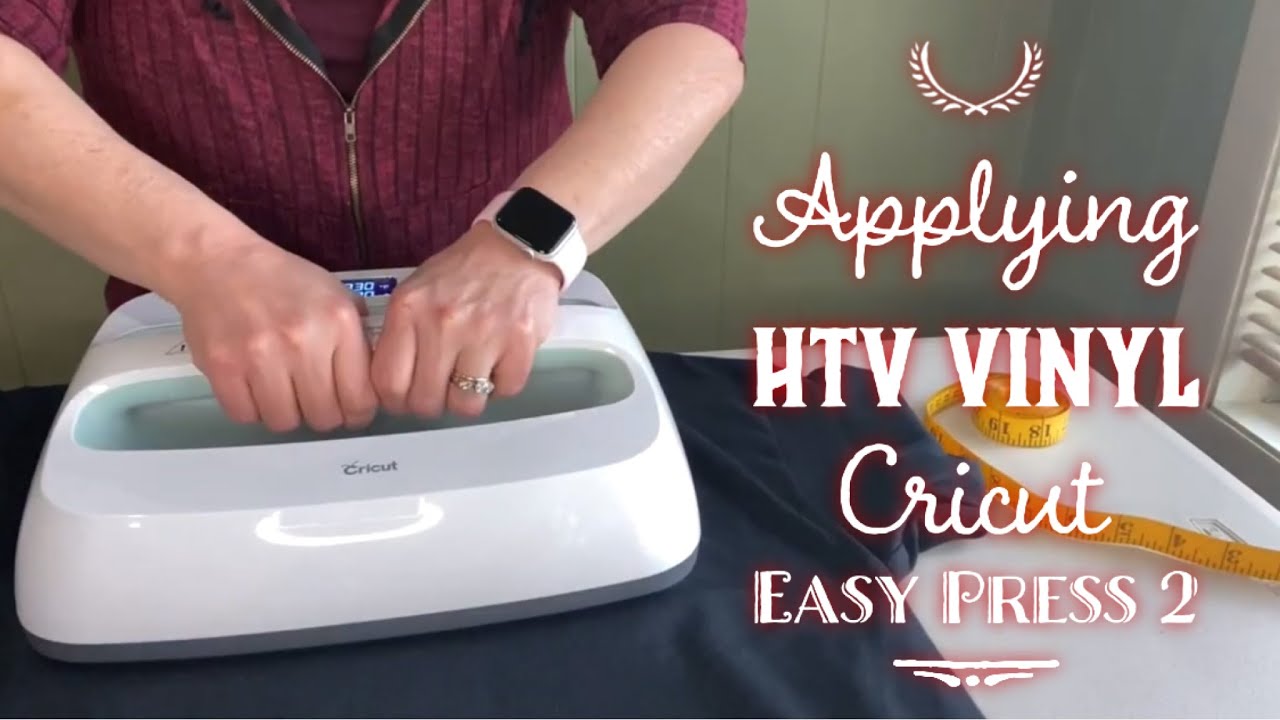
Before you start pressing, make sure that your heat press is set to the correct temperature and pressure. The ideal temperature and pressure will vary depending on the type of vinyl you are using, so be sure to consult the manufacturer's instructions. You should also pre-heat your fabric to remove any wrinkles or moisture, which can affect the quality of the press. With your heat press and fabric ready, you can now apply the vinyl and start the pressing process.
To ensure a successful press, make sure to apply even pressure and heat to the vinyl. You should also use a timer to ensure that the vinyl is pressed for the correct amount of time. The amount of time will vary depending on the type of vinyl and the temperature of your heat press. Finally, allow the vinyl to cool completely before handling or washing the fabric. By following these tips and practicing your technique, you can achieve professional-looking results with your printable heat transfer vinyl.