
How to Create a Template on Google Docs: A Step-by-Step Guide
Getting Started with Google Docs Templates
Google Docs is a powerful tool for creating and editing documents online. One of its most useful features is the ability to create custom templates. A template is a pre-designed document that you can use as a starting point for your own documents. In this article, we'll show you how to make a template on Google Docs. To get started, simply log in to your Google account and navigate to the Google Docs homepage.
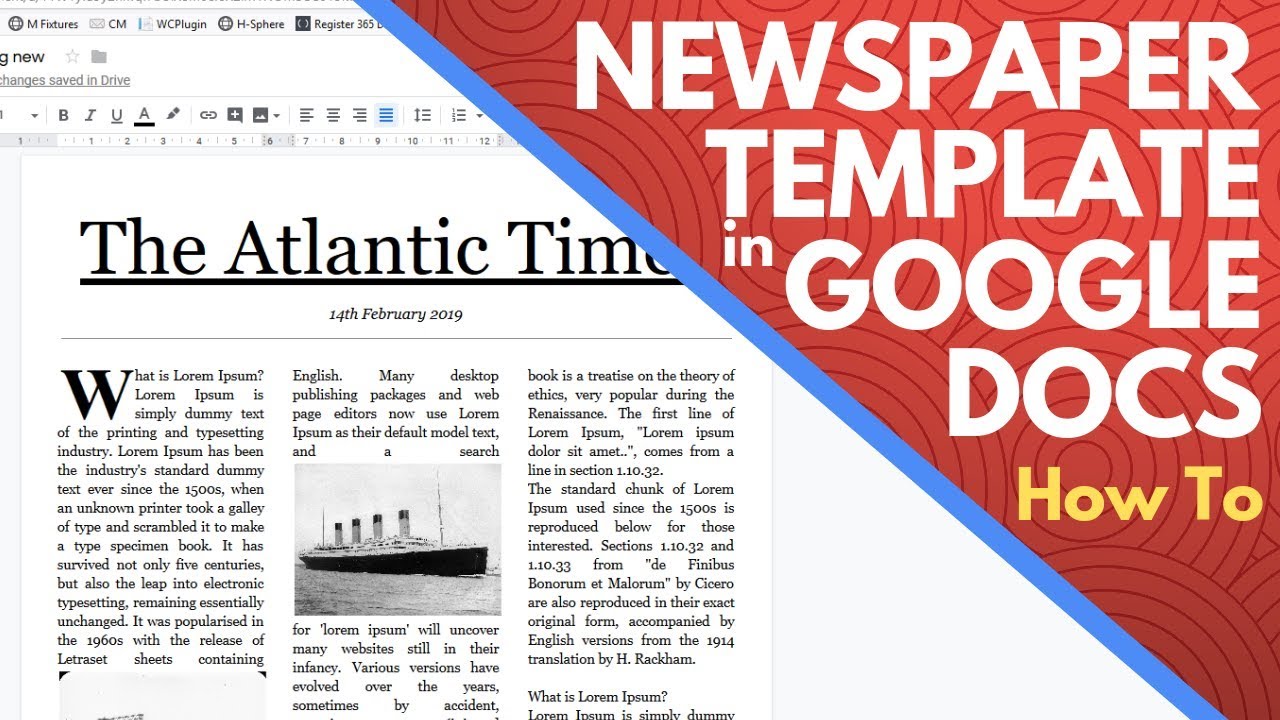
To create a template, start by clicking on the 'Template gallery' button. This will take you to a page where you can browse through a variety of pre-made templates. You can also create your own template from scratch by clicking on the 'Blank' template. From here, you can add your own content, formatting, and design elements to create a custom template.
Customizing Your Template
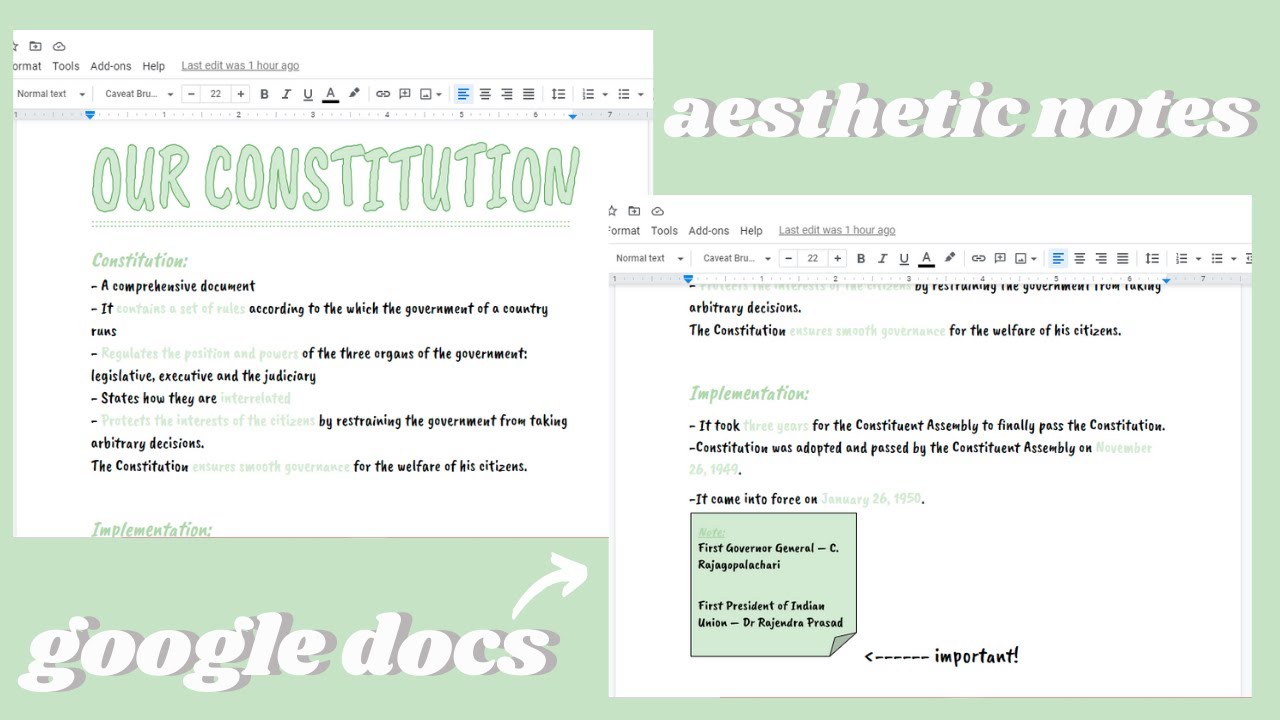
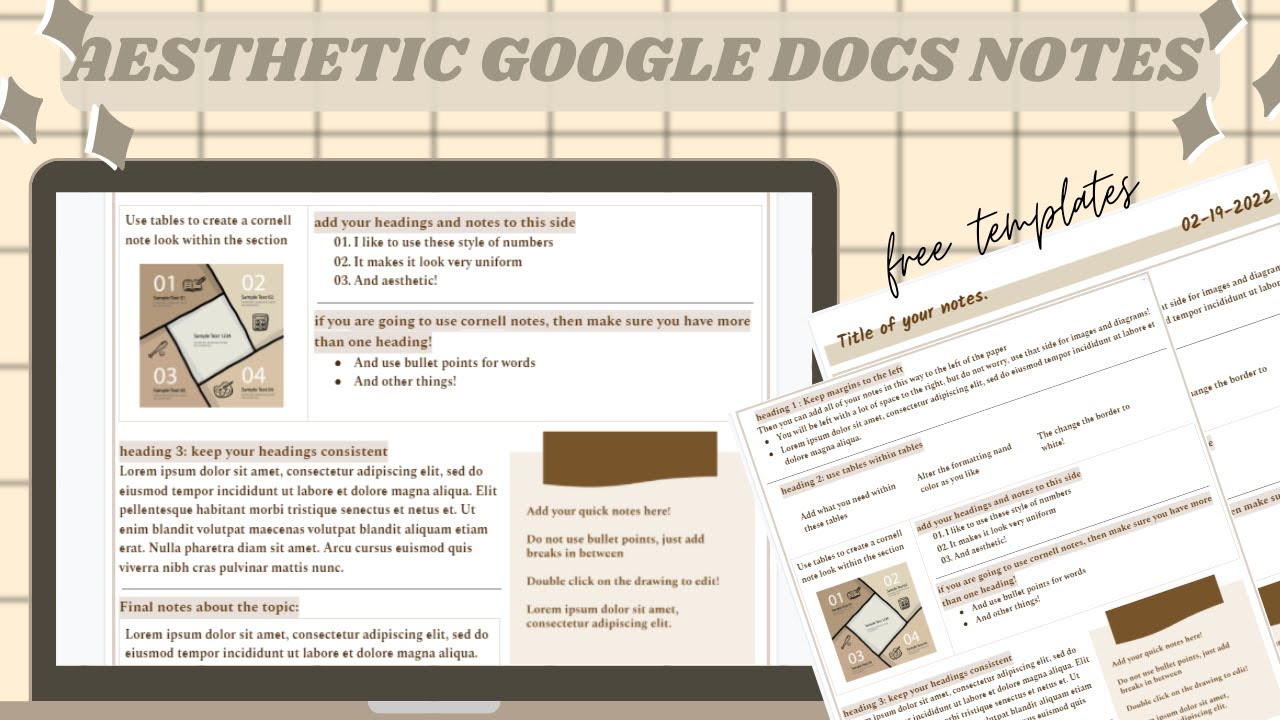
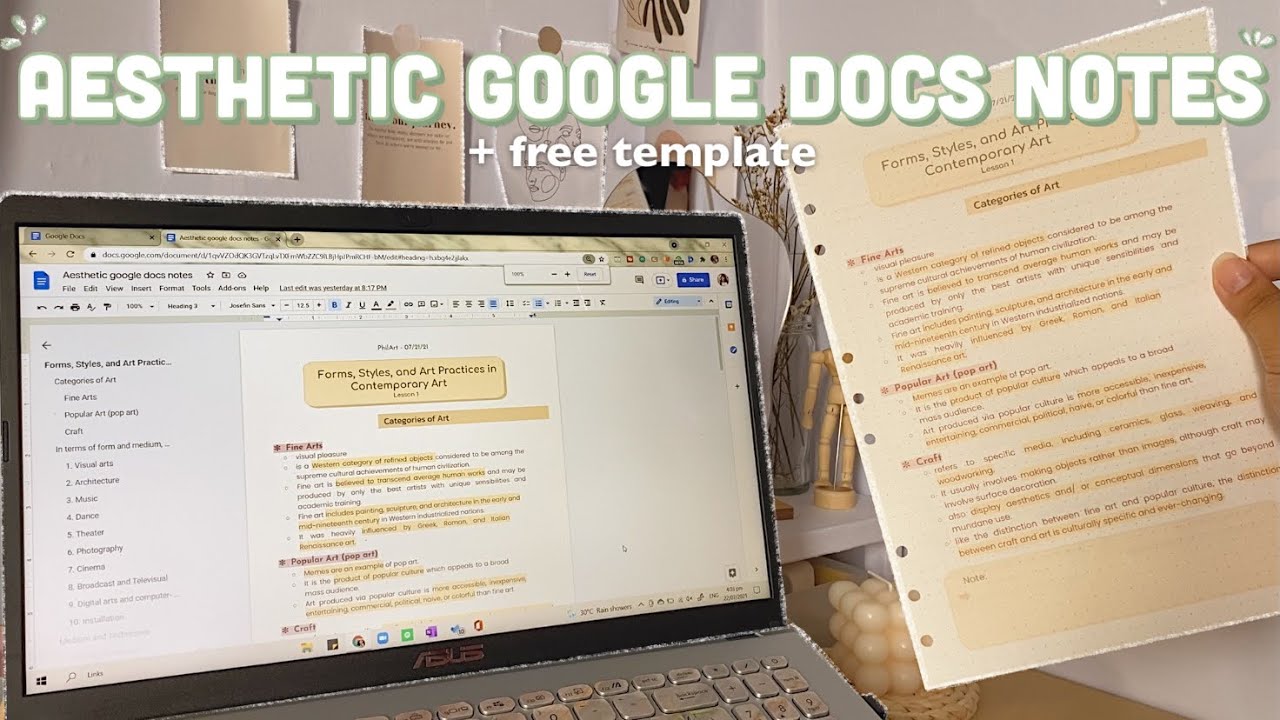
Once you've created your template, you can customize it to fit your needs. You can add your own text, images, and other media to make it more engaging. You can also use Google Docs' built-in formatting tools to change the layout, font, and color scheme of your template. If you want to make your template more reusable, you can also add placeholders for text and images that you can fill in later.
With your template created and customized, you can now use it as a starting point for your own documents. To do this, simply click on the 'File' menu and select 'Make a copy'. This will create a new document based on your template, which you can then edit and customize as needed. By following these steps, you can create your own custom templates on Google Docs and increase your productivity. Whether you're a student, business owner, or simply looking to organize your personal documents, Google Docs templates are a great way to get started.