Create Your Own Printable Mailing Labels with Ease
Designing Your Label
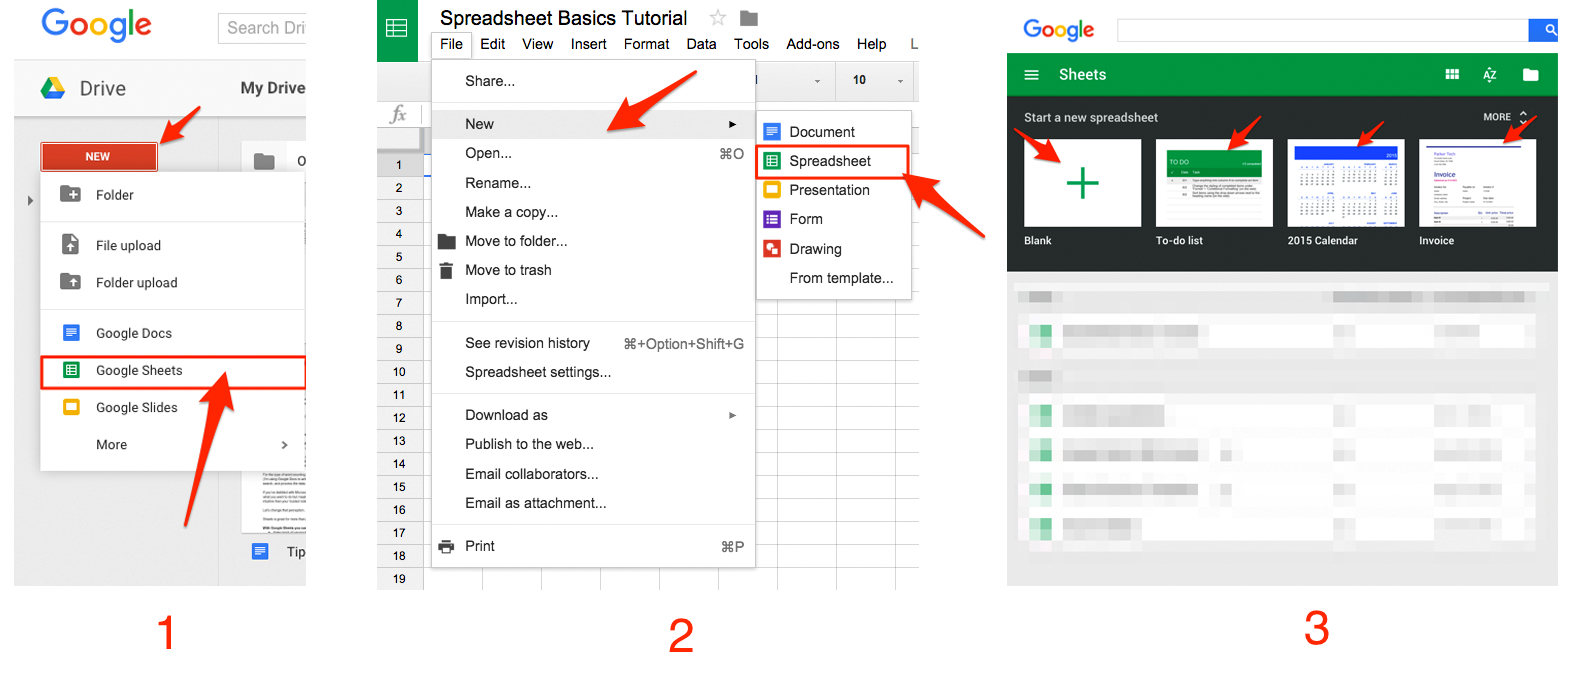
Creating a printable mailing label is a straightforward process that can save you time and money. Whether you're sending a package or a letter, having a professional-looking label can make a big difference. In this article, we'll walk you through the steps to create your own printable mailing labels. First, you'll need to gather some basic information, such as the recipient's name and address, as well as your own return address.
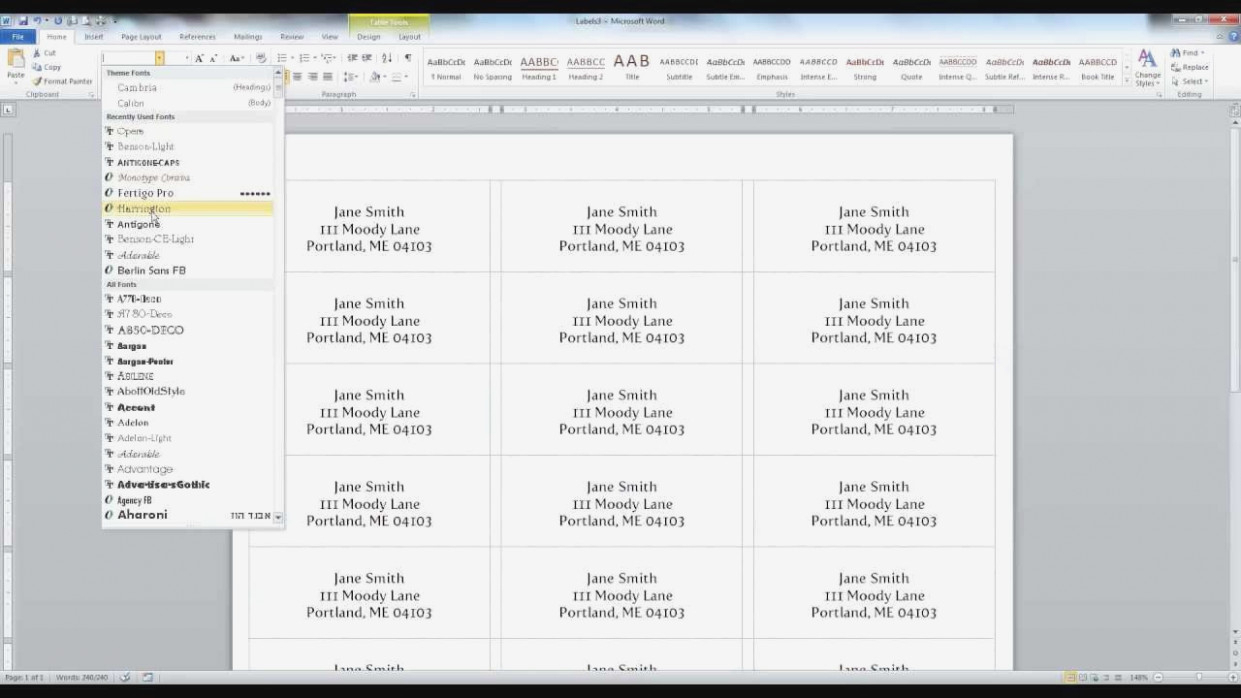
With your information ready, you can start designing your label. You can use a word processing software or a specialized label-making program to create your label. Make sure to choose a font that's clear and easy to read, and select a layout that fits your needs. You can also add any additional information, such as a logo or a message, to make your label more personalized.
Printing Your Label
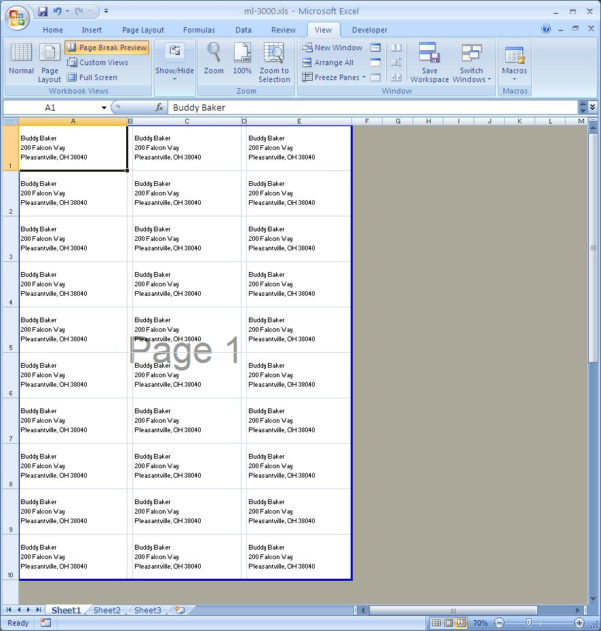
When designing your label, consider the size and shape of your label, as well as the type of paper you'll be printing on. You can choose from a variety of label sizes and shapes, including standard sizes such as 2x4 inches or 4x6 inches. You can also use a template to help you get started. Once you've designed your label, you can move on to the next step: printing your label.
Printing your label is the final step in creating your printable mailing label. Make sure to use a high-quality printer and label paper to ensure that your label looks professional and is durable. You can print your label on a variety of paper types, including adhesive labels or cardstock. Once you've printed your label, you can apply it to your package or envelope and you're ready to go. With these simple steps, you can create your own printable mailing labels and save time and money on your shipping needs.