Creating 3D Papercraft Templates: A Step-by-Step Guide


Designing Your Template
If you're looking for a fun and creative hobby, making 3D papercraft templates is a great option. With just a few simple tools and some patience, you can create stunning paper crafts that will impress friends and family. To get started, you'll need a computer with a design program, a printer, and some thick paper or cardstock. You can use a software like Adobe Illustrator or a free alternative like GIMP to design your template.
When designing your template, think about the shape and size of the object you want to create. You can find inspiration online or use your own imagination to come up with a unique design. Make sure to include tabs and flaps to help you assemble the papercraft later. You can also add textures and colors to give your design some extra depth and visual interest.
Assembling Your Papercraft
Once you've designed your template, it's time to print it out and start assembling your papercraft. This is where the magic happens, and your 2D design turns into a 3D object. Start by cutting out the individual pieces of your template, then use glue or a glue stick to attach the tabs and flaps. Make sure to follow the instructions carefully, and don't be afraid to experiment and try new things.
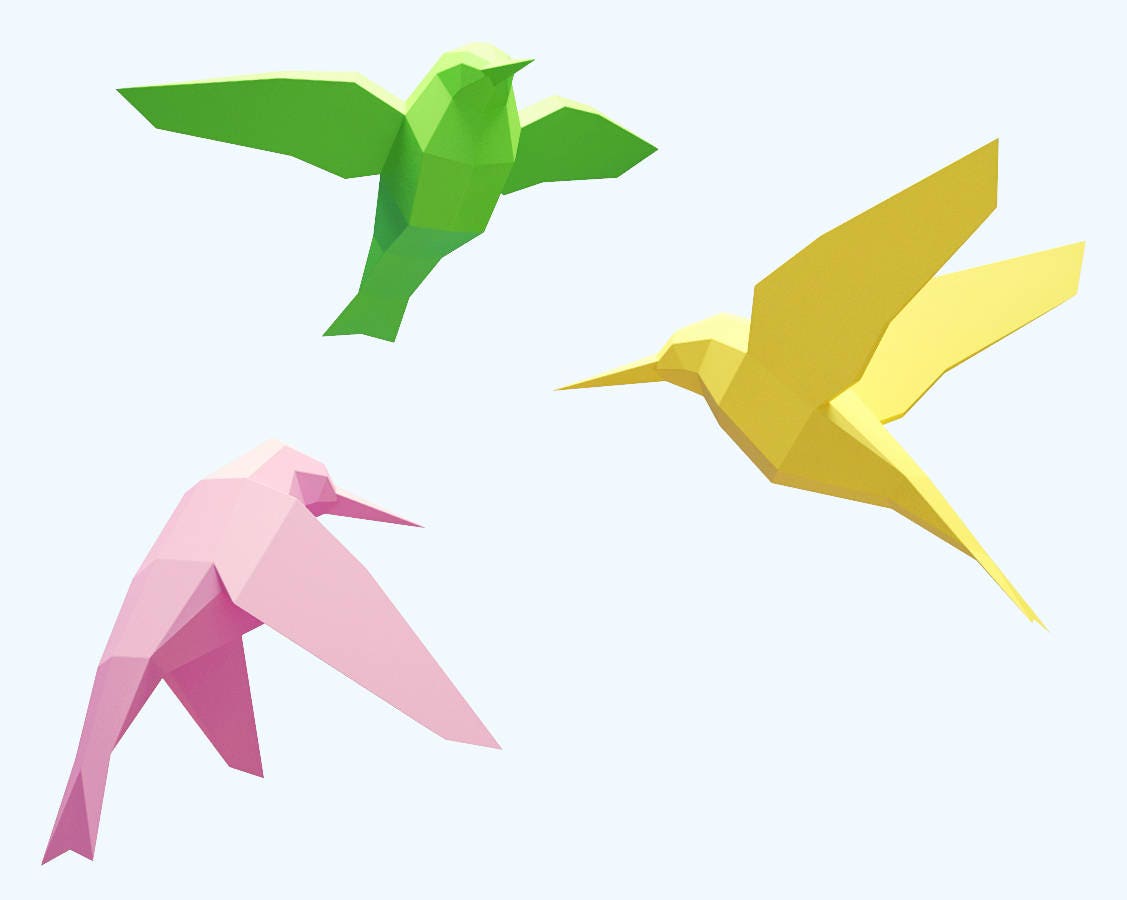
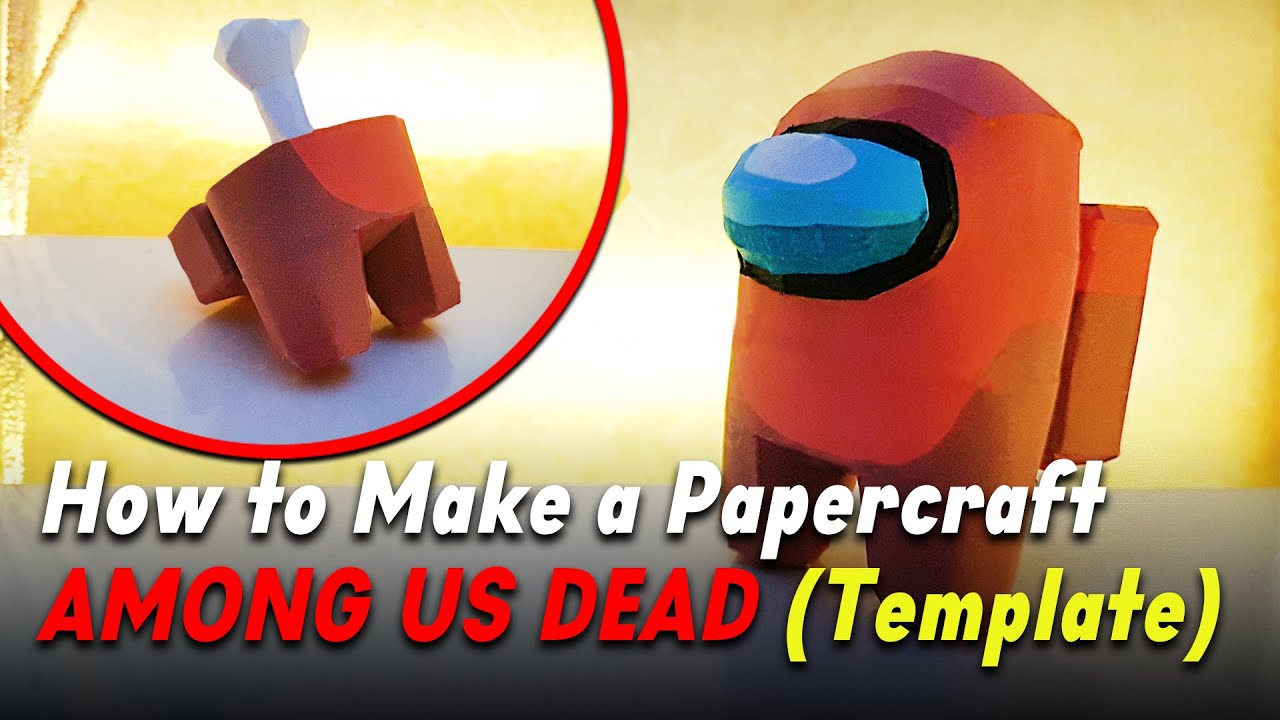
With a little practice and patience, you can create amazing 3D papercraft templates that will impress anyone. From simple shapes and animals to complex scenes and characters, the possibilities are endless. So why not give it a try? Start designing your own 3D papercraft templates today, and discover the joy of creating something truly unique and special.