How to Make a 3D Heart Card: A Step-by-Step Guide


Materials Needed
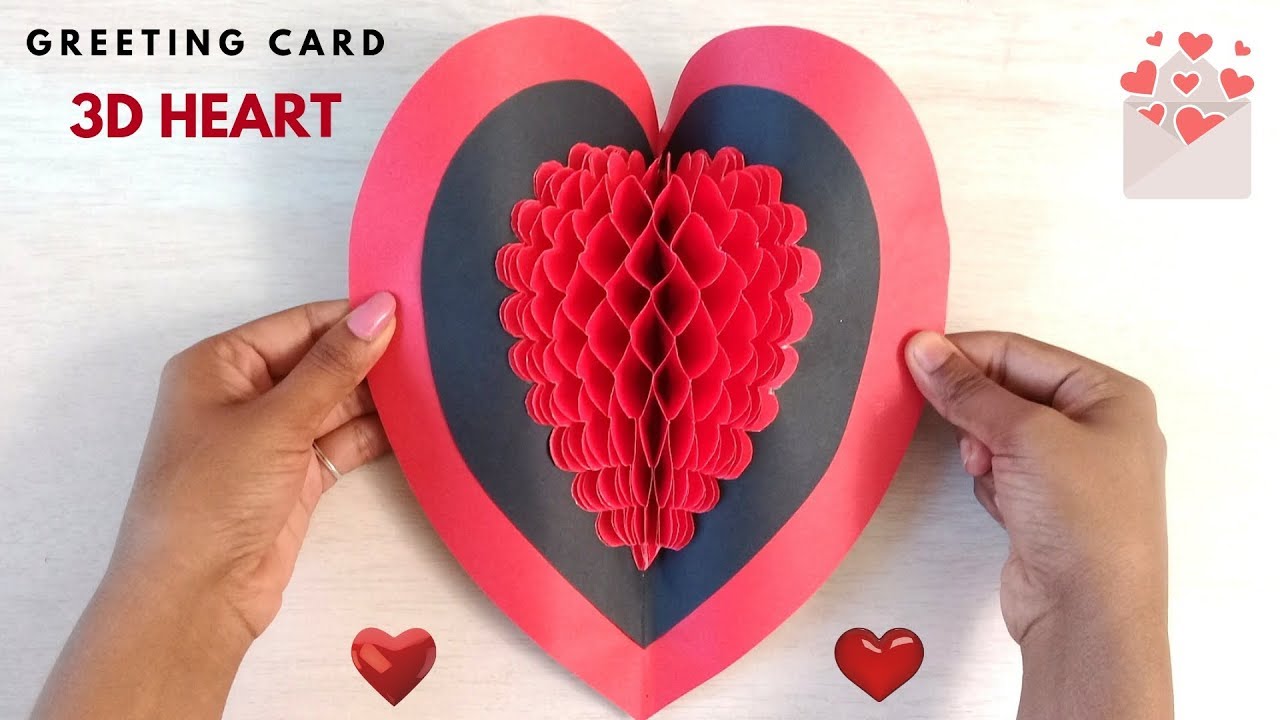
Making a 3D heart card is a fun and creative way to show your loved ones how much you care. With just a few simple materials and some basic crafting skills, you can create a beautiful and unique card that will stand out from the rest. In this article, we'll take you through the steps to make a 3D heart card that's perfect for any occasion.
To get started, you'll need a few basic materials, including red and pink cardstock, scissors, a glue stick, and a ruler. You'll also need a template or pattern to help you cut out the heart shapes. You can find many free templates online or create your own using a piece of cardstock and a pencil.
Assembling the 3D Heart Card
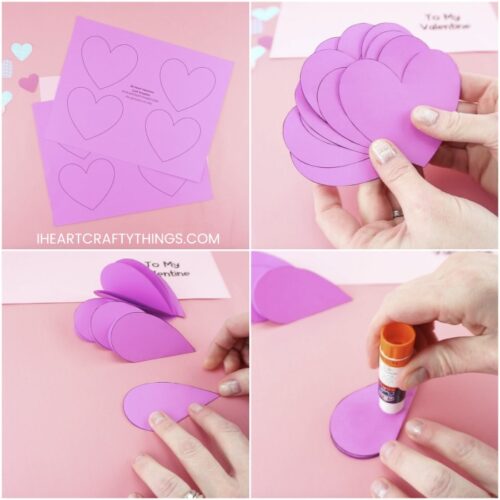
Now that you have all your materials, it's time to start cutting out the heart shapes. Use your template or pattern to cut out multiple hearts in different sizes. You'll need at least 5-6 hearts to create the 3D effect. Make sure to cut out the hearts carefully and accurately, as this will affect the overall appearance of your card.
To assemble the 3D heart card, start by gluing the smallest heart to the center of the card. Then, glue the next largest heart on top of the first one, slightly offset to create the 3D effect. Continue gluing the hearts on top of each other, making sure to offset each one slightly to create a layered look. Finally, add any embellishments you like, such as glitter or stickers, to give your card a personalized touch.