How to Edit a Template in Illustrator: A Step-by-Step Guide


Getting Started with Template Editing
Adobe Illustrator is a powerful tool for graphic designers, and editing templates is a crucial part of the design process. Whether you're a beginner or an experienced designer, knowing how to edit a template in Illustrator can help you create stunning visuals and take your design skills to the next level. In this article, we'll walk you through the steps to edit a template in Illustrator, from opening the file to customizing the design.
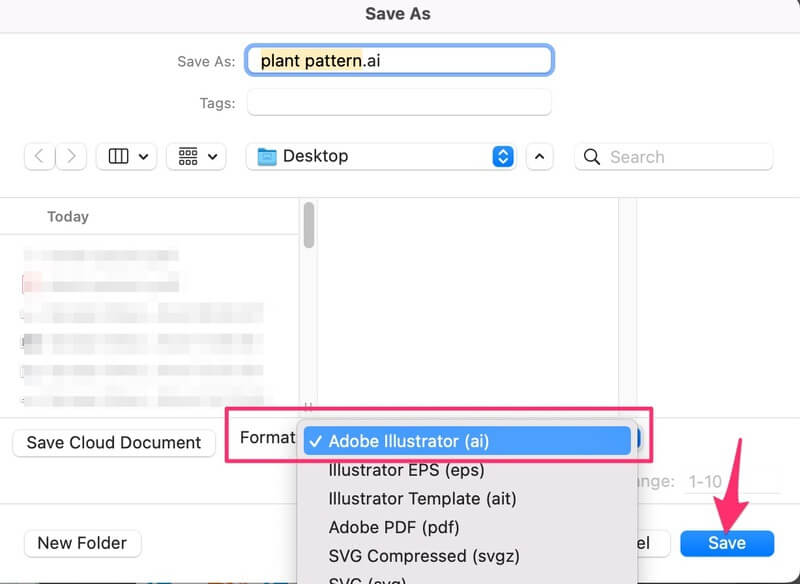
To start editing a template in Illustrator, you'll need to open the file in the program. You can do this by selecting 'File' > 'Open' and choosing the template file you want to edit. Once the file is open, you'll see the template design on the artboard. From here, you can begin making changes to the design by selecting and editing individual elements, such as text, shapes, and images.
Customizing Your Template
When editing a template, it's essential to understand the basics of the design. Take some time to explore the template and get familiar with the different elements, such as layers, shapes, and text. You can use the 'Layers' panel to organize and manage the different elements of the design, and the 'Toolbar' to access various tools and functions. By understanding the basics of the template, you'll be able to make more informed design decisions and create a customized look that meets your needs.
Once you have a good understanding of the template, you can start customizing the design. This can involve changing the text, colors, and shapes to match your brand or style. You can use the 'Type' tool to edit text, the 'Color' panel to change colors, and the 'Shape' tools to modify shapes. Additionally, you can add new elements to the design, such as images or graphics, to give it a more personalized look. By customizing the template, you can create a unique and professional-looking design that stands out from the crowd.