How To Draw Realistic Animals Step By Step For Kids

Getting Started with Basic Shapes
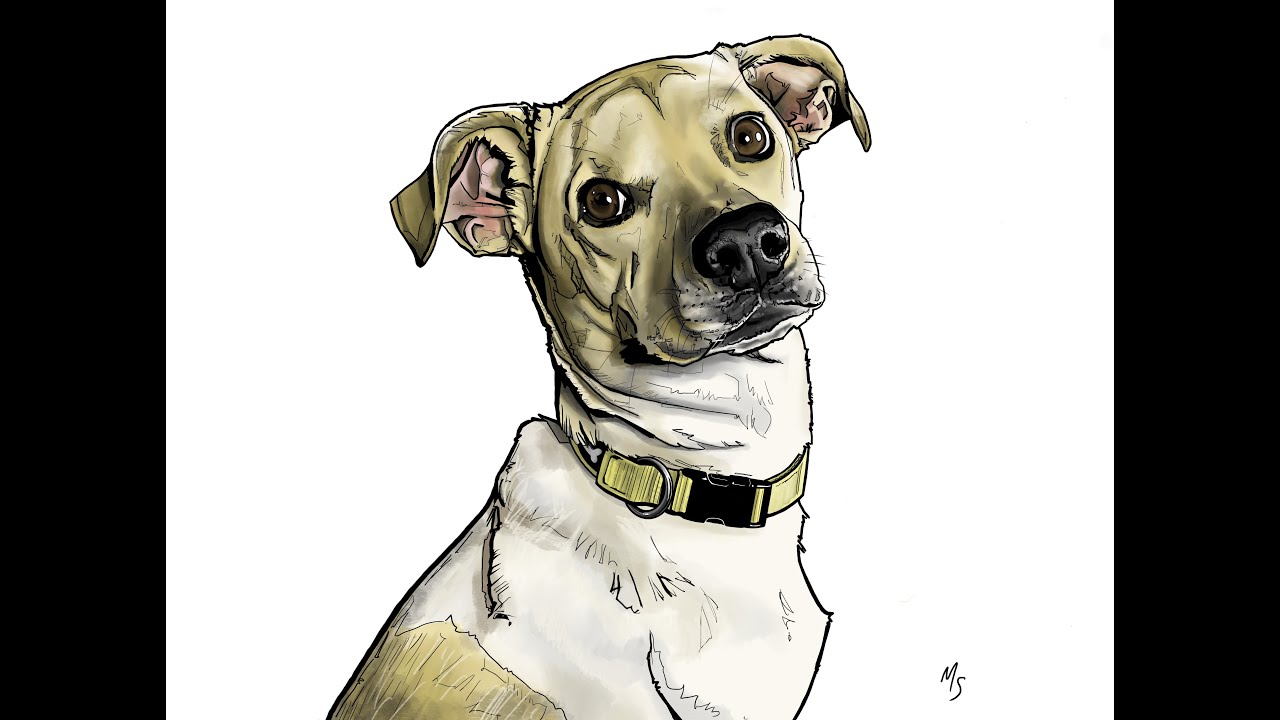
Drawing realistic animals can be a fun and rewarding experience for kids. With a few simple steps and some practice, your child can create amazing animal drawings that will impress friends and family. The key to drawing realistic animals is to start with basic shapes and then add details and textures. In this article, we will guide you through the process of drawing realistic animals step by step.
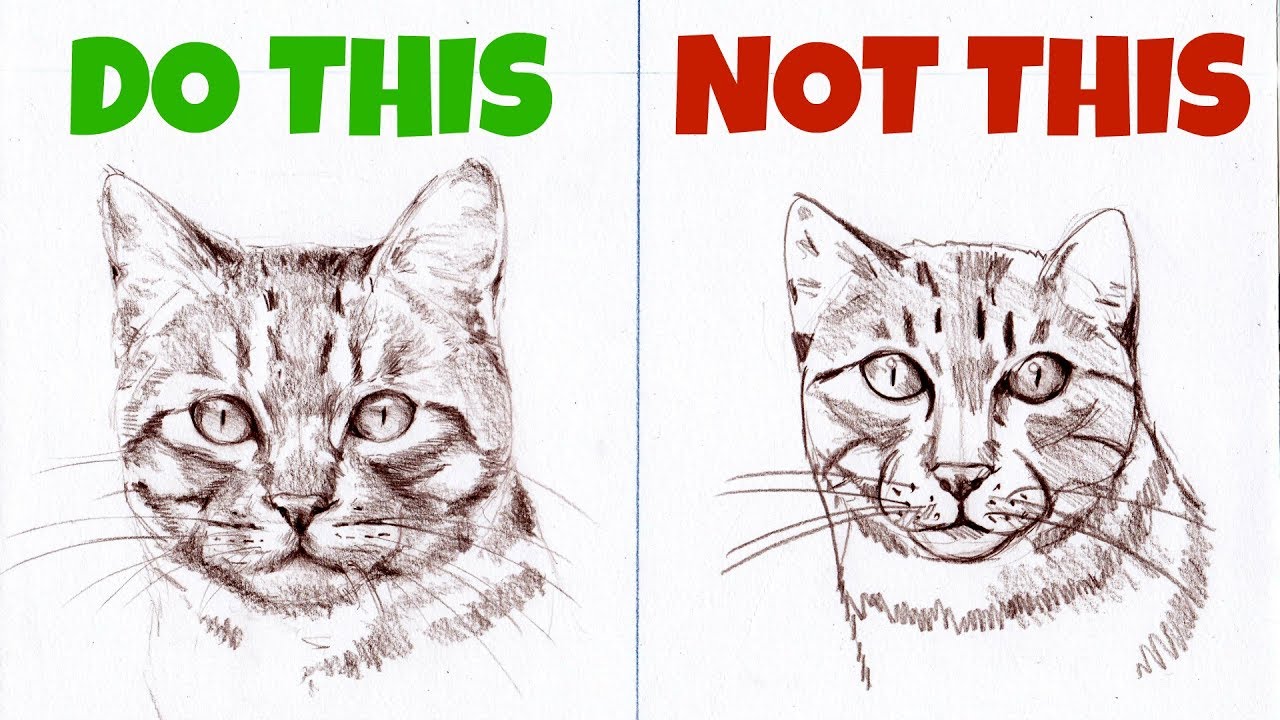
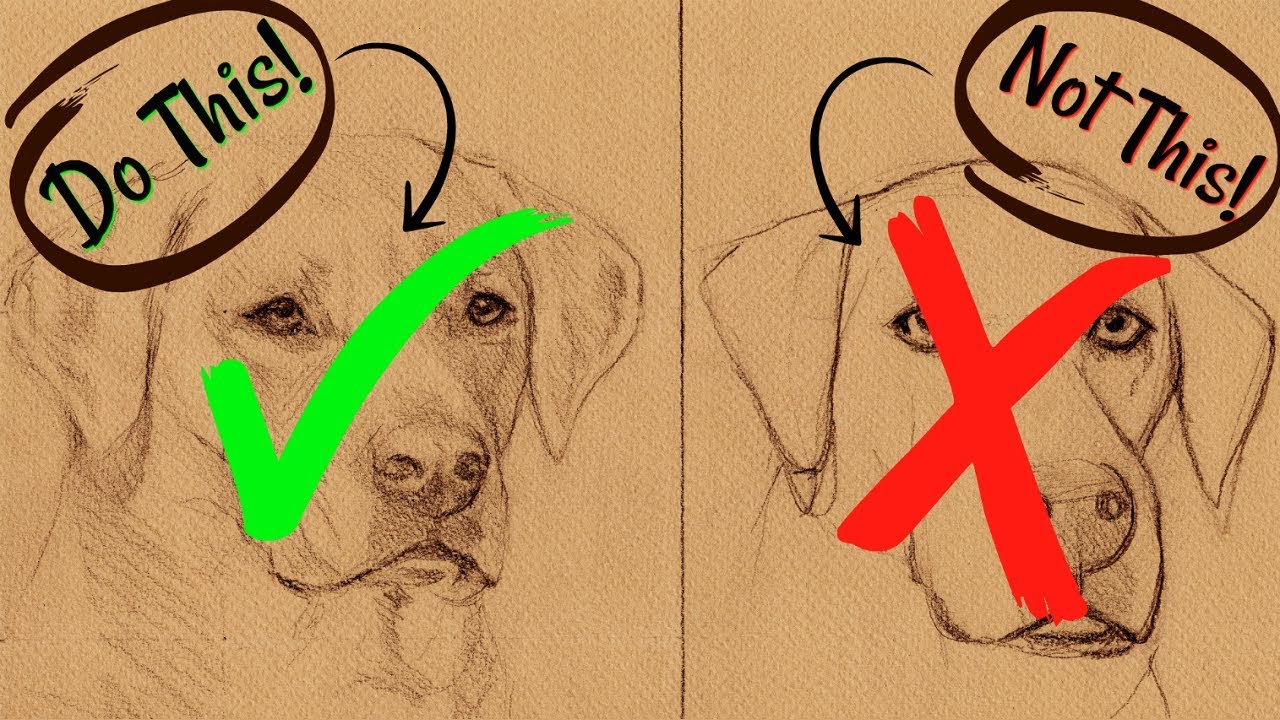
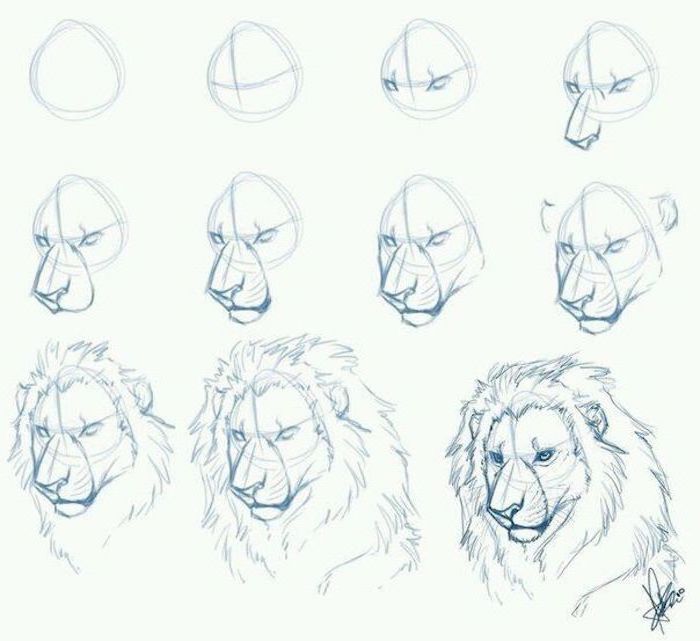
To begin, start by sketching the basic shape of the animal. For example, if you are drawing a cat, start with a circle for the head and a larger oval for the body. Add a smaller oval for the ear and a triangle for the nose. Use simple shapes to build the foundation of your animal, and then add more details and features as you go along. Remember to keep it simple and have fun with the process.
Bringing Your Animal to Life with Details
Once you have the basic shape of your animal, you can start adding more details and features. This is where the magic happens and your animal starts to come to life. Add eyes, eyebrows, and a mouth to give your animal some personality. Use different textures and patterns to add depth and interest to your drawing. For example, you can add fur or feathers to your animal to make it look more realistic.
With a little practice and patience, your child can create realistic animal drawings that are sure to impress. Remember to encourage them to use their imagination and have fun with the process. Don't be afraid to make mistakes – they are all part of the learning process. With our step-by-step guide, your child will be drawing realistic animals in no time. So why not get started today and see what amazing creations your child can come up with?