How to Create a Timeline Chart in Excel: A Step-by-Step Guide
Understanding the Basics of Timeline Charts
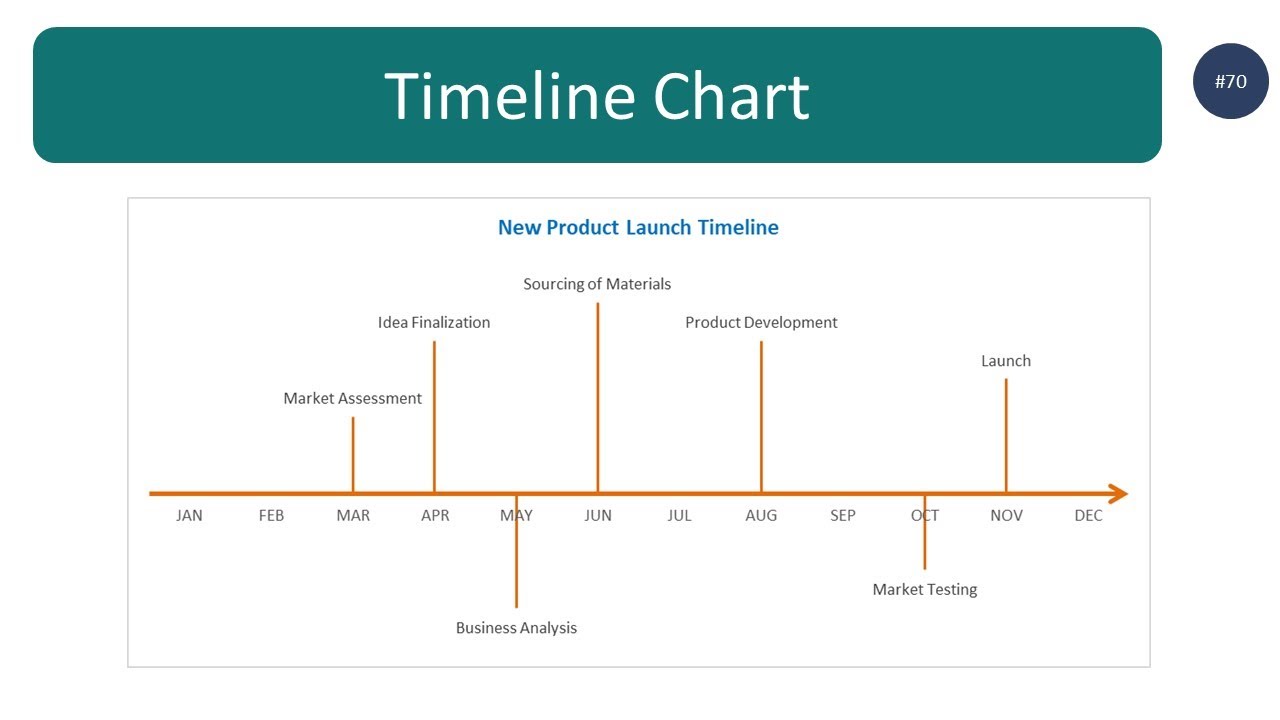
Creating a timeline chart in Excel is a great way to visualize and track progress over time. Whether you're managing a project, tracking sales data, or monitoring website traffic, a timeline chart can help you identify trends and patterns. In this article, we'll show you how to create a timeline chart in Excel and provide tips on how to customize it to suit your needs.
To get started, you'll need to have a dataset with date values and corresponding data points. For example, if you're tracking sales data, your dataset might include the date, sales amount, and product category. Once you have your dataset, you can create a timeline chart by selecting the data range and going to the 'Insert' tab in Excel. From there, you can choose from a variety of chart types, including line charts, bar charts, and area charts.
Customizing Your Timeline Chart
When creating a timeline chart, it's essential to understand the basics of how the chart works. A timeline chart typically includes a date axis, which displays the date values, and a data axis, which displays the corresponding data points. You can customize the chart by adjusting the date range, adding or removing data points, and changing the chart type. Additionally, you can use various formatting options to make the chart more visually appealing, such as adding colors, fonts, and labels.
Once you've created your timeline chart, you can customize it to suit your needs. You can add titles, labels, and legends to make the chart more informative. You can also use Excel's built-in formatting tools to change the colors, fonts, and styles of the chart. Furthermore, you can use Excel's analytics tools to analyze the data and identify trends and patterns. With a little practice, you can create a timeline chart that is both informative and visually appealing, helping you to make better decisions and drive business results.