How to Create Printables in Illustrator: A Step-by-Step Guide

Getting Started with Illustrator
Creating printables can be a fun and creative way to express yourself and add a personal touch to your home or office. With Adobe Illustrator, you can create custom printables that are tailored to your specific needs and style. In this article, we'll show you how to create printables in Illustrator, from setting up your document to adding text and graphics.
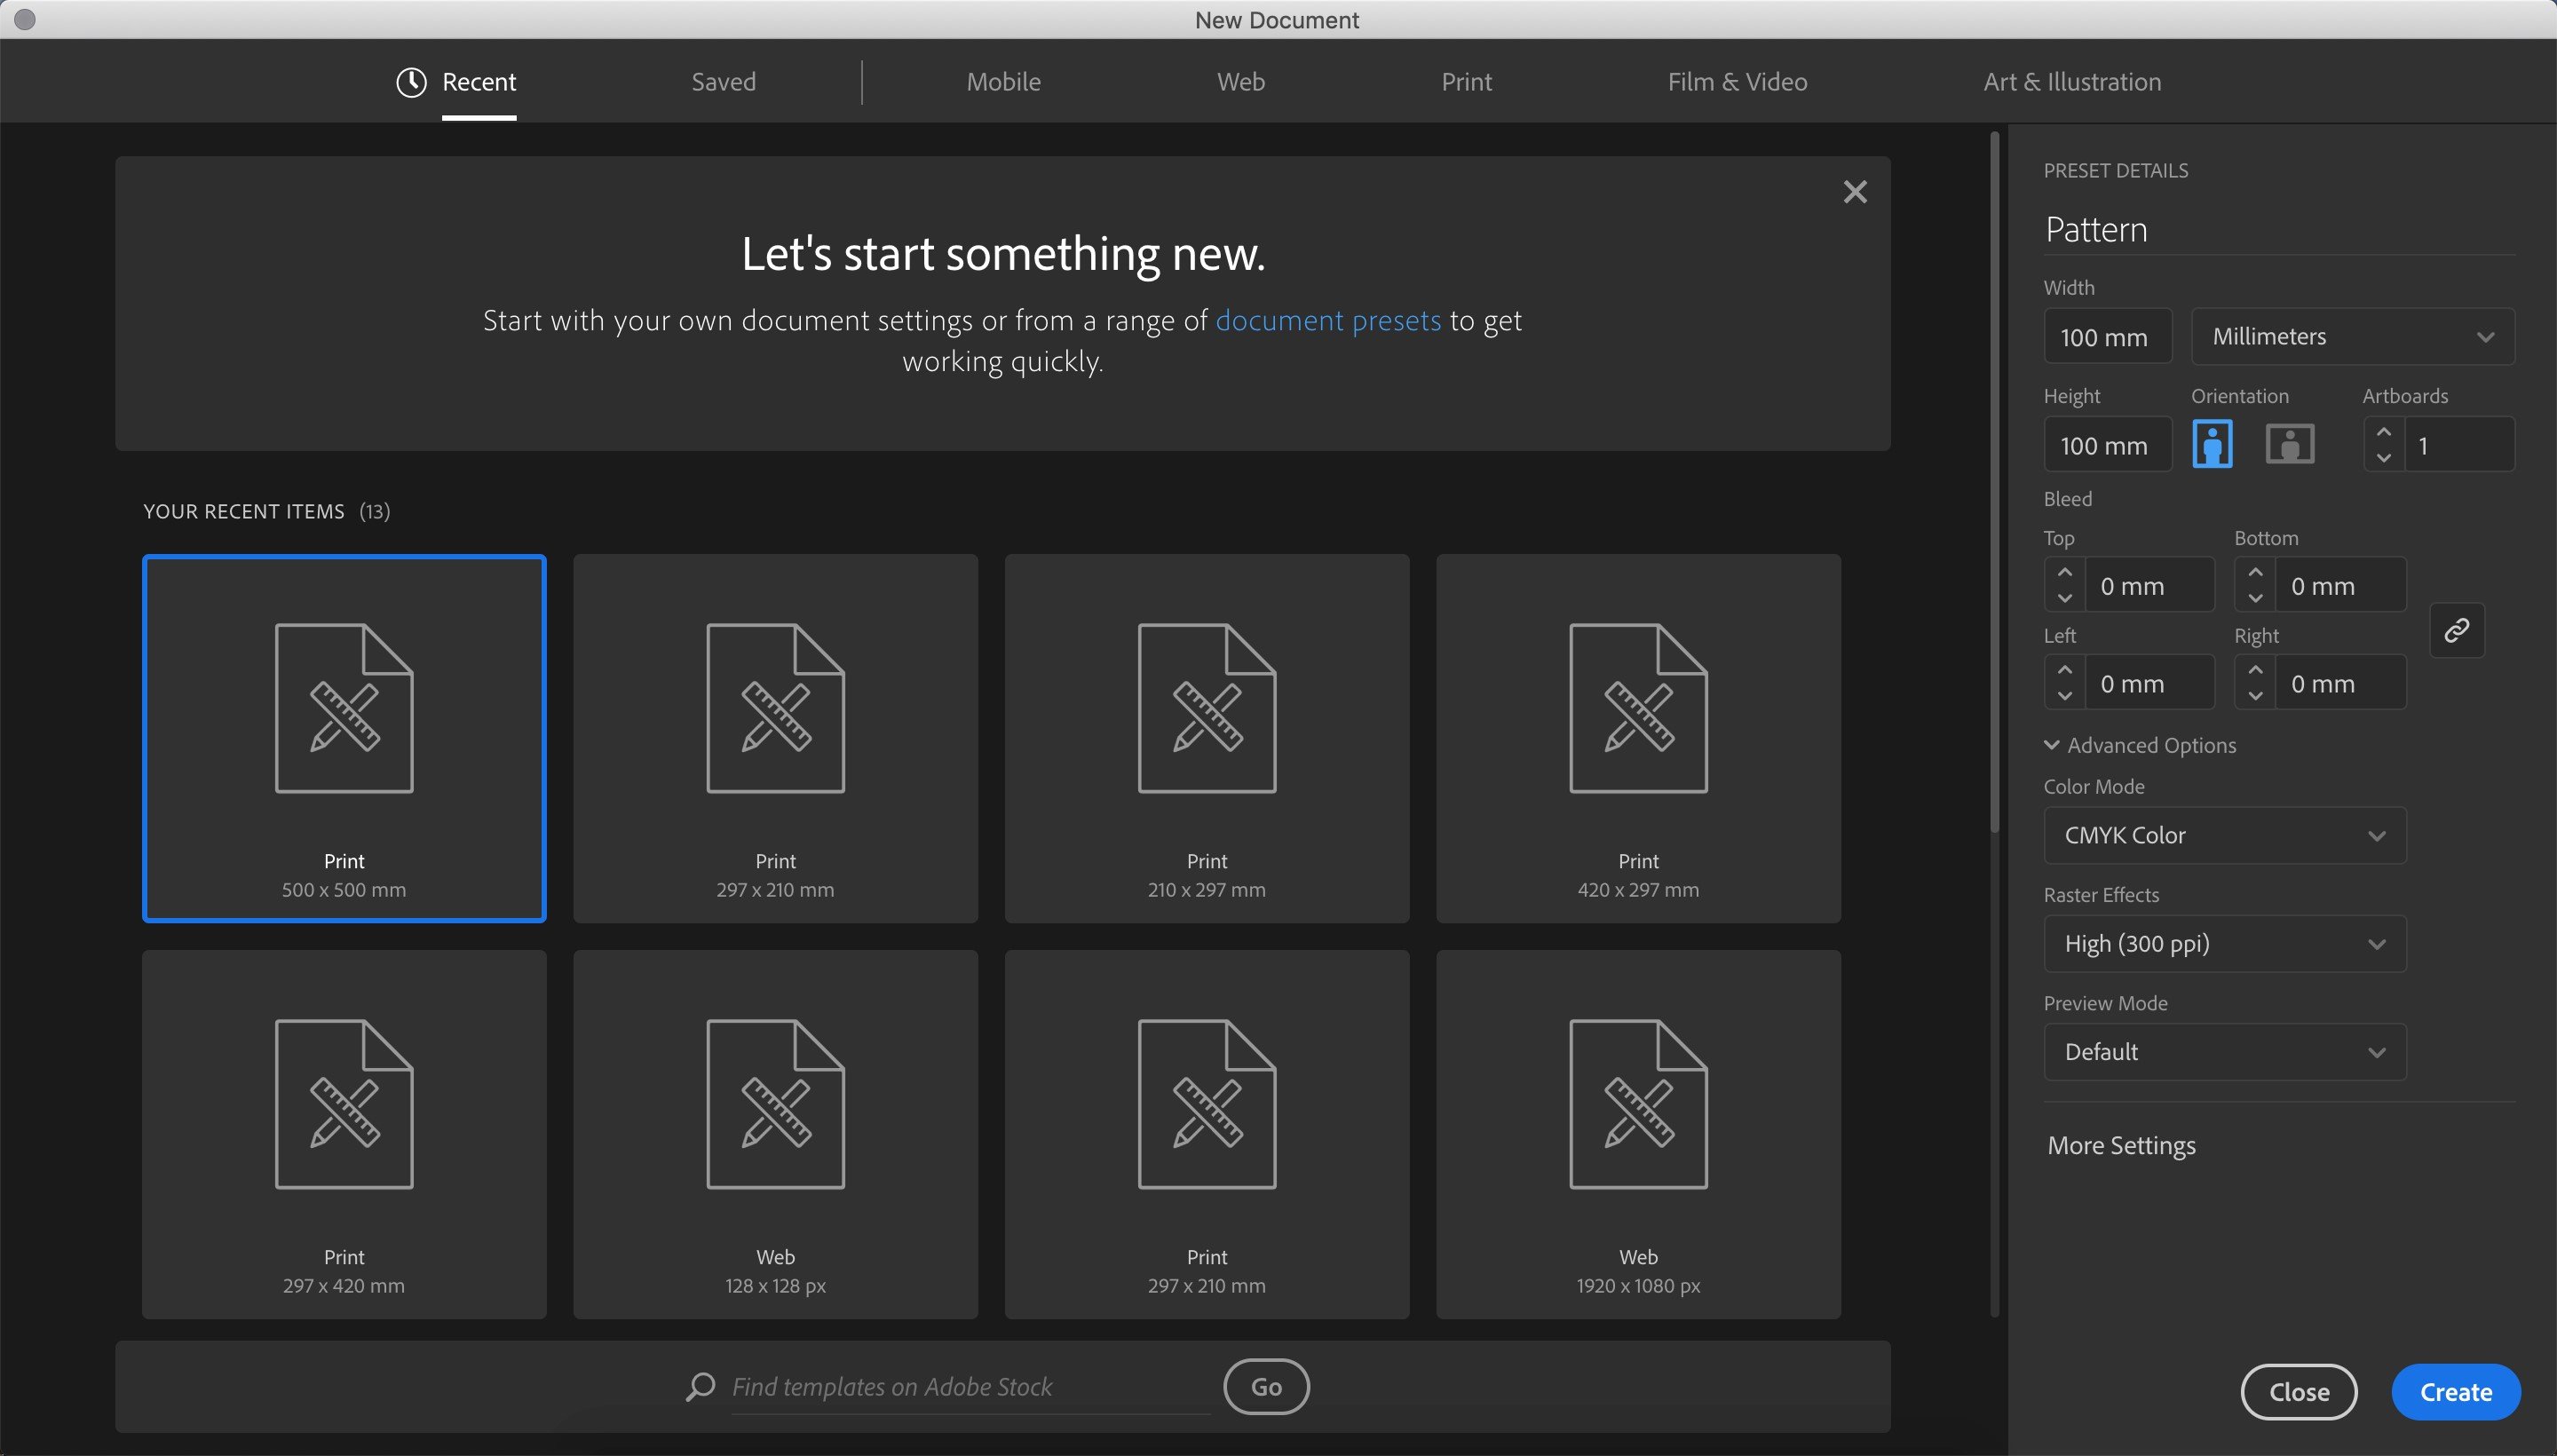
To get started, you'll need to open Adobe Illustrator and create a new document. Choose the size and resolution that you want your printable to be, and make sure to select the 'CMYK' color mode. This will ensure that your printable looks great when printed. Once you have your document set up, you can start designing your printable. You can use the various tools and features in Illustrator to add text, shapes, and graphics to your design.
Designing Your Printable
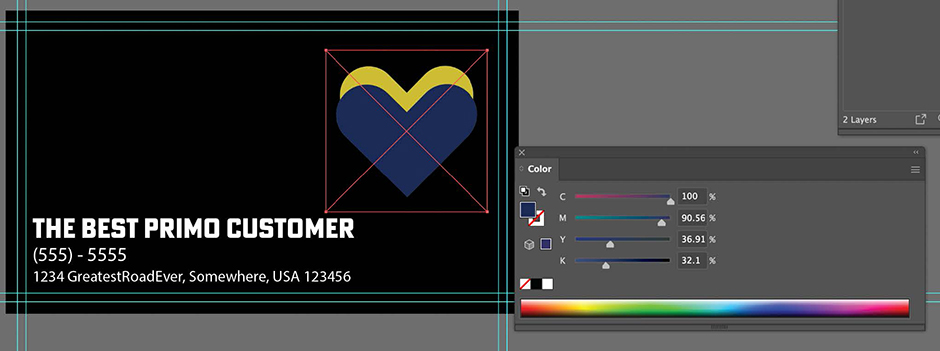
Now that you have your document set up, it's time to start designing. You can use the 'Type' tool to add text to your design, and the 'Shape' tool to add basic shapes like rectangles and circles. You can also use the 'Pen' tool to create custom shapes and paths. Don't be afraid to experiment and try out different tools and features to see what works best for your design. As you work on your design, make sure to save it regularly so you don't lose any of your progress.
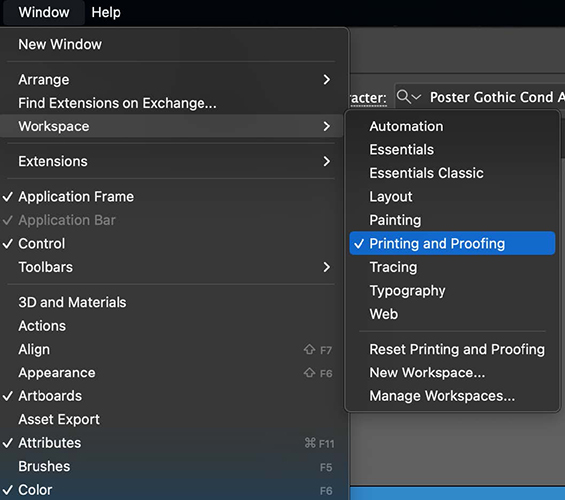
Once you have your design elements in place, you can start arranging them on your page. Use the 'Align' tool to make sure everything is lined up properly, and the 'Transform' tool to resize and rotate your elements as needed. You can also use the 'Layer' panel to organize your design and make it easier to work with. When you're happy with your design, you can export it as a PDF or JPEG file, and print it out on your favorite paper or cardstock. With these tips and a little practice, you'll be creating beautiful printables in Illustrator in no time.