How To Create And Print Name Badges In Word

Designing Your Name Badge
Creating and printing name badges in Microsoft Word is a straightforward process that can be completed in a few simple steps. Whether you're hosting a conference, meeting, or event, name badges are a great way to make your attendees feel welcome and valued. In this article, we'll show you how to create and print name badges in Word, including designing your badge, adding text and images, and printing your final product.
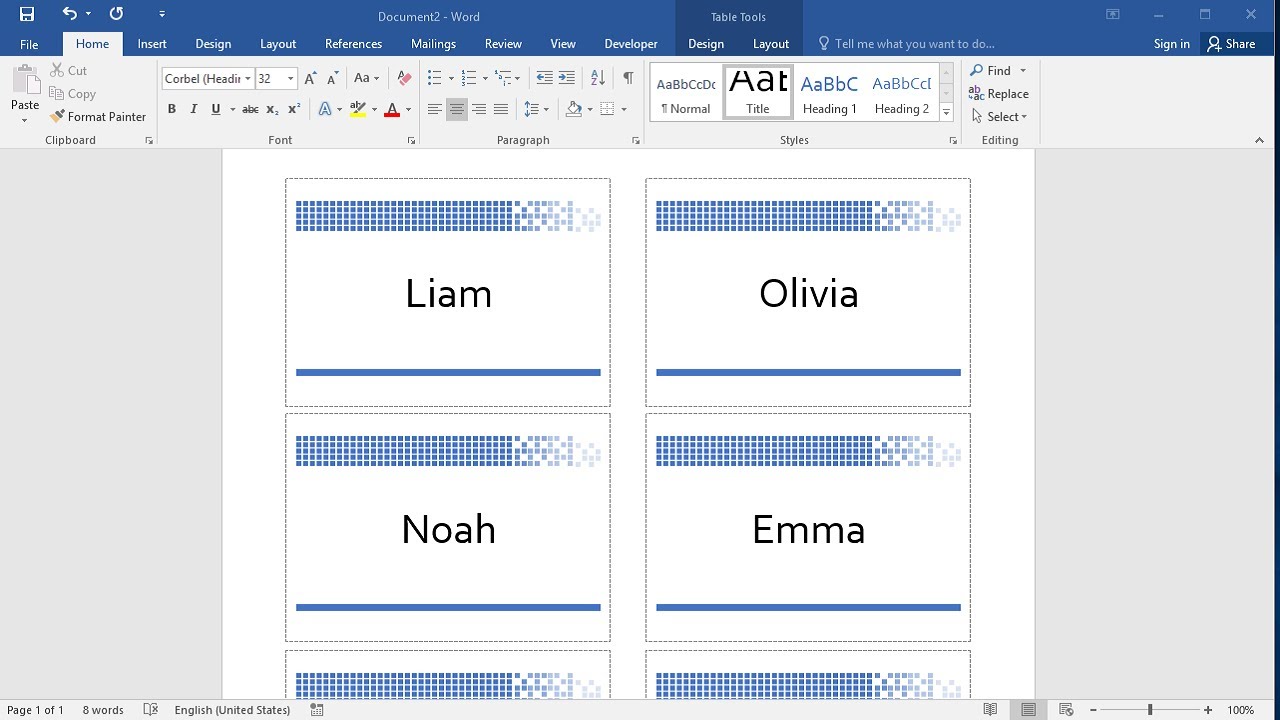
To start, open a new document in Microsoft Word and set the page layout to the size you want your name badges to be. You can use the built-in templates in Word or create your own custom design. Consider the information you want to include on your badge, such as the attendee's name, title, and company. You can also add images, logos, or other graphics to make your badge more visually appealing.
Printing Your Name Badges
When designing your name badge, think about the overall aesthetic you want to achieve. You can use different fonts, colors, and images to create a unique and professional look. Make sure to leave enough space for the text and images, and consider using a template to ensure consistency across all your badges. You can also use Word's built-in tools, such as the ribbon and toolbar, to customize your design and make it more engaging.
Once you've designed your name badge, it's time to print them out. Make sure you have the right paper and printer settings to produce high-quality badges. You can use cardstock or other thick paper to make your badges more durable. Word also allows you to print multiple badges on a single page, making it easy to produce a large quantity of badges quickly and efficiently. With these simple steps, you can create and print professional-looking name badges in Microsoft Word.