
How to Create a Pie Chart in Photoshop: A Step-by-Step Guide


Getting Started with Your Pie Chart
Creating a pie chart in Photoshop can seem like a daunting task, but with the right tools and a little bit of know-how, you can create a custom pie chart that meets your needs. Whether you're a designer or a non-designer, this tutorial will walk you through the process of creating a pie chart in Photoshop. To get started, you'll need to have Adobe Photoshop installed on your computer. If you don't have it, you can download a free trial from the Adobe website.
To create a pie chart, you'll need to start by creating a new document in Photoshop. Go to File > New and select the dimensions and resolution you want for your chart. Next, you'll need to decide on the colors and design elements you want to use for your chart. You can choose from a variety of colors and fonts, or use a pre-made template to get started. Once you have your design elements in place, you can start creating your pie chart.
Customizing Your Pie Chart
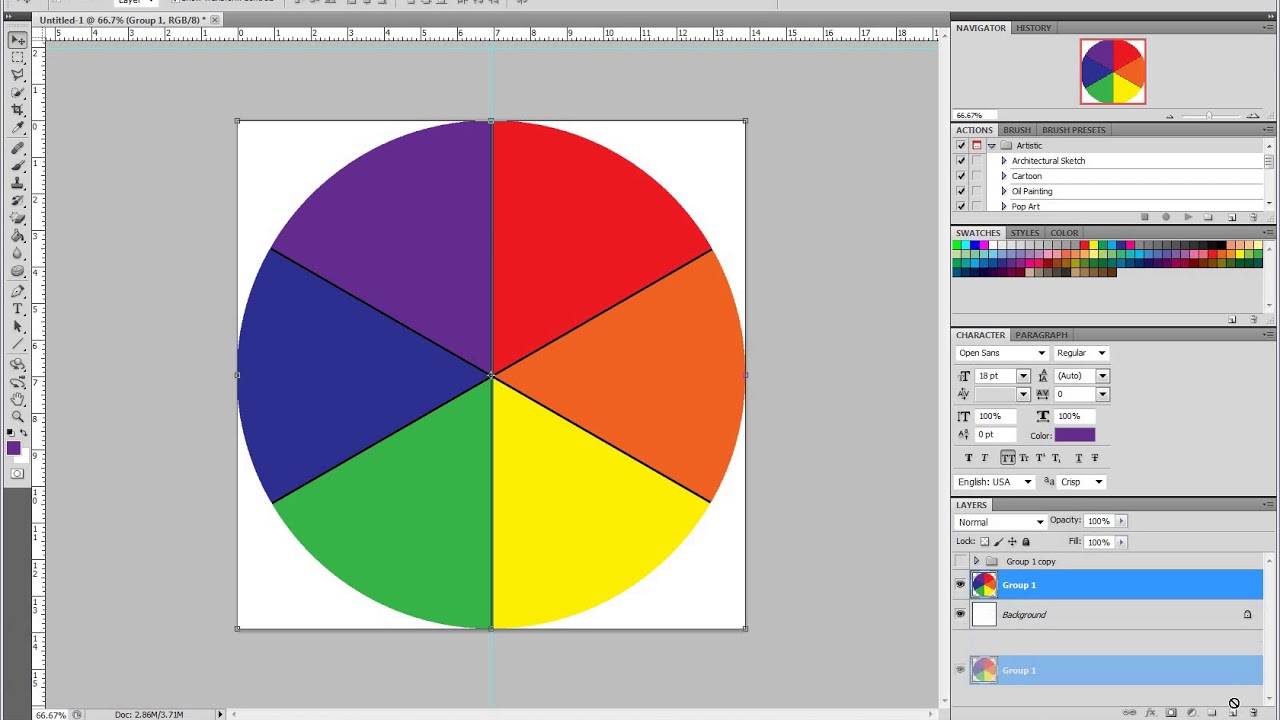
Now that you have your design elements in place, it's time to start creating your pie chart. To do this, you'll need to use the Shape tool in Photoshop. Select the Shape tool from the toolbar and choose the 'Pie Chart' option. From here, you can customize the size and shape of your chart, as well as add in your data. You can enter your data manually, or import it from a spreadsheet or other data source.
Once you have your pie chart created, you can customize it to fit your needs. You can change the colors and fonts, add in additional design elements, and even animate your chart. To customize your chart, simply select the layer you want to edit and use the various tools and options in Photoshop to make your changes. With a little bit of practice, you can create a custom pie chart that looks professional and is easy to understand. Whether you're using it for a presentation, report, or website, a custom pie chart can help you communicate your data in a clear and effective way.