How To Create A Family Tree Chart In Excel

Getting Started with Your Family Tree
Creating a family tree chart in Excel is a great way to visualize your family history and connections. With a few simple steps, you can create a beautiful and informative chart that showcases your family's heritage. To get started, open a new Excel spreadsheet and give it a title, such as 'Family Tree'. Then, decide on the scope of your chart - will it include just your immediate family, or will it go back several generations?
In the next step, you'll start adding your family members to the chart. You can use the 'Insert' tab to add new rows and columns, and then start filling in the names and relationships. You can also use Excel's built-in formatting tools to make your chart look more visually appealing. For example, you can use different colors to distinguish between different generations, or use bold text to highlight important relationships.
Designing and Customizing Your Chart
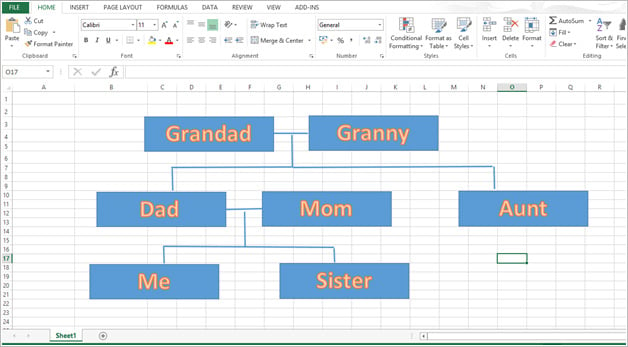
As you add more family members to your chart, you may want to consider using Excel's built-in charting tools to help visualize the relationships. For example, you can use a hierarchy chart to show the relationships between different family members, or use a network diagram to illustrate the connections between different branches of your family. You can also use Excel's 'SmartArt' feature to create a more graphical representation of your family tree.
Once you have the basic structure of your chart in place, you can start customizing it to make it look more polished and professional. You can use Excel's formatting tools to change the colors, fonts, and layout of your chart, and you can also add images or other graphics to make it more visually appealing. With a little practice and patience, you can create a beautiful and informative family tree chart in Excel that you'll be proud to share with your family and friends.