
How to Color a Picture in Illustrator: A Step-by-Step Guide

Getting Started with Coloring in Illustrator
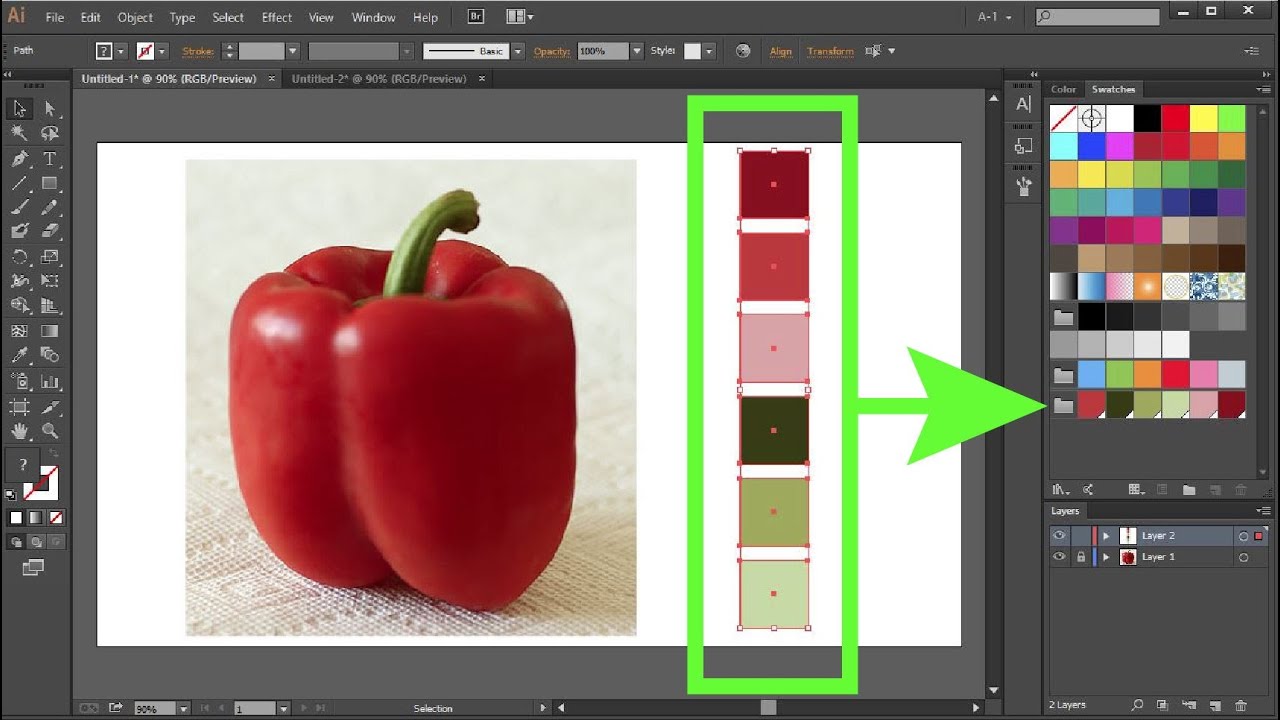
Coloring a picture in Adobe Illustrator can seem like a daunting task, especially for beginners. However, with the right tools and techniques, you can achieve professional-looking results. In this article, we'll take you through the basics of coloring a picture in Illustrator, from preparing your image to adding subtle shading and texture.
To start coloring your picture, you'll need to select the object or layer you want to work with. You can do this by clicking on the object or layer in the Layers panel. Once you've selected your object, you can begin applying colors using the various tools available in Illustrator, such as the Fill and Stroke panels. You can also use the Eyedropper tool to sample colors from other parts of your image or from a color library.
Advanced Coloring Techniques in Illustrator
As you become more comfortable with the basics of coloring in Illustrator, you can start to experiment with more advanced techniques. This is where the real fun begins, and you can start to add depth and dimension to your image. You can use gradients, patterns, and textures to add visual interest to your picture, and you can also use the Blend tool to create smooth transitions between colors.
With practice and patience, you can master the art of coloring a picture in Illustrator. Remember to experiment with different tools and techniques to find what works best for you and your image. Don't be afraid to try new things and make mistakes – they can often lead to unexpected and exciting results. By following the steps outlined in this article, you'll be well on your way to creating stunning, professionally-colored images in Illustrator.