A Step-by-Step Guide to Applying Vinyl Decal Printables

Preparation is Key
Applying vinyl decal printables can be a fun and creative way to personalize your belongings, from water bottles to laptops. With the right tools and a bit of patience, you can achieve professional-looking results. The first step is to choose the right vinyl decal printable for your project. Consider the size, shape, and design of the decal, as well as the surface you will be applying it to.
Before you start applying the decal, make sure the surface is clean and dry. Any dirt, dust, or moisture can prevent the decal from adhering properly. If you're applying the decal to a curved surface, you may need to use a heat gun or a hair dryer to help the vinyl conform to the shape.
Applying the Decal
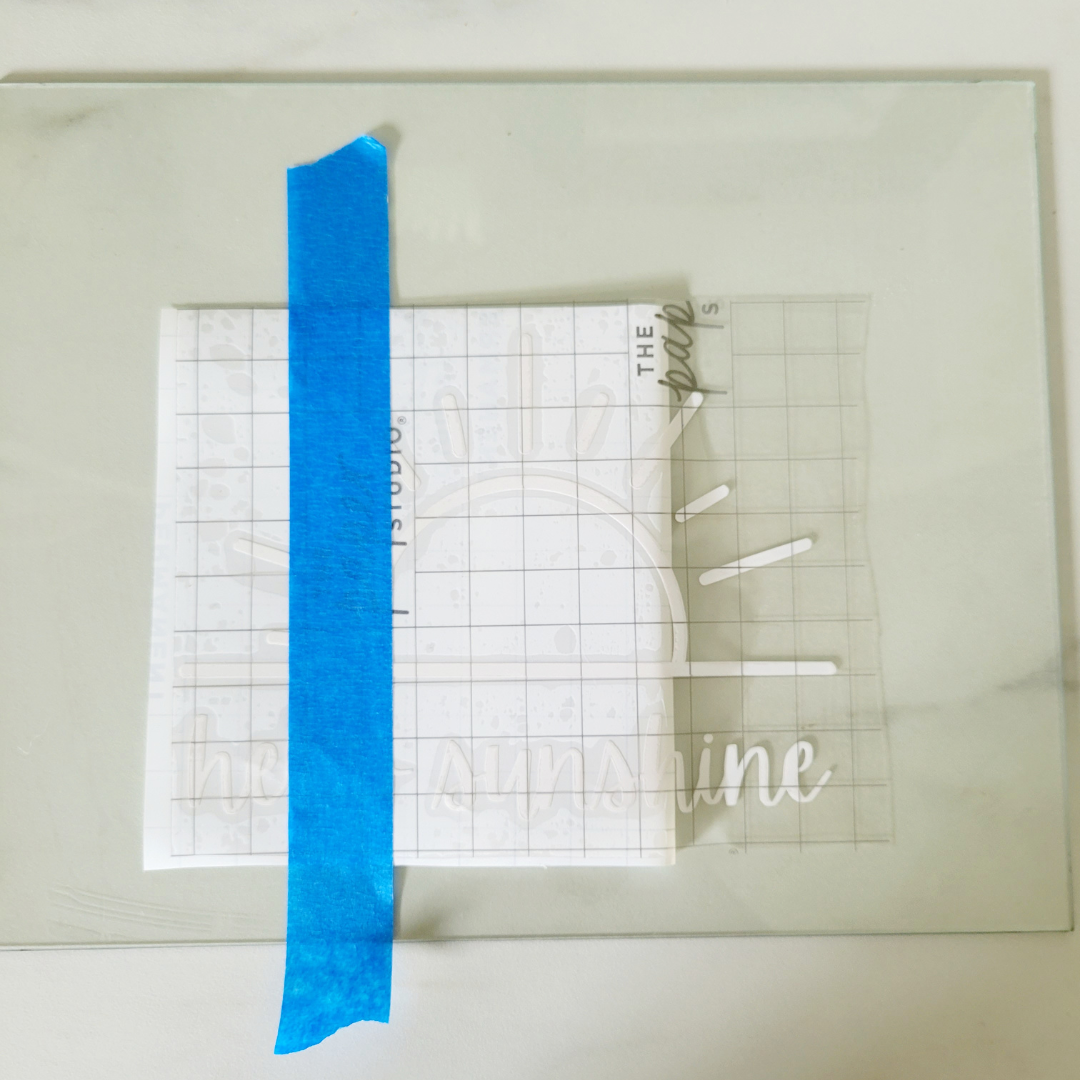
Preparation is Key When it comes to applying vinyl decal printables, preparation is key. Make sure you have all the necessary tools and materials, including the decal, a credit card or similar tool, and a cutting mat or other protective surface. You should also read the instructions carefully and follow any specific application guidelines provided by the manufacturer.
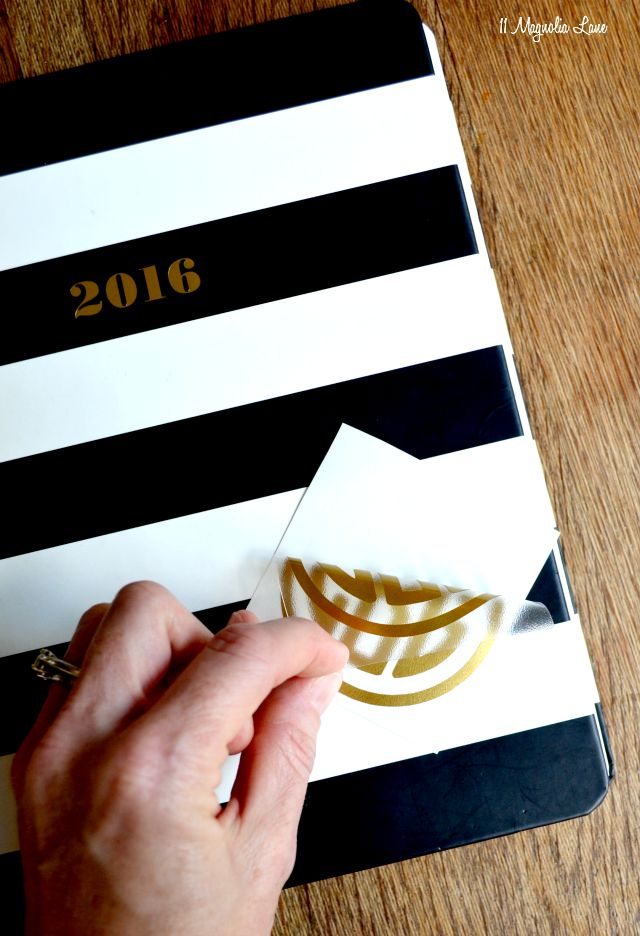
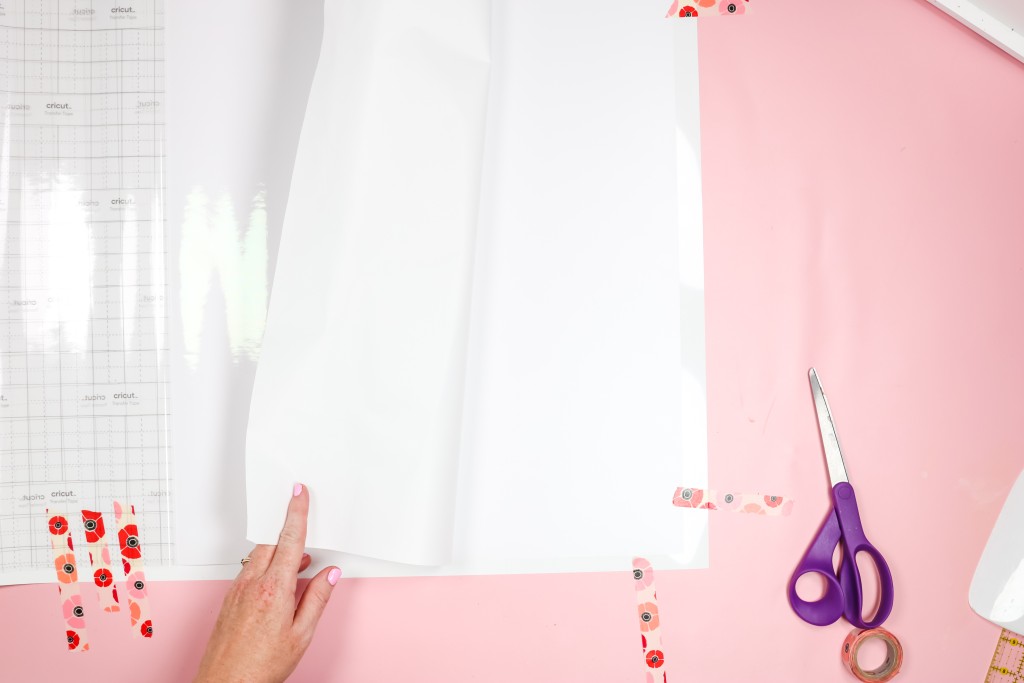
Applying the Decal Once you've prepared the surface and the decal, it's time to apply it. Start by peeling the backing paper off the decal, taking care not to touch the adhesive side. Place the decal on the surface, starting at the center and working your way outwards. Use the credit card or similar tool to smooth out any air bubbles or wrinkles. With a bit of practice, you'll be able to apply vinyl decal printables like a pro and enjoy the satisfaction of creating your own unique designs.