
Cut Settings For Silhouette Printable Vinyl: A Beginner's Guide
Understanding Cut Settings
If you're new to working with Silhouette printable vinyl, you may be wondering what cut settings to use to get the best results. The right cut settings can make all the difference in achieving professional-looking designs, while the wrong settings can lead to wasted material and frustration. In this article, we'll explore the best cut settings for Silhouette printable vinyl and provide tips and tricks for cutting vinyl like a pro.
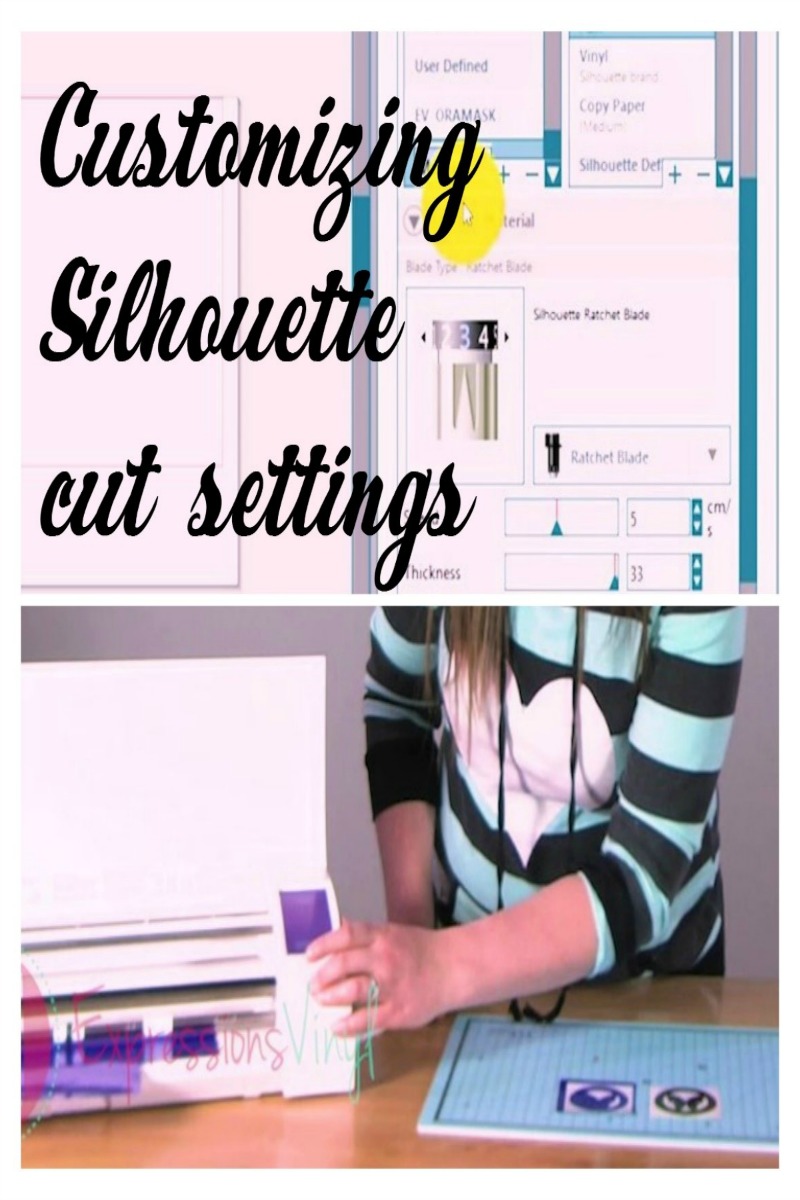
The key to successful vinyl cutting is understanding the different cut settings and how they affect the material. The Silhouette machine allows you to adjust the blade depth, speed, and force to customize the cut settings for your specific project. For printable vinyl, you'll want to use a shallow blade depth and moderate speed to prevent the vinyl from tearing or the blade from getting stuck.
Tips for Cutting Silhouette Printable Vinyl
When it comes to cutting Silhouette printable vinyl, the cut settings will depend on the specific type of vinyl you're using and the design you're trying to achieve. For example, if you're using a thick, glossy vinyl, you may need to increase the blade depth and force to get a clean cut. On the other hand, if you're using a thin, matte vinyl, you may be able to get away with a shallower blade depth and lower force.
To get the best results when cutting Silhouette printable vinyl, make sure to use a sharp blade and keep the machine well-maintained. You should also use a cutting mat to prevent the vinyl from slipping or moving during the cutting process. By following these tips and using the right cut settings, you'll be able to achieve professional-looking results and take your vinyl cutting projects to the next level.