Cut Settings For Printable Vinyl: A Comprehensive Guide


Understanding Cut Settings
When it comes to working with printable vinyl, getting the cut settings right is crucial for achieving professional-looking results. Whether you're a crafter, sign-maker, or hobbyist, understanding how to optimize your cut settings can make all the difference in the quality of your final product. In this article, we'll delve into the world of cut settings for printable vinyl and explore the best practices for getting the most out of your projects.
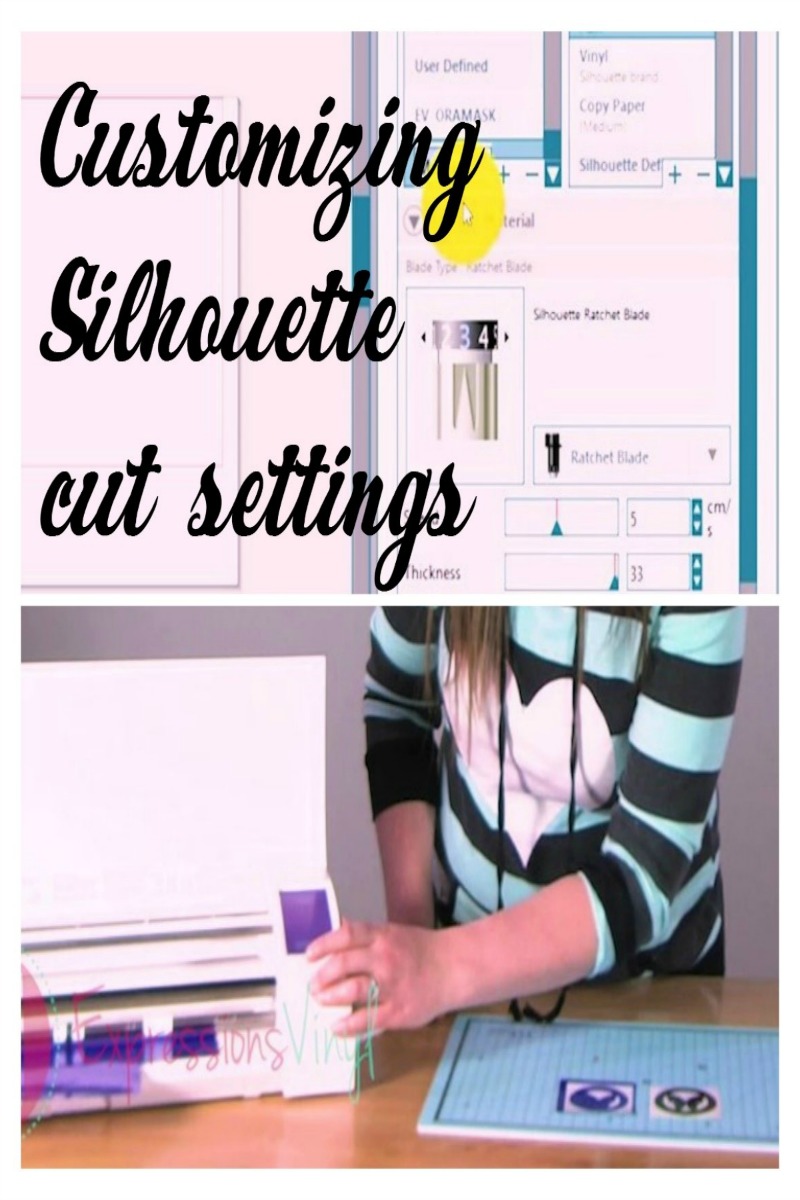
The type of vinyl you're using, the cutter you're working with, and the design you're trying to achieve all play a role in determining the ideal cut settings. For example, if you're using a cutting plotter like a Cricut or Silhouette, you'll need to adjust the blade depth, pressure, and speed to ensure a clean cut. Similarly, if you're working with a intricate design, you may need to slow down the cutting speed to prevent errors.
Optimizing Cut Settings for Printable Vinyl
To get started with optimizing your cut settings, it's essential to understand the different factors that affect the cutting process. This includes the type of vinyl, the cutter's capabilities, and the design's complexity. By taking the time to understand these factors, you can begin to experiment with different cut settings to find what works best for your specific project. Additionally, consulting the user manual for your cutter and seeking online tutorials can provide valuable insights and tips for achieving precise cuts.
By following the tips and guidelines outlined in this article, you can optimize your cut settings for printable vinyl and take your projects to the next level. Remember to always test your cut settings on a small sample before cutting your final design, and don't be afraid to experiment and adjust your settings as needed. With practice and patience, you'll be able to achieve vibrant prints and precise cuts that will make your projects stand out.