
A Beginner's Guide to Cricut Printable Heat Transfer: How To

Getting Started with Cricut Printable Heat Transfer
Cricut printable heat transfer is a game-changer for crafters and DIY enthusiasts. With this innovative material, you can create custom designs on a variety of fabrics, from t-shirts to hoodies, and even home decor items. In this article, we'll walk you through the process of using Cricut printable heat transfer, from preparation to application.
To get started, you'll need a few basic supplies, including a Cricut machine, printable heat transfer material, and a weeding tool. You'll also need a design or image to transfer onto your fabric. You can use the Cricut Design Space software to create your design, or use a pre-made template. Once you have your design ready, simply cut it out using your Cricut machine and weed away any excess material.
Tips and Tricks for a Successful Application
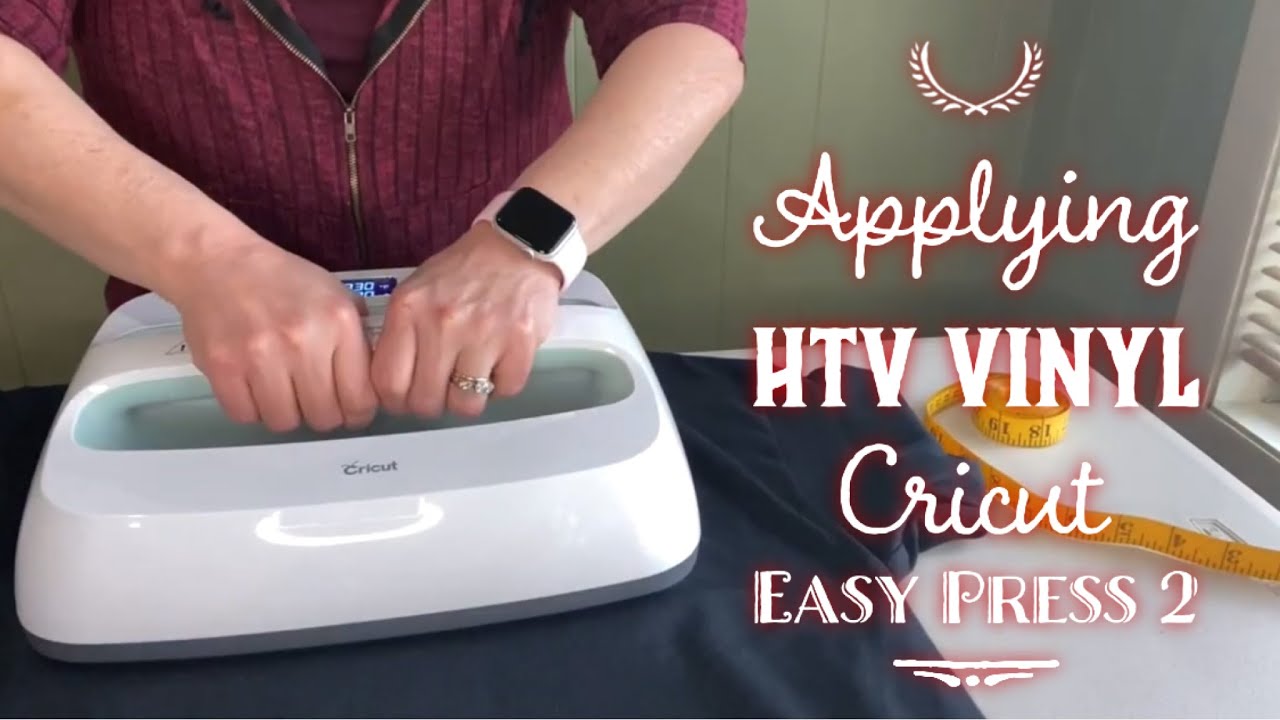
Now that you have your design cut out, it's time to apply it to your fabric. Preheat your heat press to the recommended temperature, usually around 300-320°F. Place your fabric on the heat press, and then place the printable heat transfer material on top, with the design facing down. Apply pressure and heat for the recommended amount of time, usually around 15-20 seconds. Allow the material to cool before peeling off the backing paper.
To ensure a successful application, make sure to follow the instructions carefully and use the right amount of pressure and heat. You can also use a few tricks to get the best results, such as using a pressing cloth to protect your fabric, and applying a small amount of heat transfer tape to secure the material in place. With practice, you'll be creating professional-looking custom designs in no time. So why not give Cricut printable heat transfer a try, and take your crafting to the next level?