Create Magical Cardstock Snowflakes to Decorate Your Home

Materials and Tools Needed
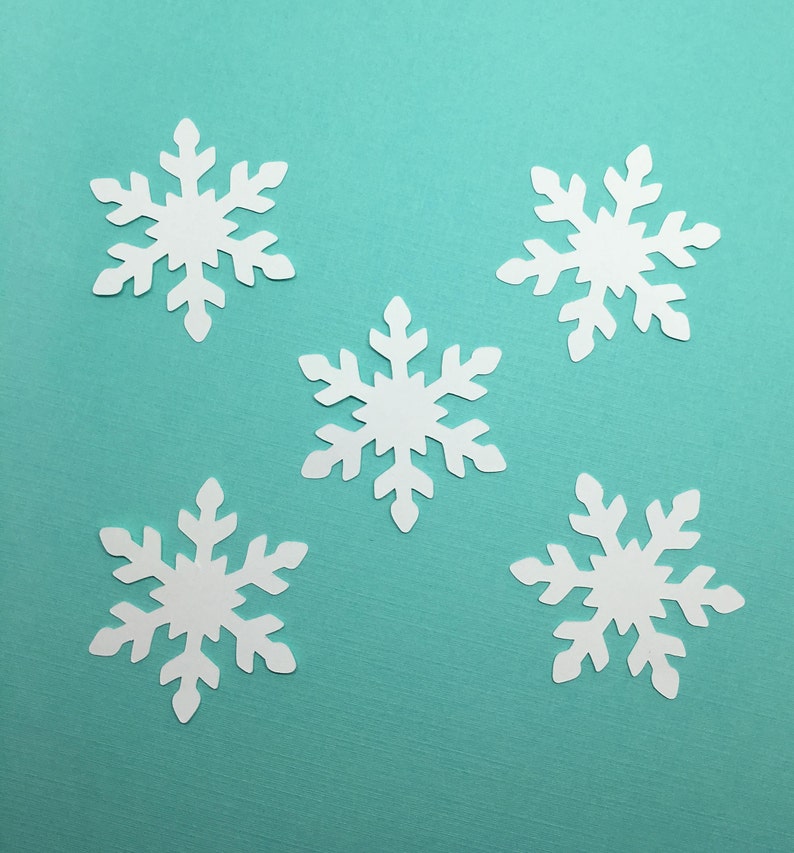
Winter is a time for coziness, hot chocolate, and magical decorations. One of the most iconic and beautiful winter decorations is the snowflake. While real snowflakes are delicate and fleeting, you can create your own cardstock snowflakes to decorate your home and add a touch of winter wonder. In this article, we'll show you how to make cardstock snowflakes and provide you with tips and variations to make them truly unique.
To get started, you'll need a few simple materials and tools. This includes cardstock paper in various colors, scissors, a pencil, and a ruler. You can also use a craft knife or a paper cutter to make more precise cuts. If you want to add some extra sparkle to your snowflakes, you can use glitter, stickers, or other embellishments.
Tips and Variations for Unique Snowflakes
Once you have your materials and tools, you can start creating your cardstock snowflakes. Begin by folding your cardstock paper in half diagonally to create a triangle. Then, fold it in half again to create another triangle. Use your pencil to draw a simple snowflake design onto the paper, making sure to keep it symmetrical. Cut out the design using your scissors or craft knife, and then unfold the paper to reveal your beautiful snowflake. You can customize your snowflake by adding glitter, stickers, or other embellishments.
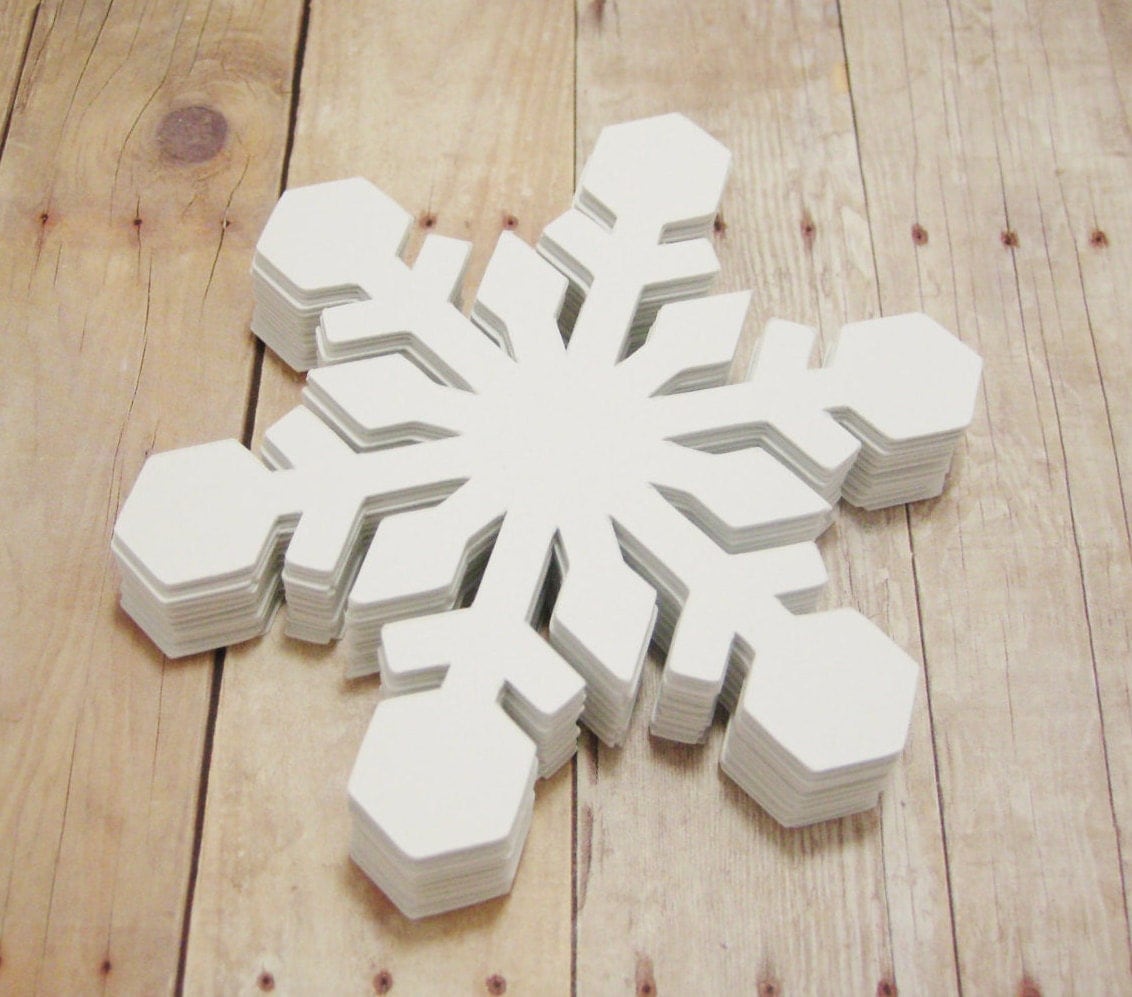
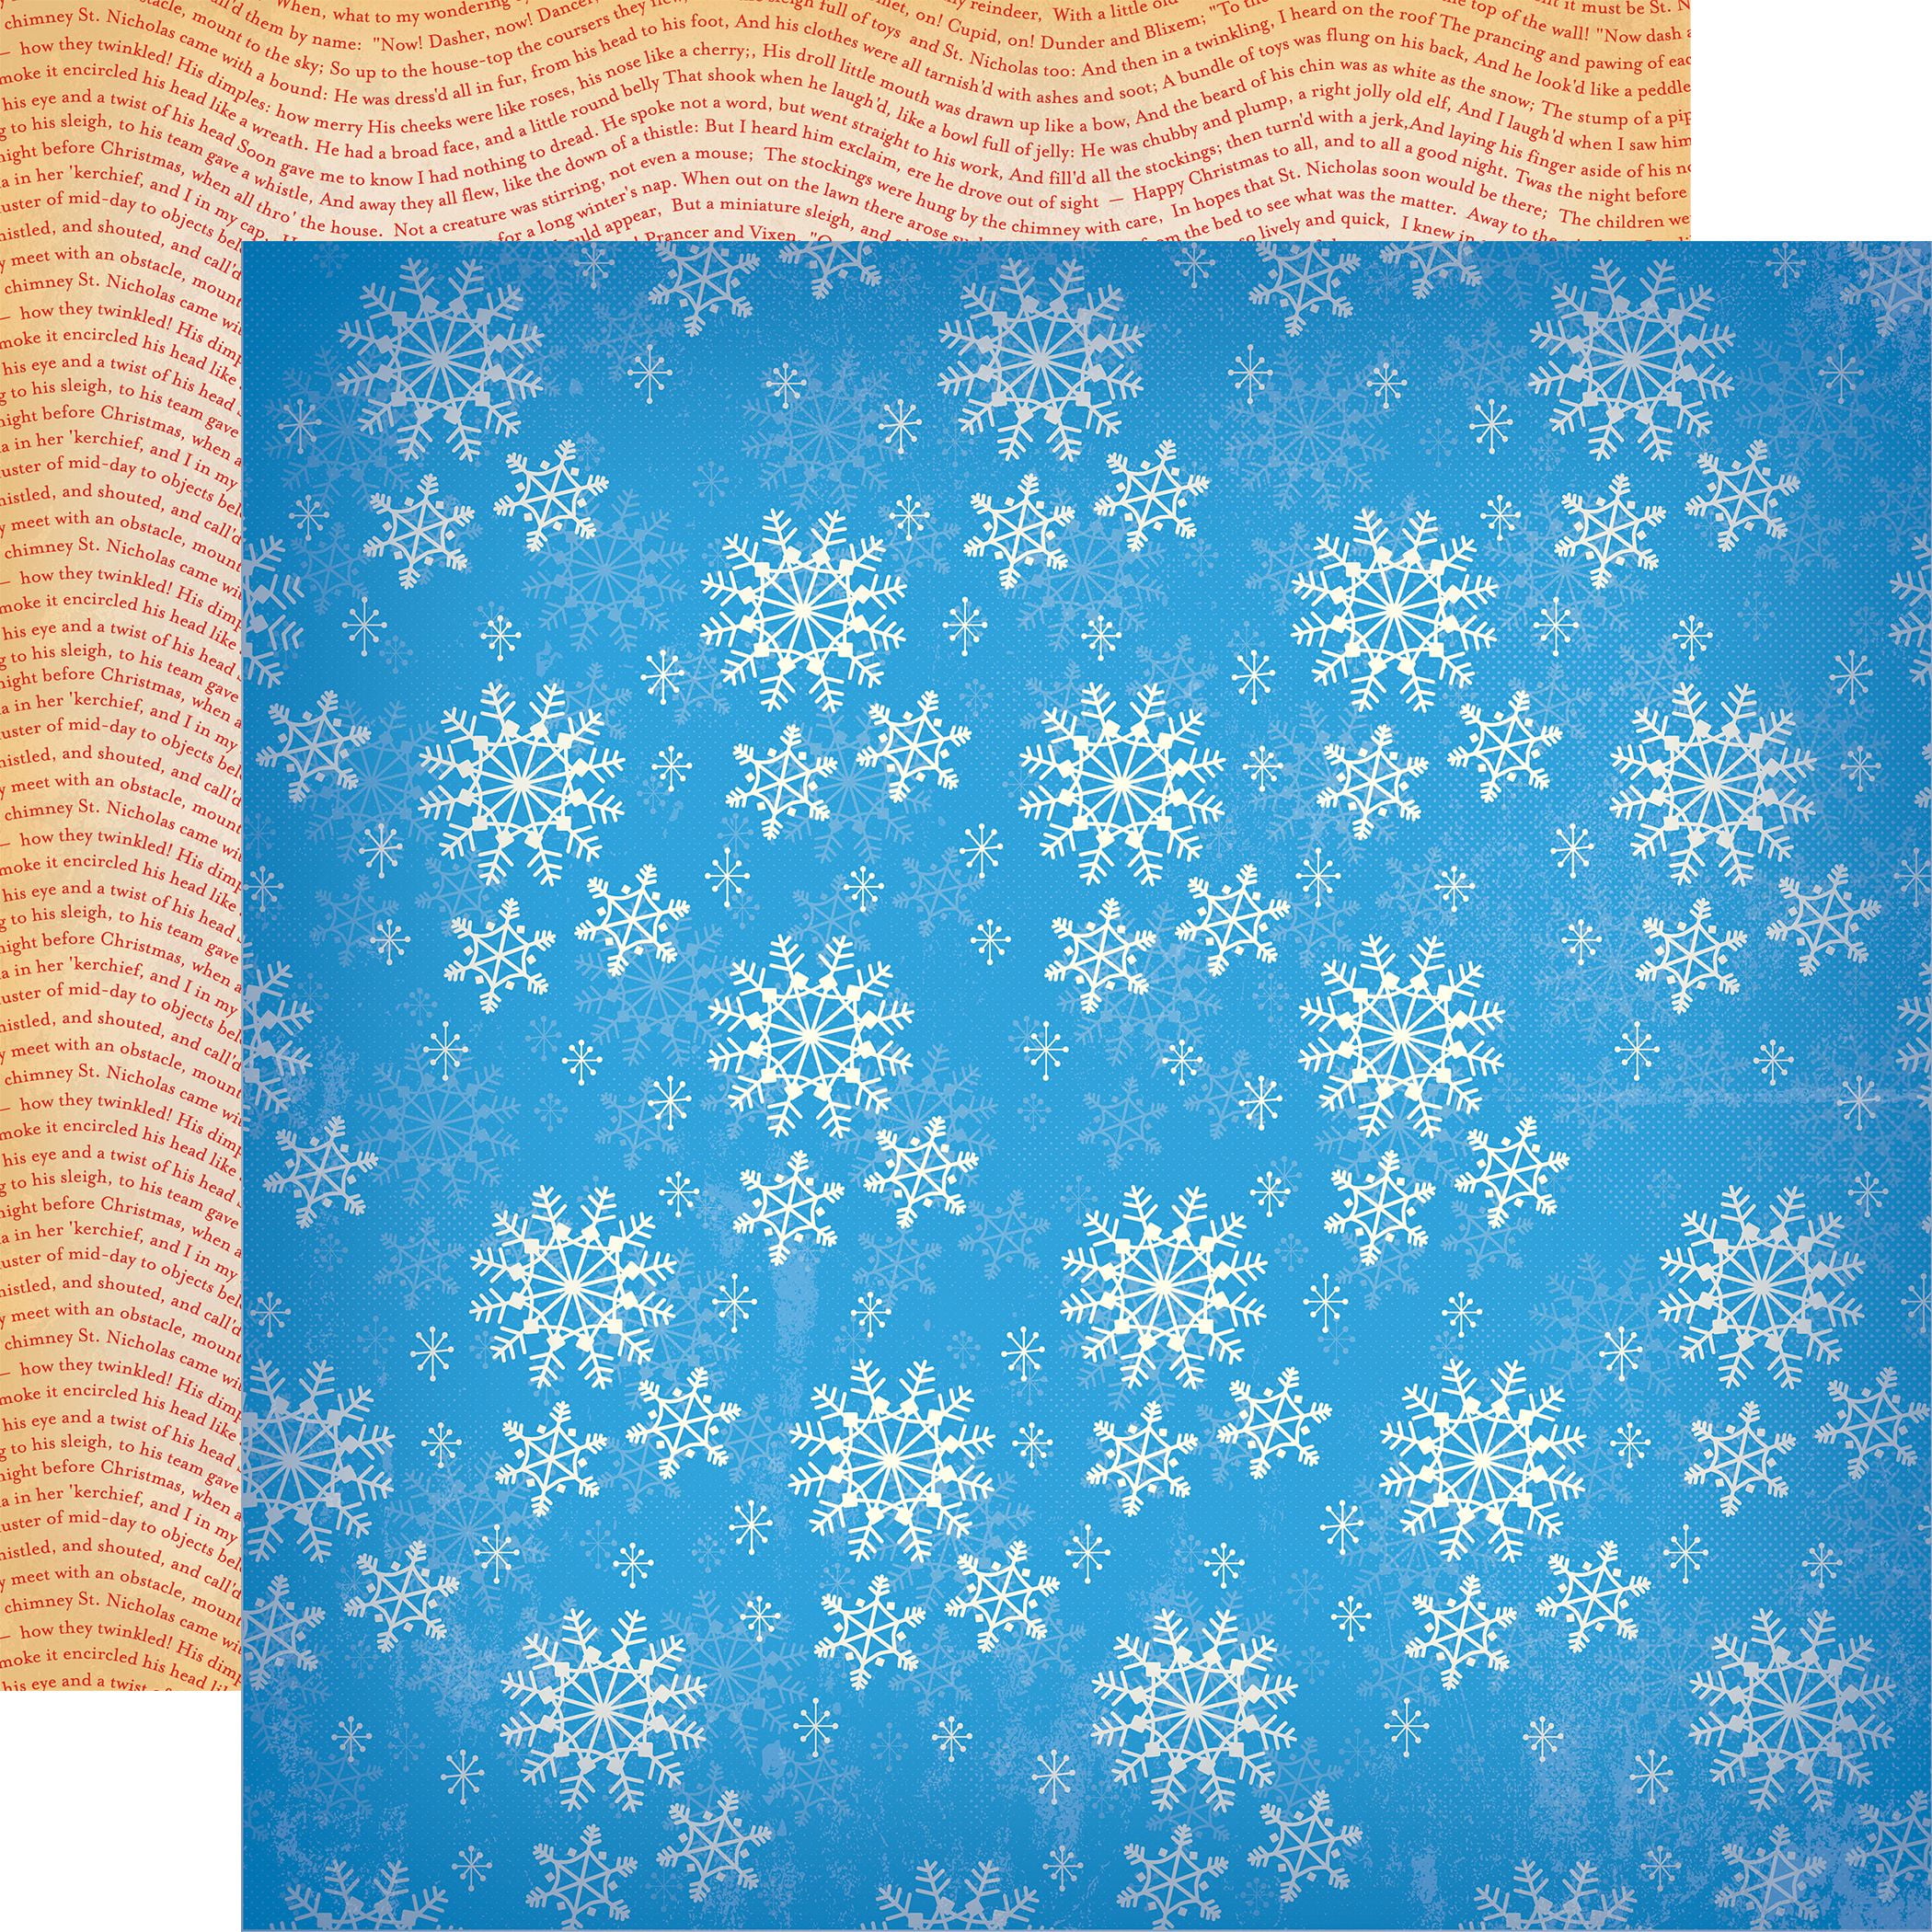
To make your cardstock snowflakes truly unique, try experimenting with different colors, shapes, and sizes. You can also add a personal touch by using photos, stamps, or other embellishments. If you're feeling adventurous, you can try making 3D snowflakes by layering multiple pieces of cardstock on top of each other. With a little creativity and patience, you can create a winter wonderland in your home that will impress friends and family alike. So why not get started and make some magical cardstock snowflakes today?