
Creating Stunning Printables with Adobe Illustrator: A Step-by-Step Guide

Getting Started with Adobe Illustrator
Adobe Illustrator is a powerful tool for creating stunning printables, from invitations and party decorations to art prints and business cards. With its vast array of features and tools, you can bring your ideas to life and create unique and professional-looking designs. In this article, we'll show you how to make printables in Adobe Illustrator, covering the basics and providing tips and tricks for getting the most out of the software.
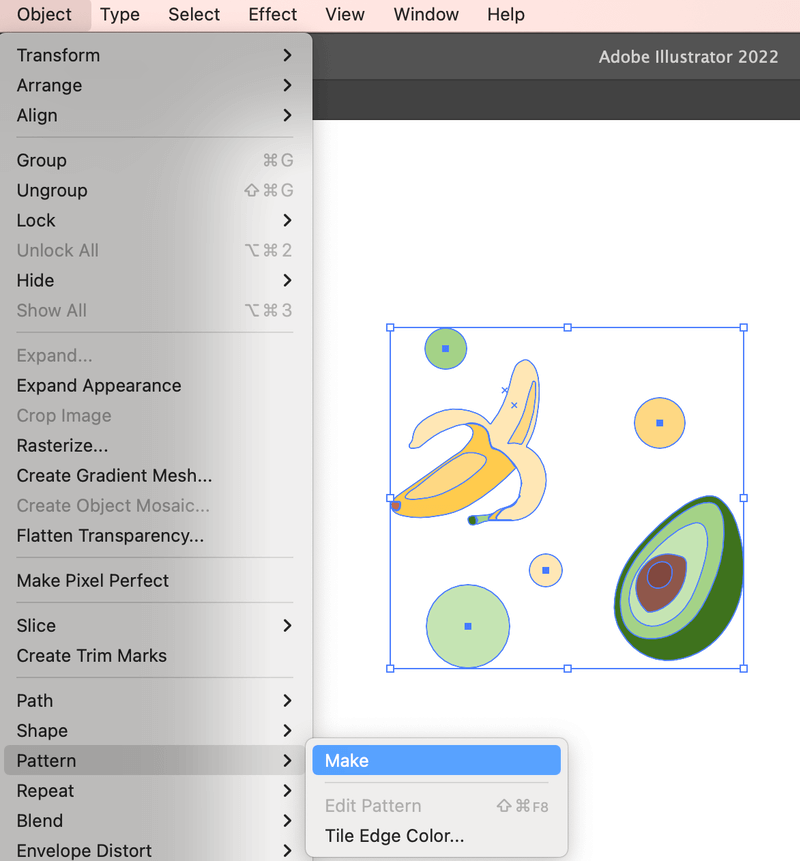
To get started, you'll need to launch Adobe Illustrator and create a new document. Choose the size and resolution that suits your needs, and select the color mode and units of measurement. You can then begin designing your printable, using the various tools and features available in the software. From the Pen tool and Shape tools to the Type tool and Effects, Adobe Illustrator offers a wide range of options for creating and customizing your design.
Designing Your Printable
Once you have your design elements in place, you can start experimenting with different layouts and arrangements. Use the Align panel to ensure that your objects are properly aligned, and the Transform panel to resize and rotate them as needed. You can also use the Layers panel to organize your design and make it easier to edit and manipulate individual elements. With practice and patience, you can create complex and beautiful designs that will make your printables stand out.
As you work on your design, don't forget to consider the printing process and the materials you'll be using. Choose a color profile that matches your printer and paper type, and adjust the resolution and image size accordingly. You can also use Adobe Illustrator's built-in templates and presets to help you get started and ensure that your printables are optimized for printing. With these tips and tricks, you'll be well on your way to creating stunning printables that will impress and delight your friends, family, and clients.